Setting up a Base in the Canyon
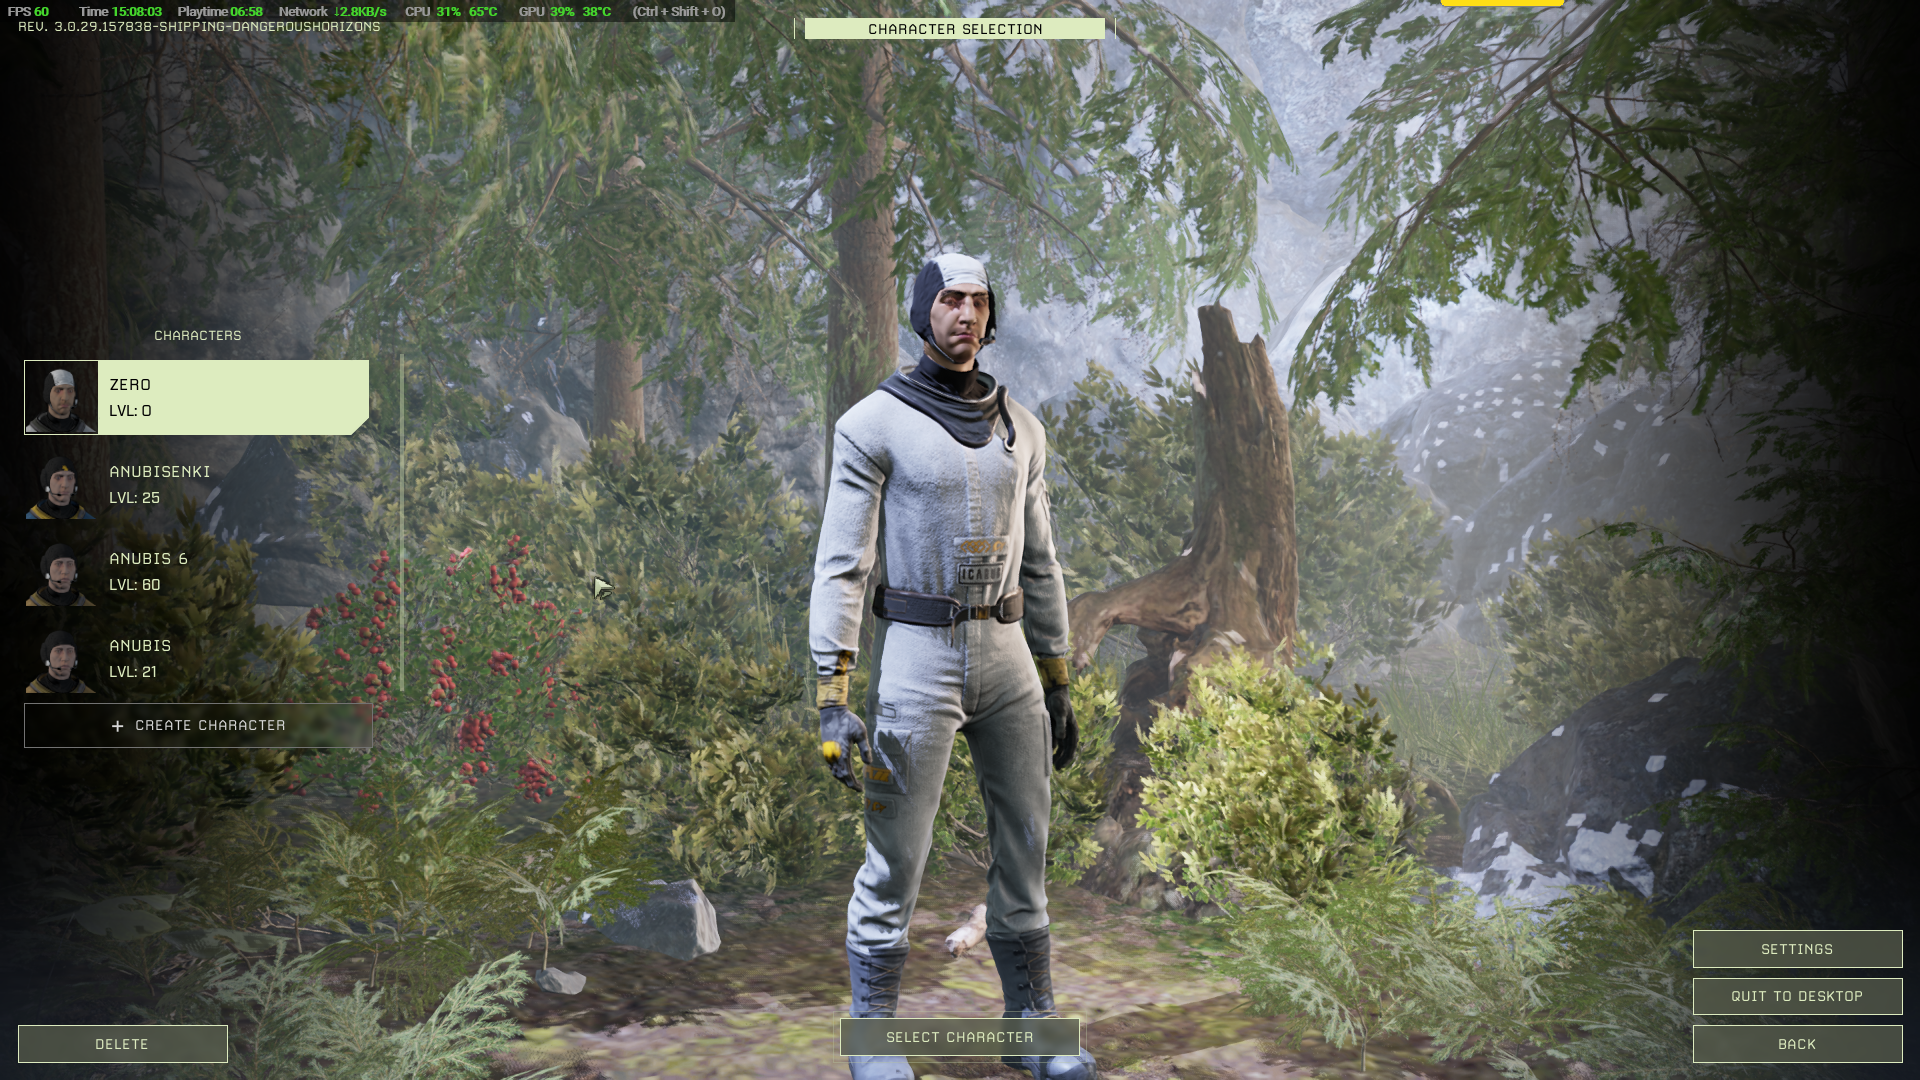
The canyon area you discovered in the Spelunking Mission is an ideal location for your first base since it has lots of resources and a pure water supply in the caves. Let's set up a base there. To get the images needed I created a new character 'Zero'. He starts at level 0; if you have completed the Beachhead and Spelunking missions you will probably be at least level 5.
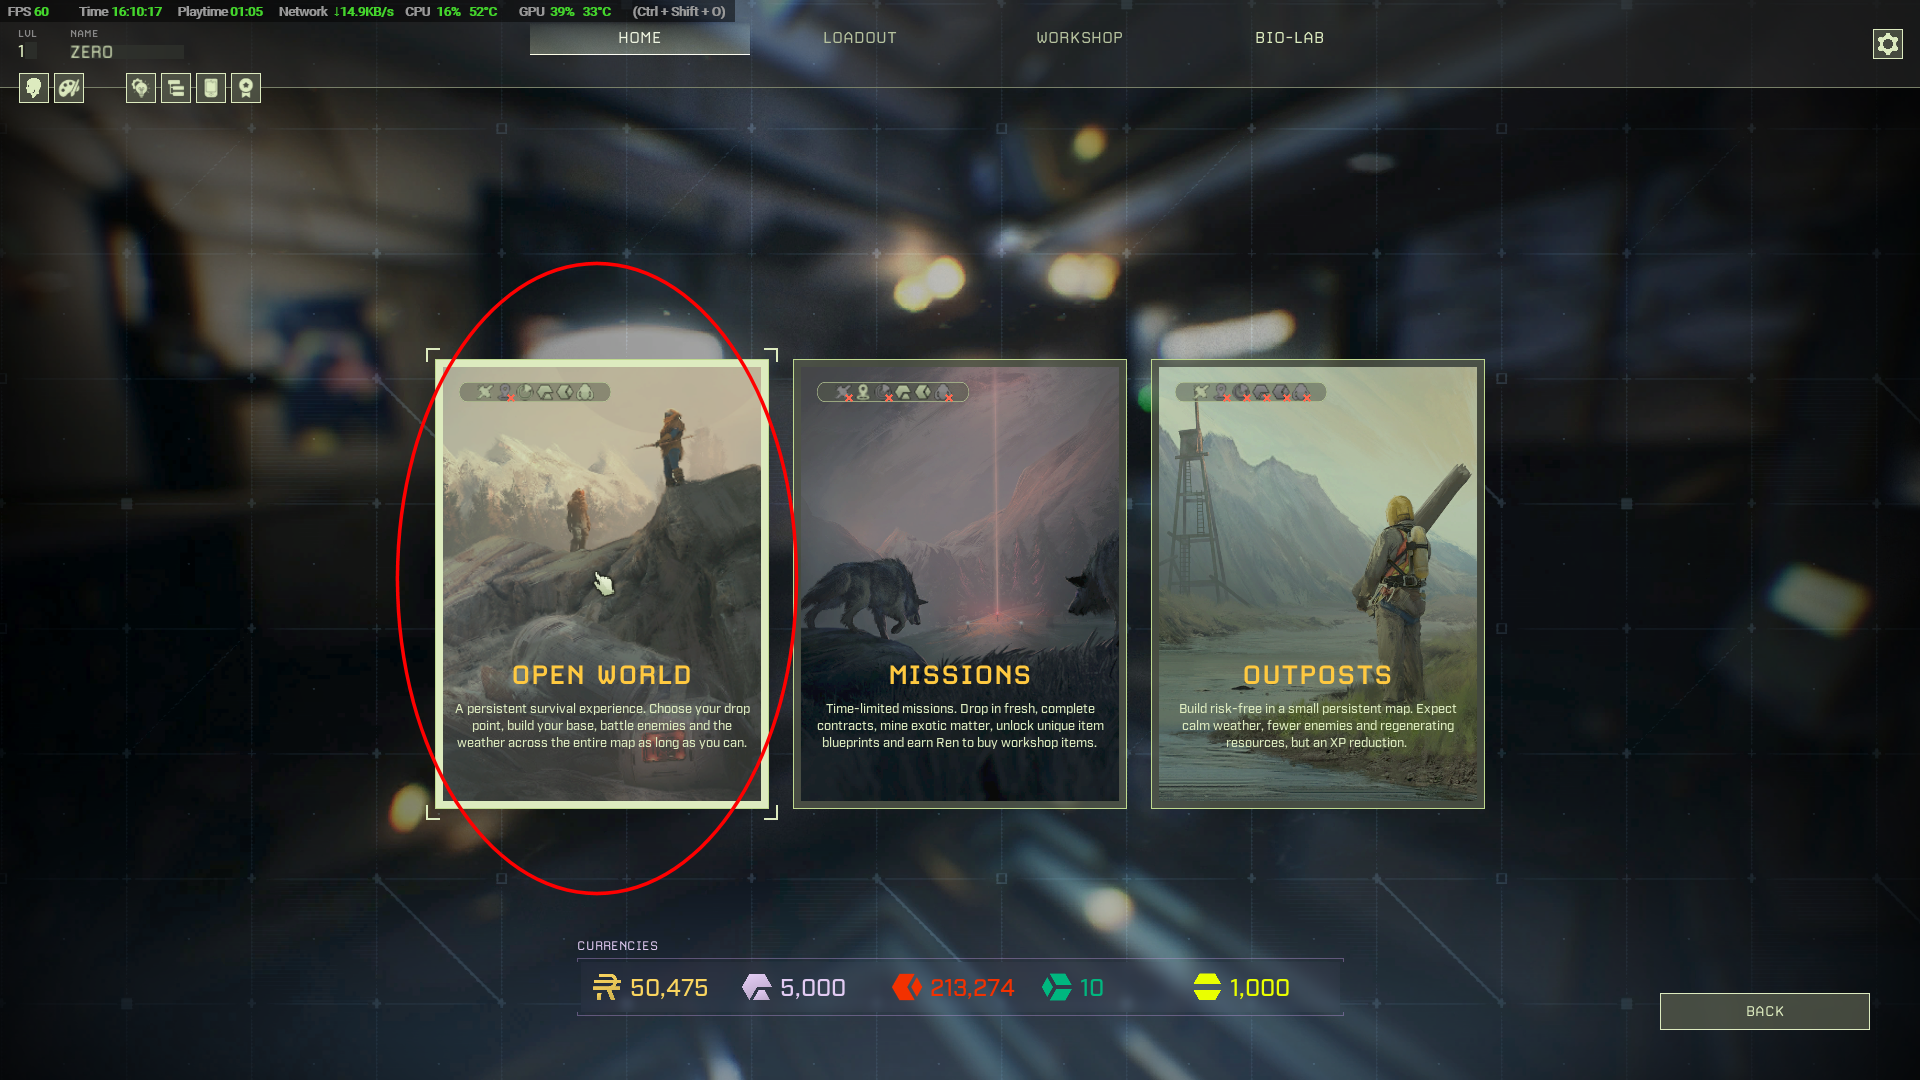
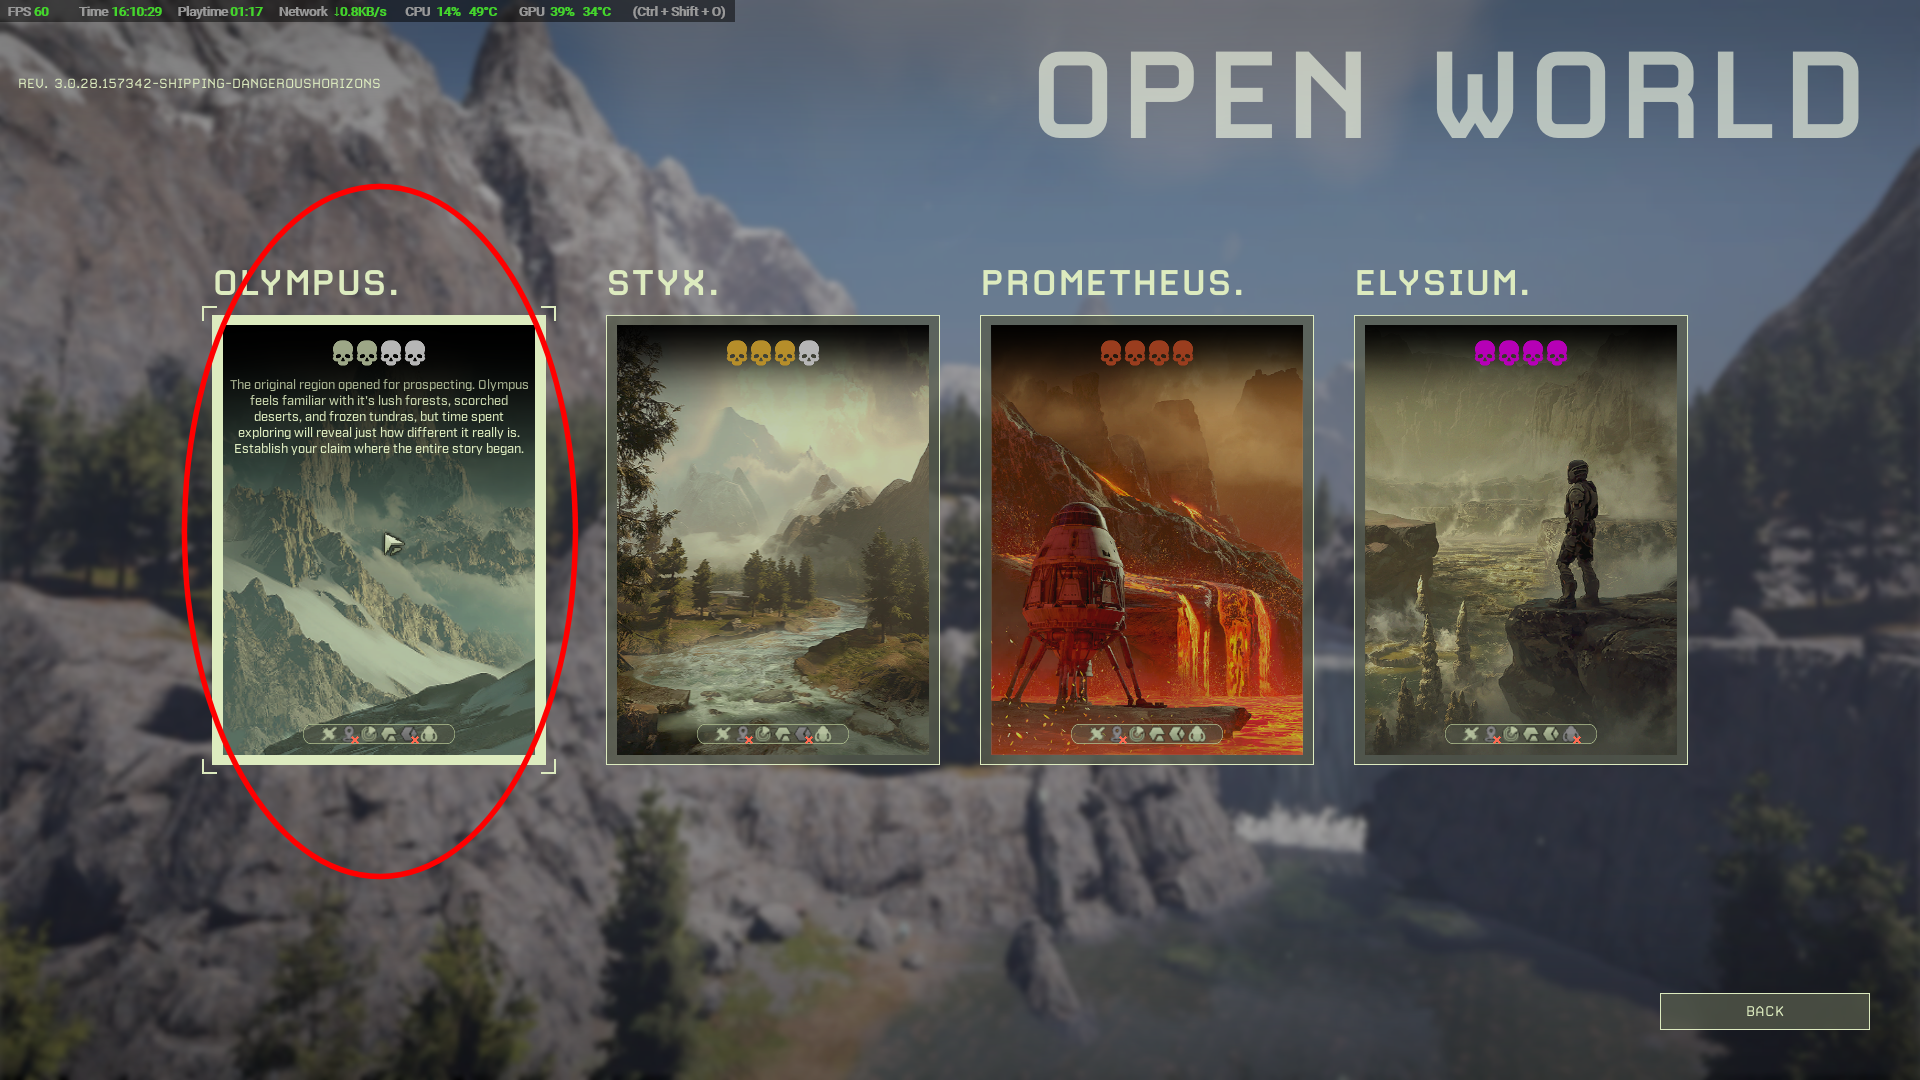
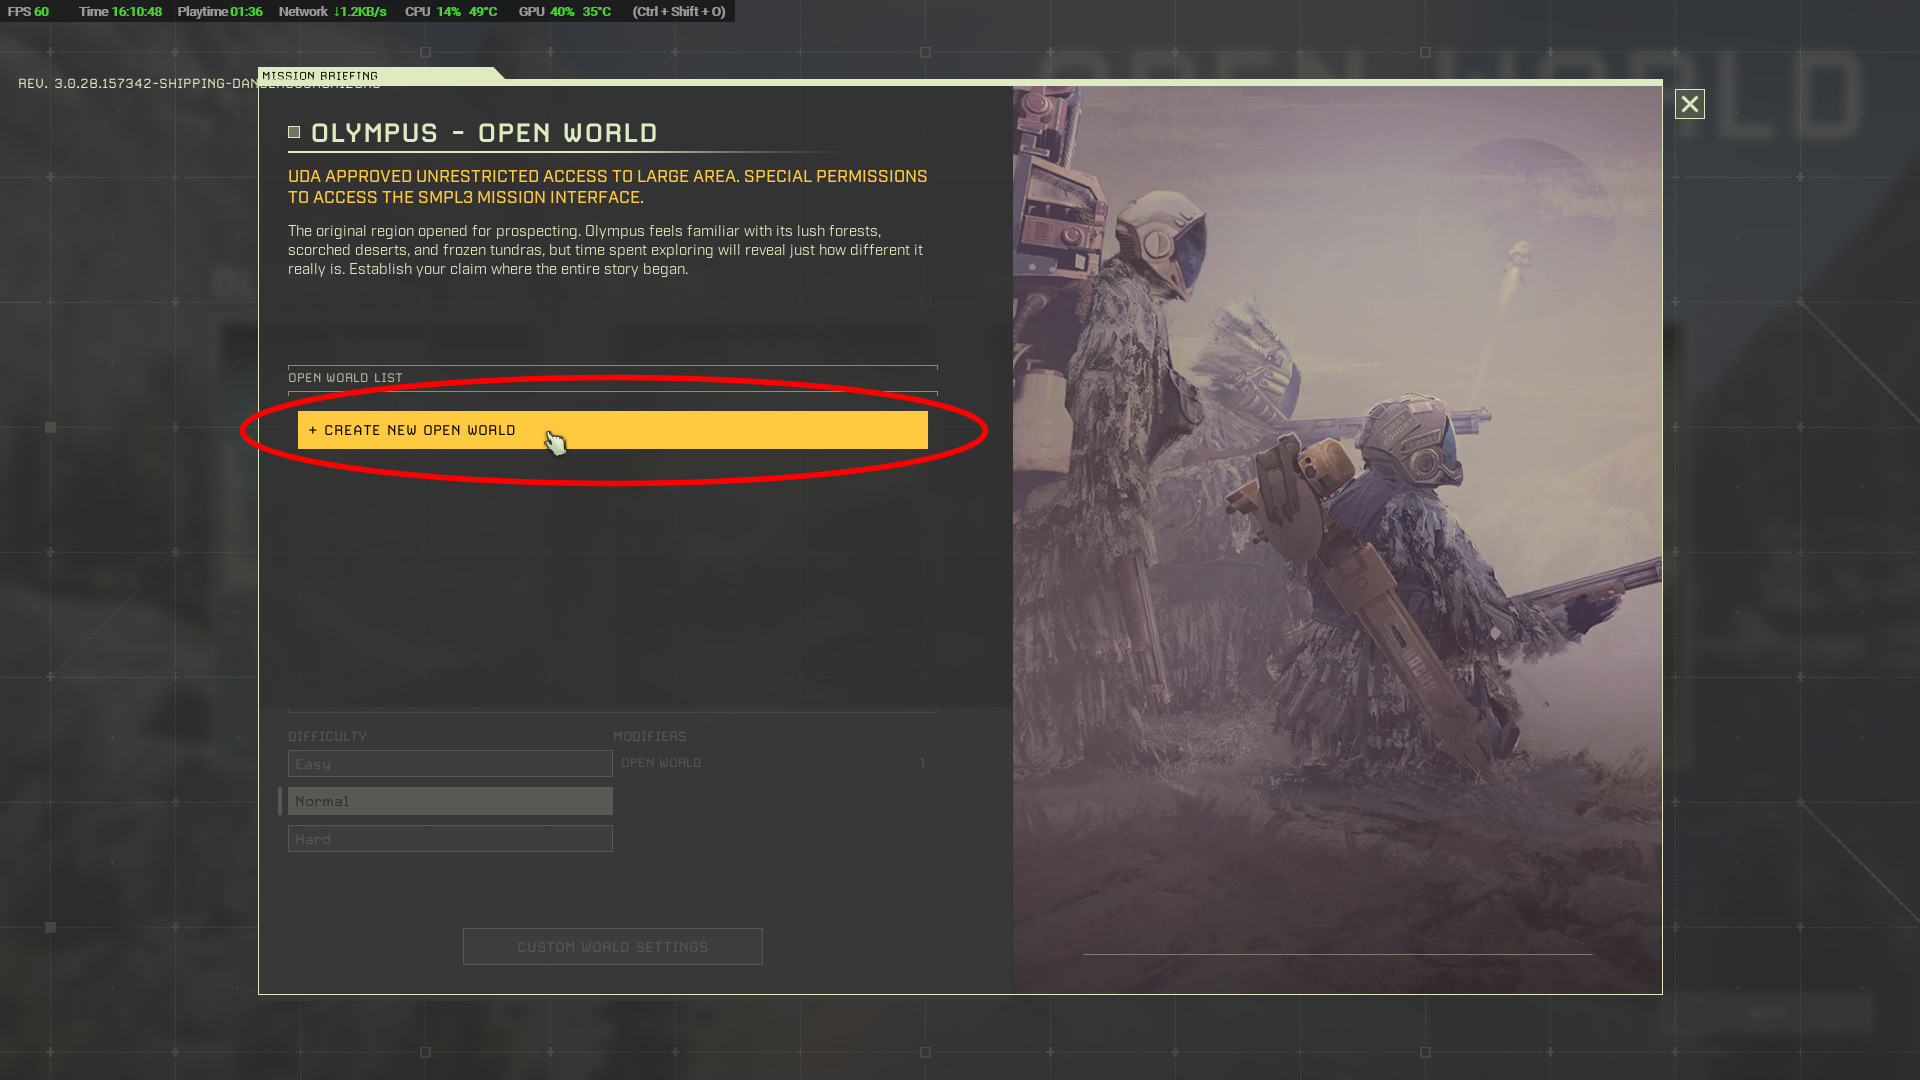
Next steps click through on each highlighted area:

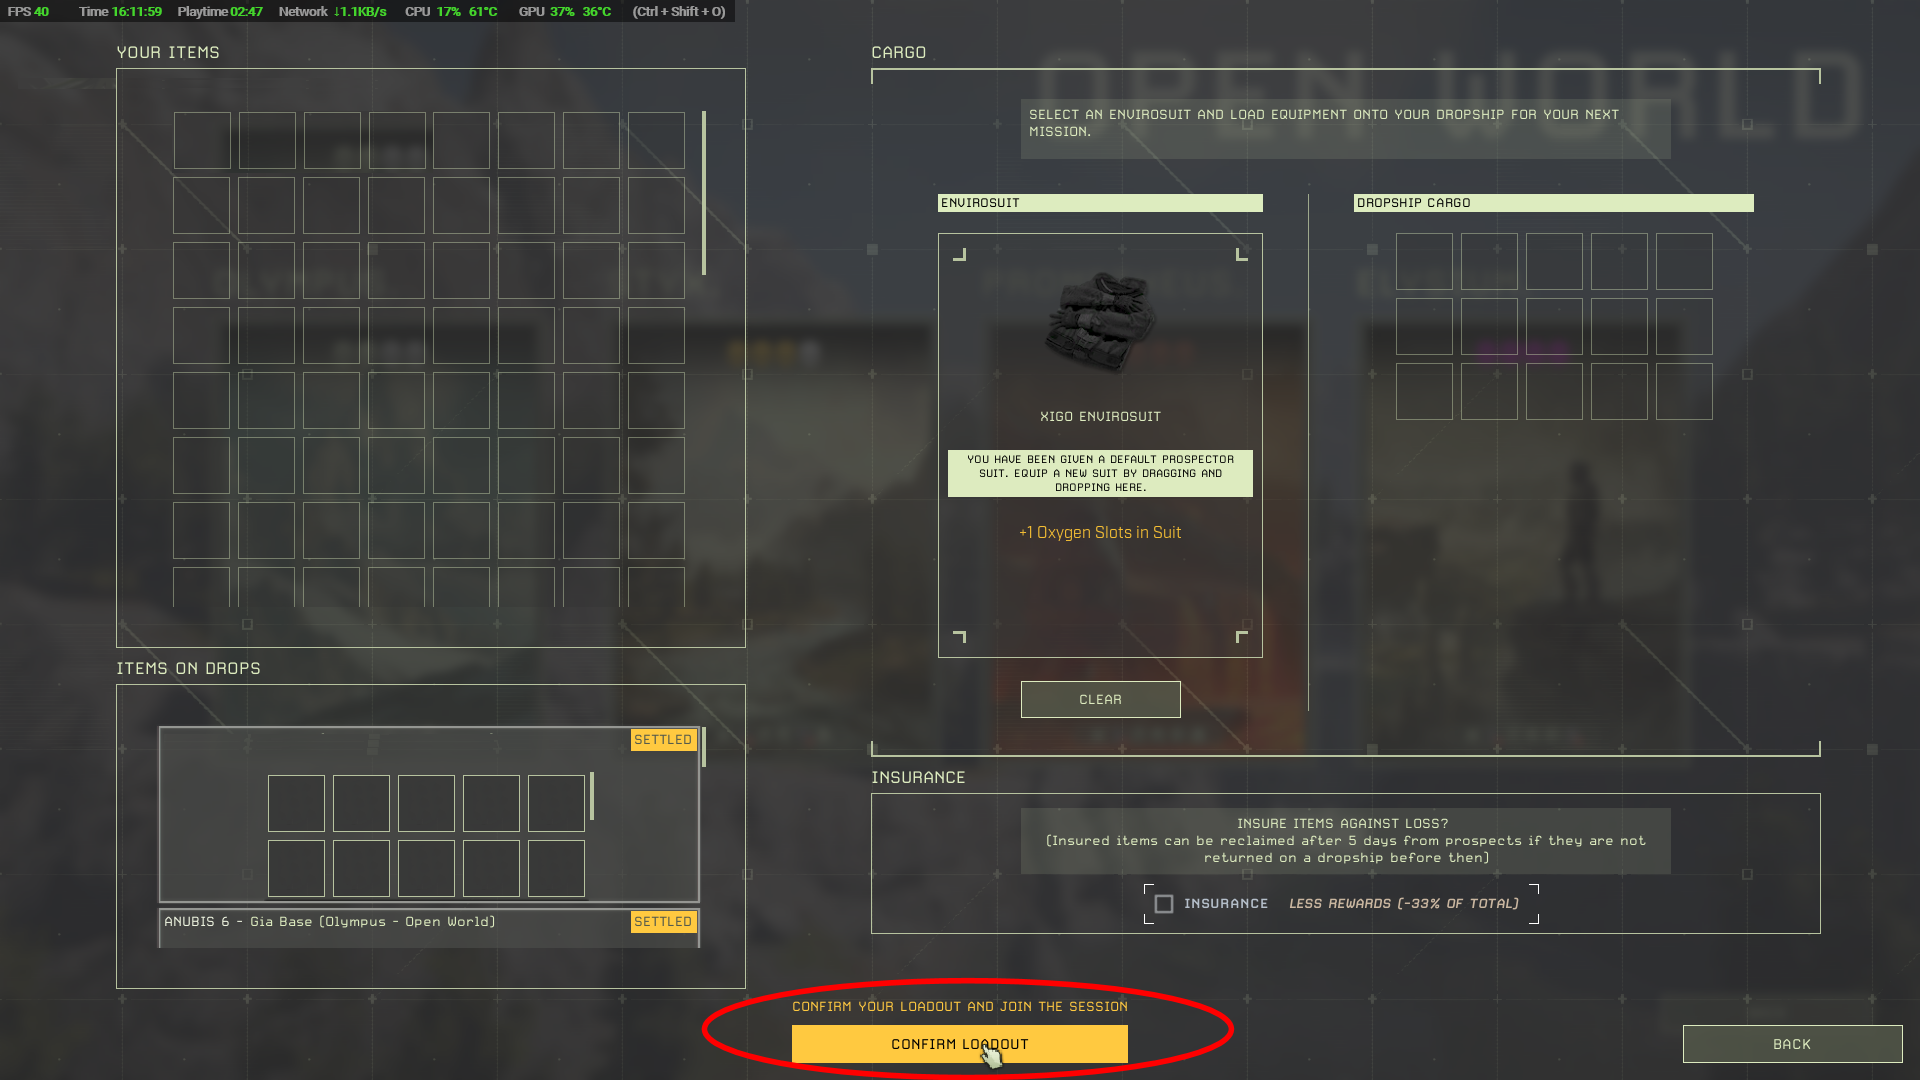
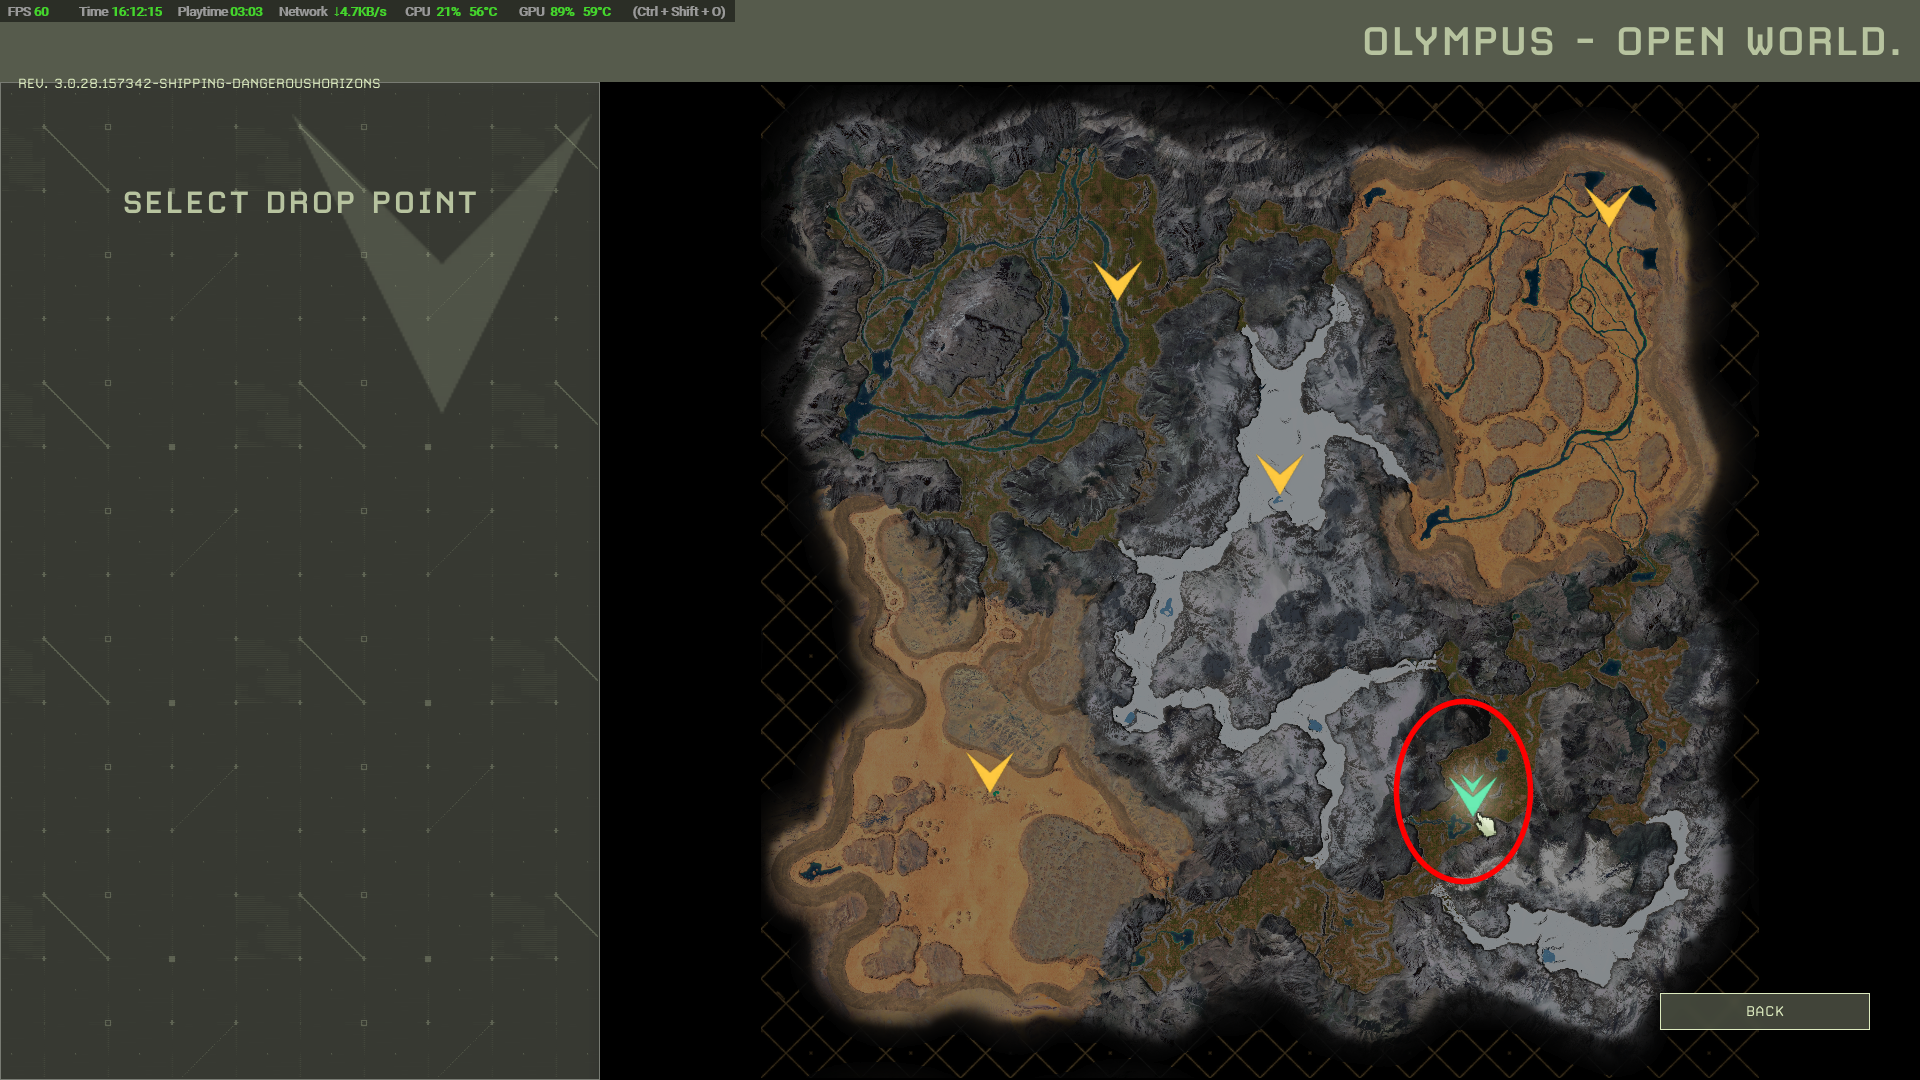
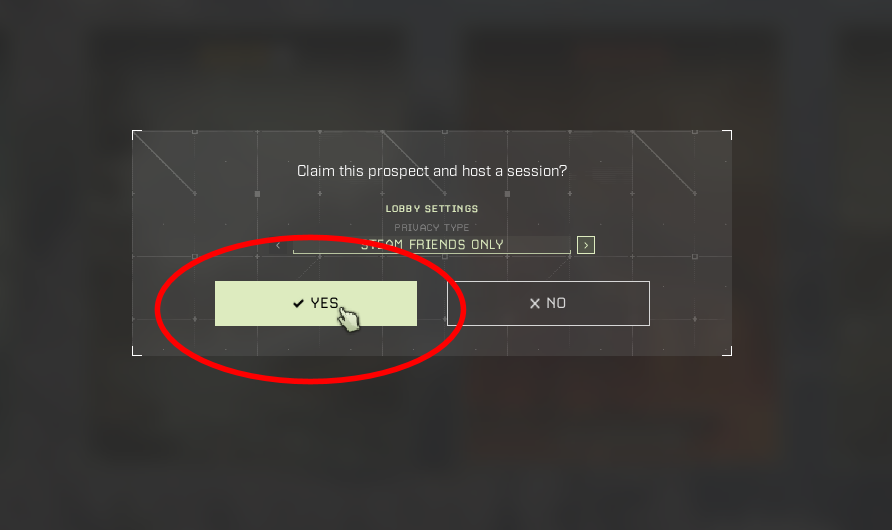
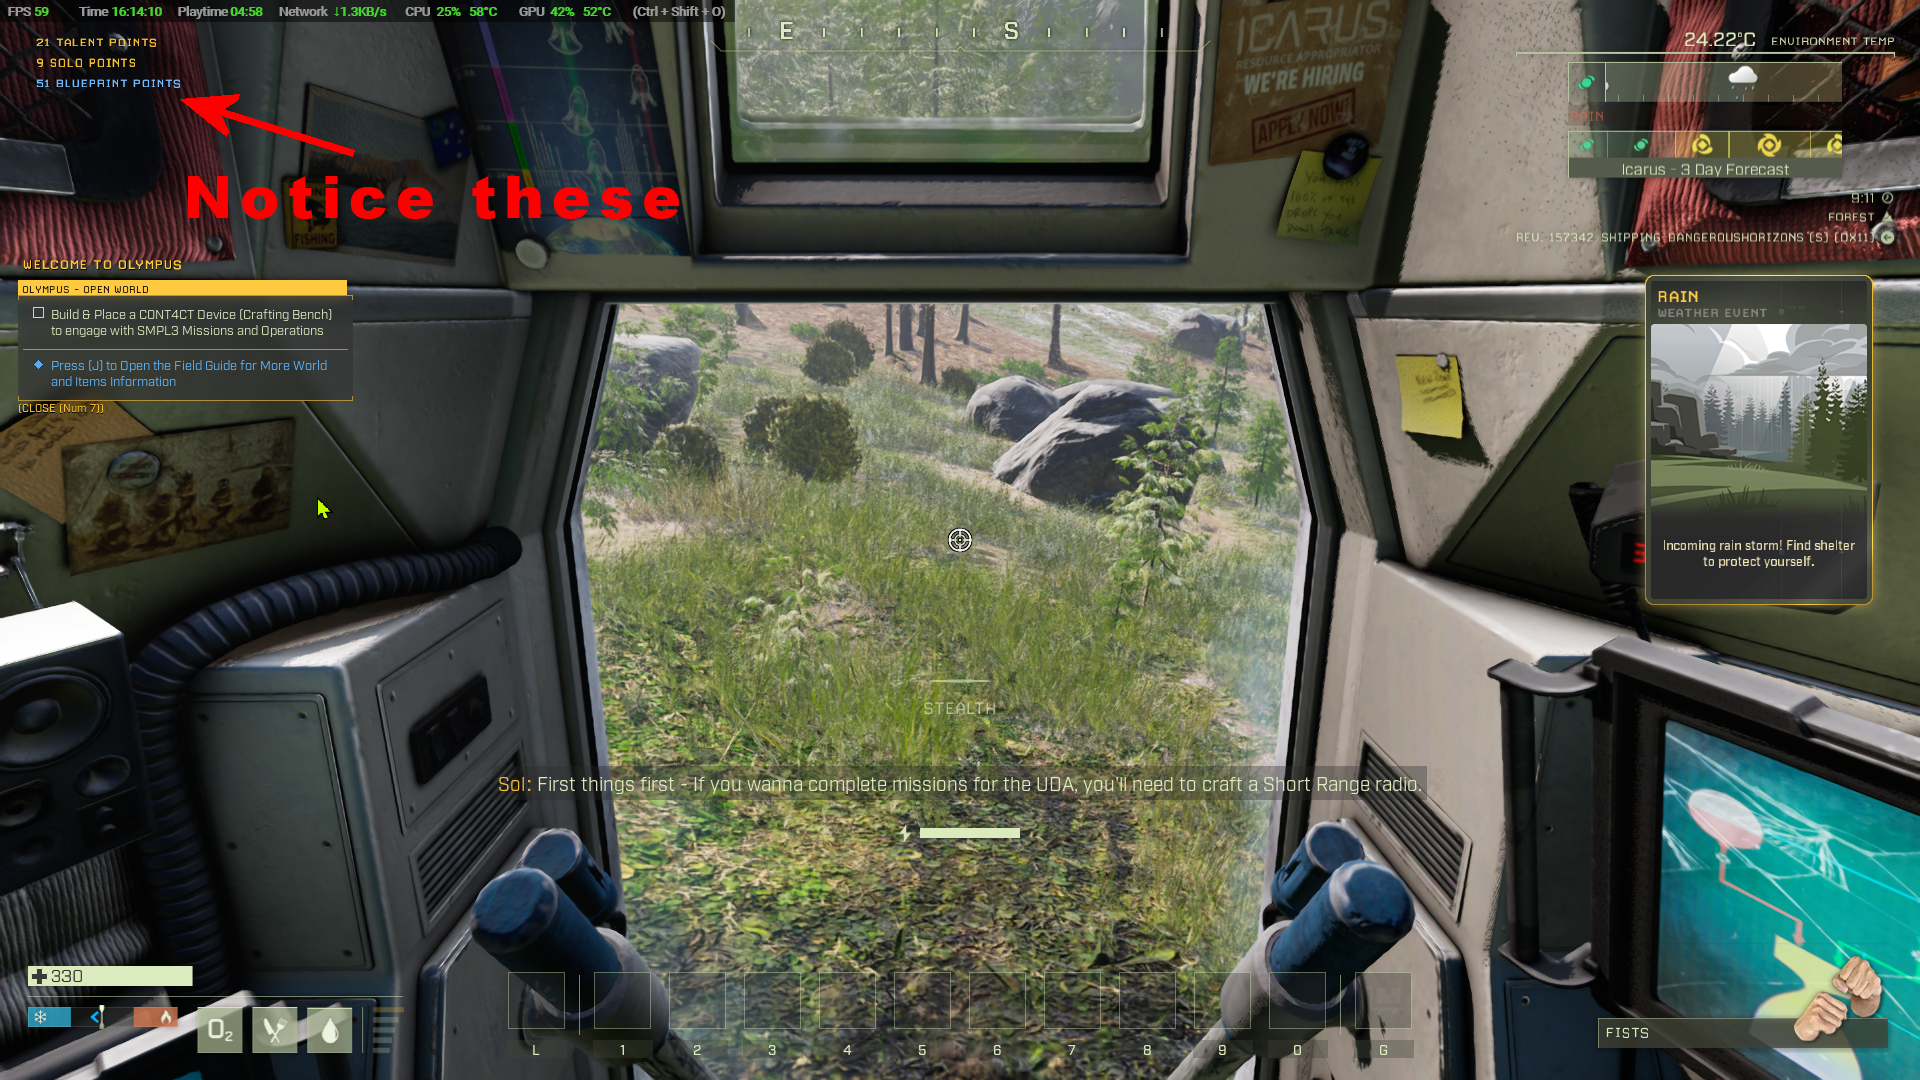
No matter what that voice says your first task is not to make a Contact Device but to get yourself safely to the canyon from the Spelunking mission where we'll set up a base.
An alternate story
I have to admit that being dropped onto an alternate and hostile Earth—like planet, Icarus, with no food, water, air supply, tools or weapons would NOT appeal to me.
As a child though I read voraciously books where people were placed in similar situations:
- Swiss Family Robinson - Johann David Wyss
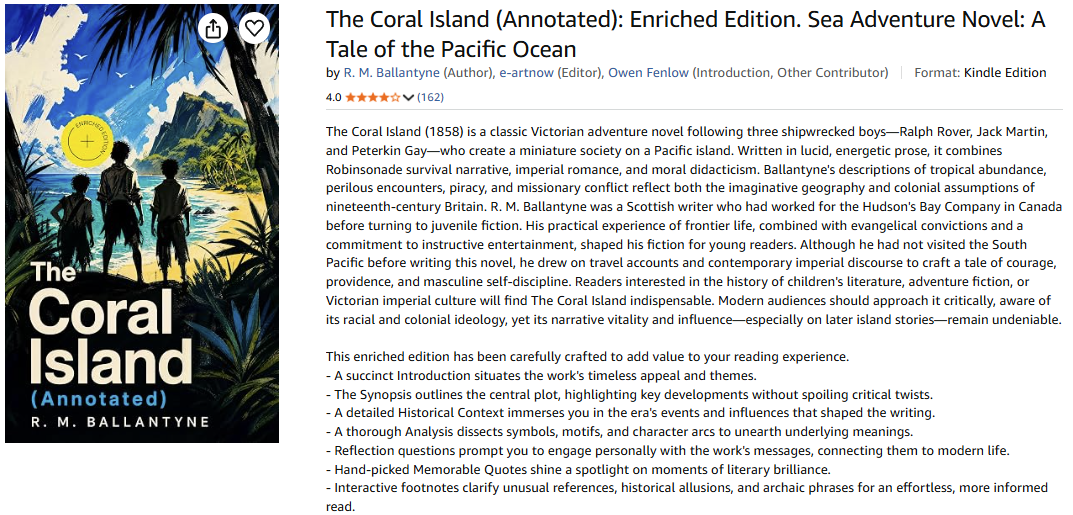
- The Coral Island - R.M. Ballantyne
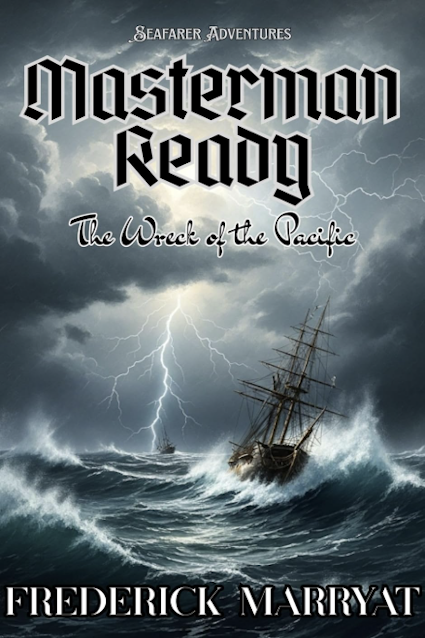
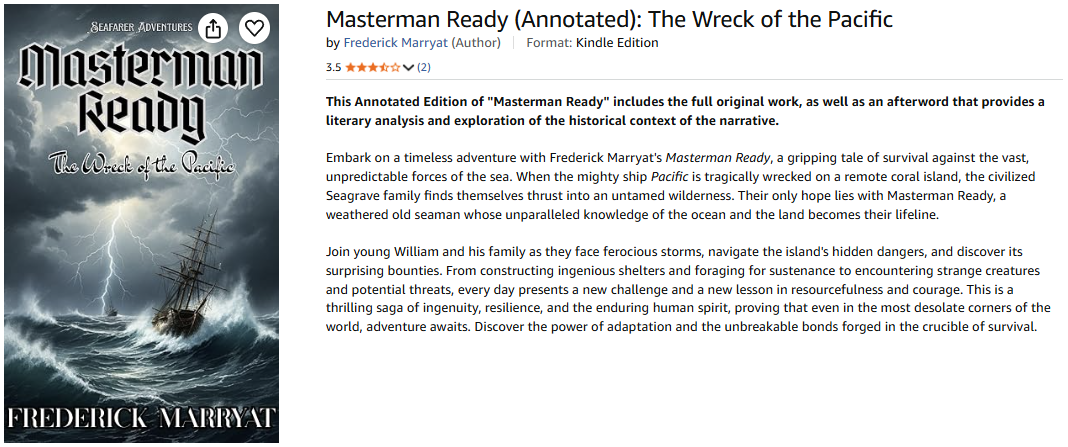
- Masterman Ready - Frederick Marryat
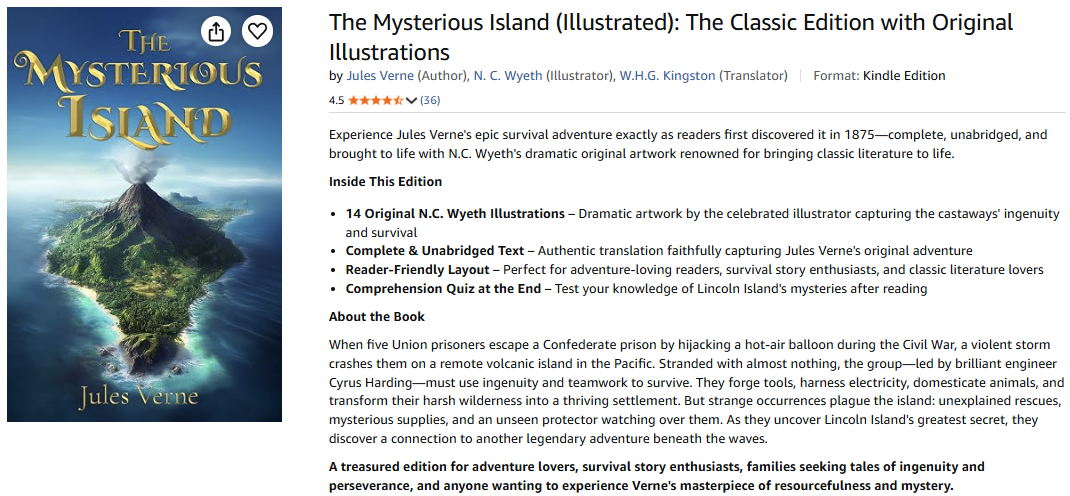
- The Mysterious Island - Jules Verne
All of these books are available at Project Gutenberg free, but if you want a complete collection of the works of Jules Verne, containing 'The Mysterious Island', the best source is Amazon even though it has some dreadful ebook formatting and poor images. (Maybe a project for me in the future?)




Collecting Resources and Getting to the Canyon
Zero starts at level zero and has no blueprint points and no talent points. The chances are that you, having done two missions will be a higher level and have more blueprint, talent and solo points. Zero needs to quickly get to level 1 by collecting fiber, sticks and stones, making an axe to cut trees and a pickaxe to break stone. By the time Zero had done this he was at level 1 and able to spend the 4 blueprint points, they were immediately spent on opening the blueprints for a stone knife, a rag torch, a campfire and a bone sickle.
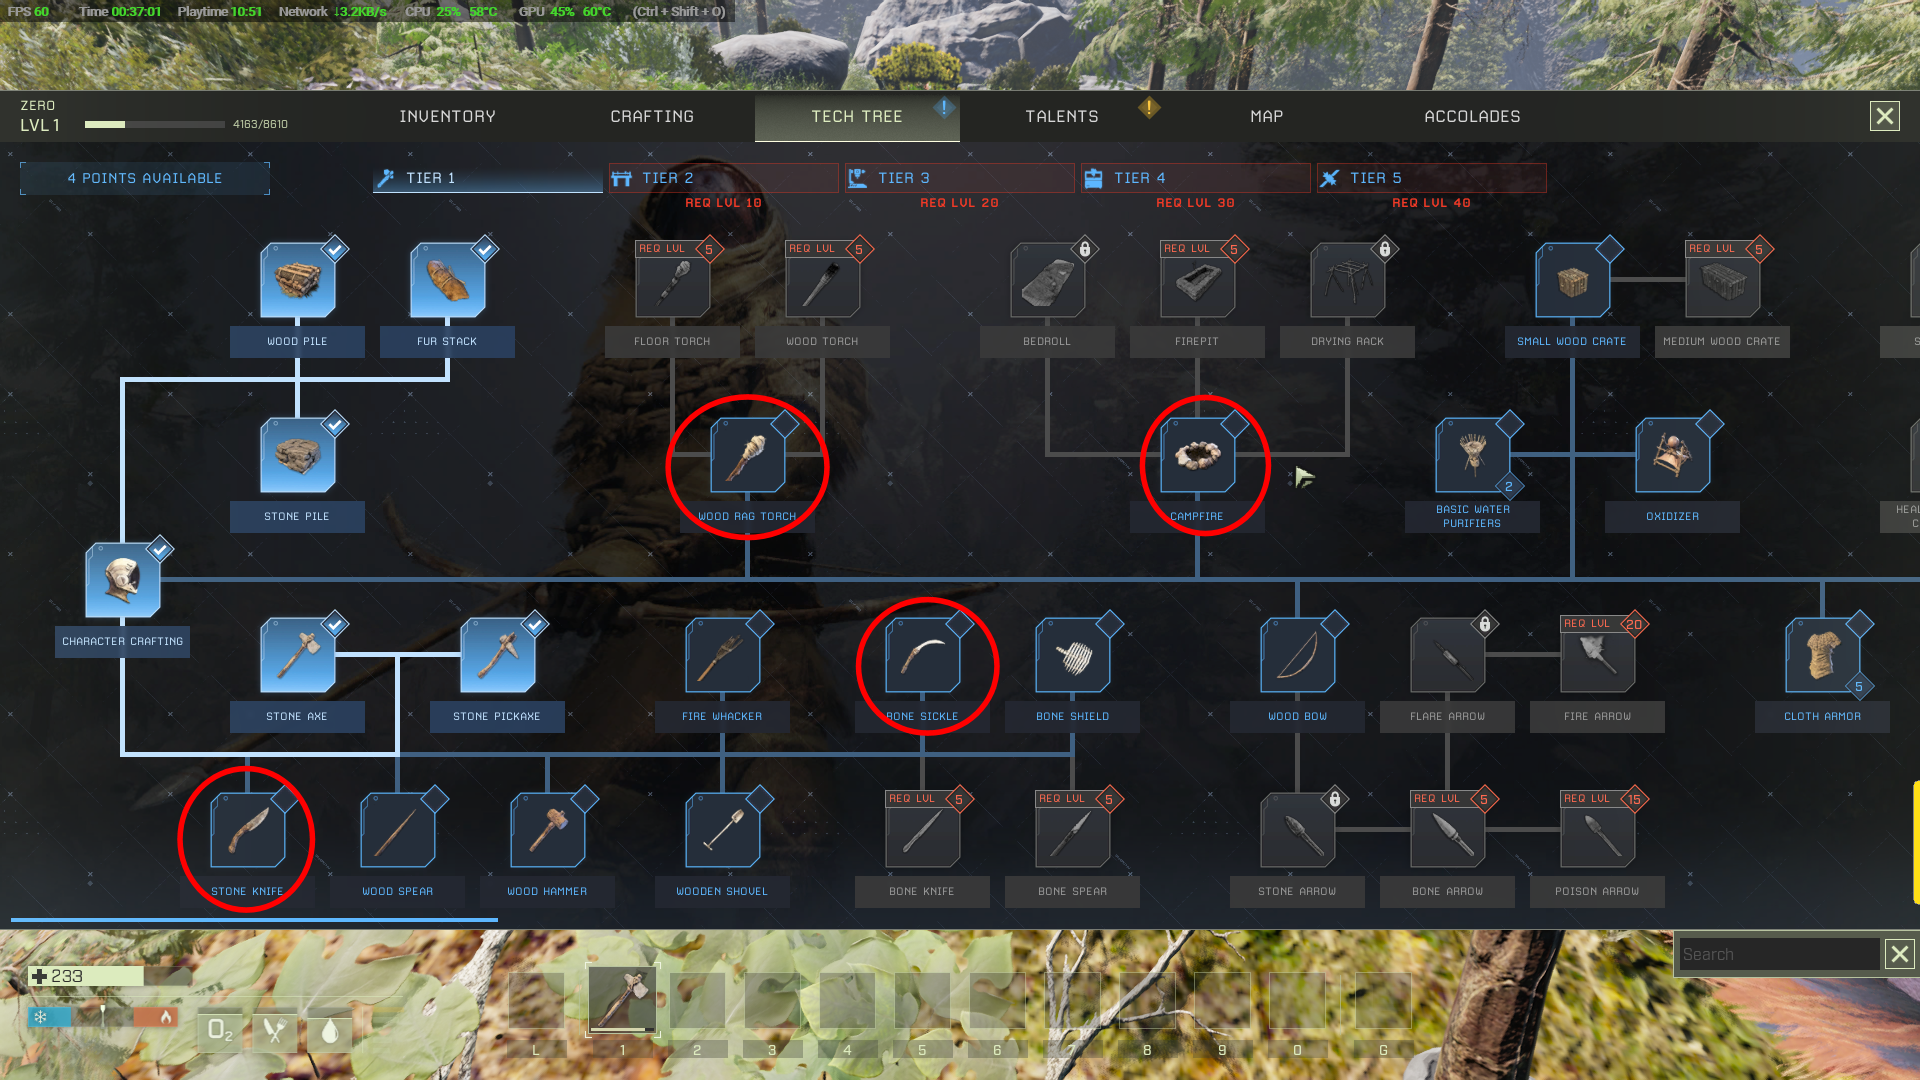
That knife is essential for defense, make it first. You won't be able to make the bone sickle until you have killed some animals since it needs 20 bone and 2 leather. Once you are able to defend yourself you need to find out where you are and where you are going. The chances are you'll arrive somewhere near that triangular lake.
Here's the view from where Zero landed. You can just see the lake:
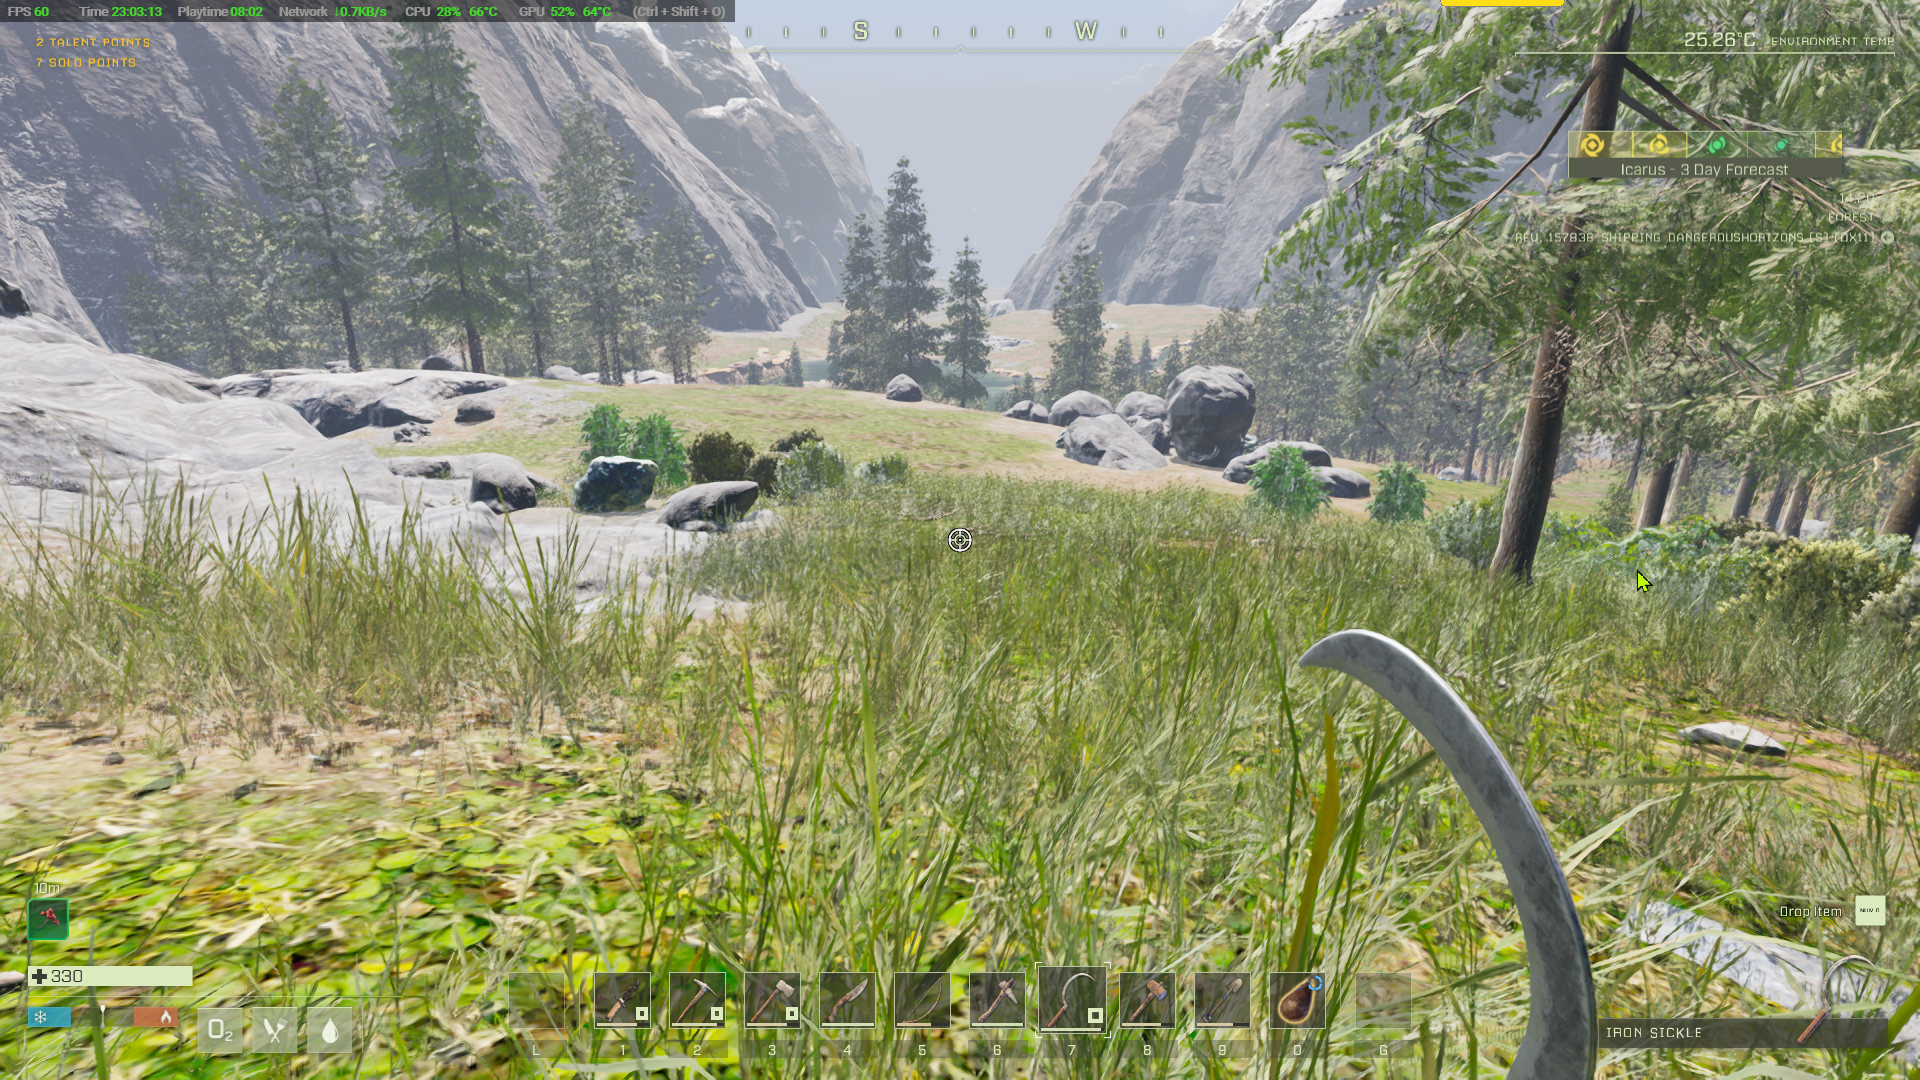
As you can see there's some steep drops to the lake. Beware of those cliffs because a broken leg at this point or sprained ankle will slow you down dramatically. You don't have the means yet to make a splint to cure these. Press M to find the best direction to avoid cliffs. Press it frequently as you head to your destination to adjust your course.

As you travel collect fibre - at least two blocks of 200, sticks - at least 100, stone - no more than 50, oxite - at least 100, berries, pumpkins, watermelons - very useful since they give food and water, corn - watch for any cobs which fall on the ground. Kill any wolves and terrenus you come across for bone, fur, leather and meat. By pressing Ctrl you can sneak up on rabbits and small deer and kill them too. As soon as you can, make that bone sickle. Use it to gather berries, pumpkins and watermelons - you'll get more.
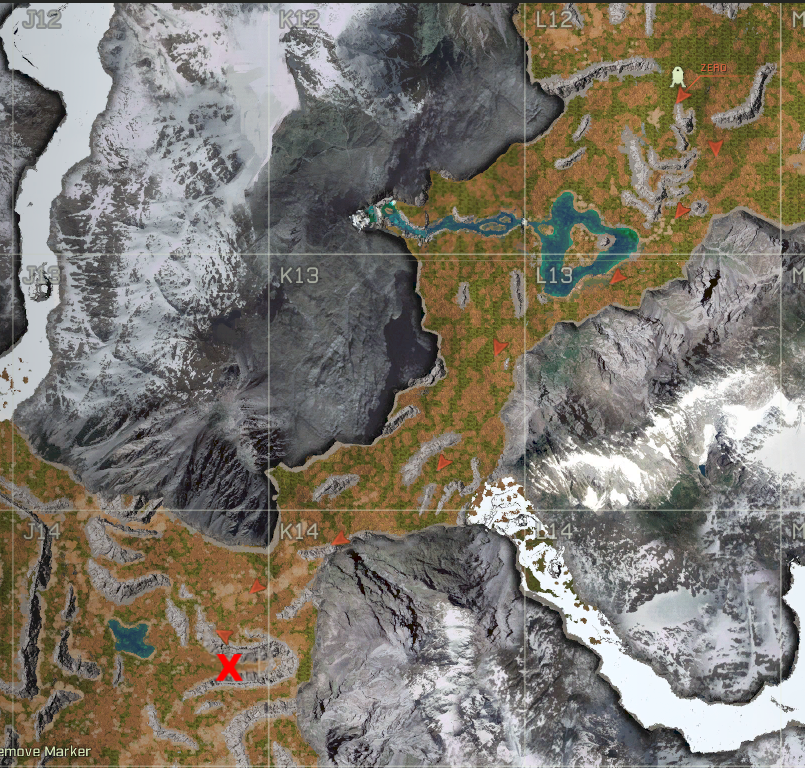
Collect
At least 400 fiber
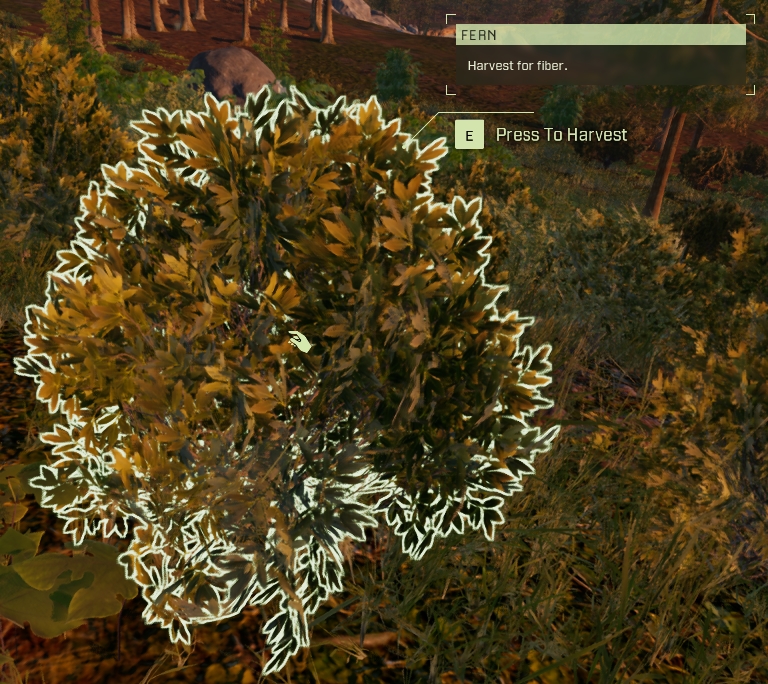
At least 100 sticks
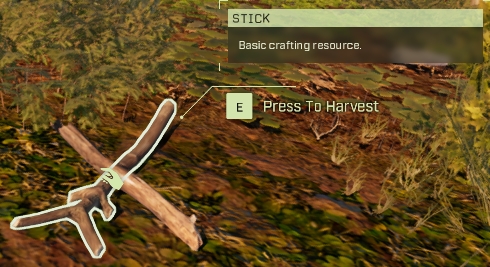
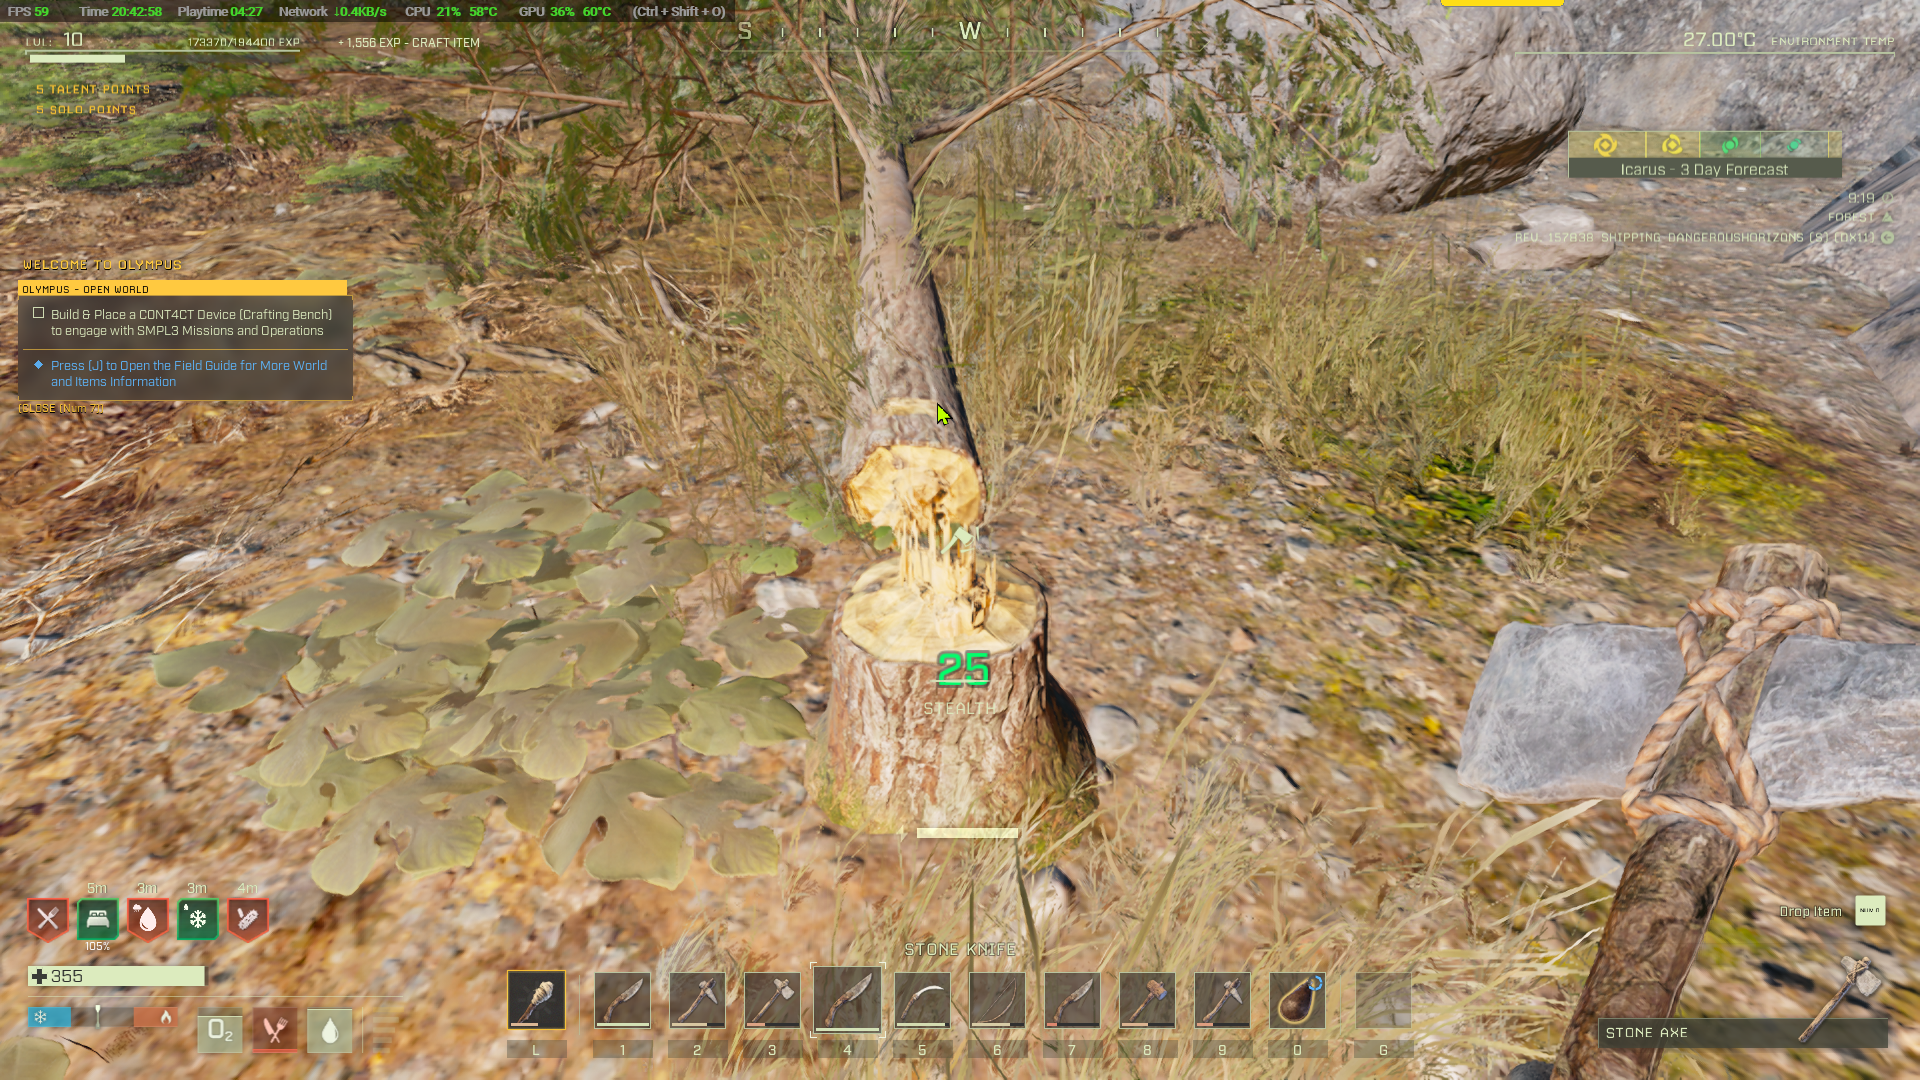
At least 100 wood
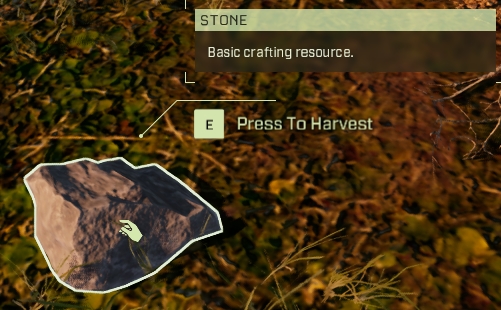
At least 30 stone
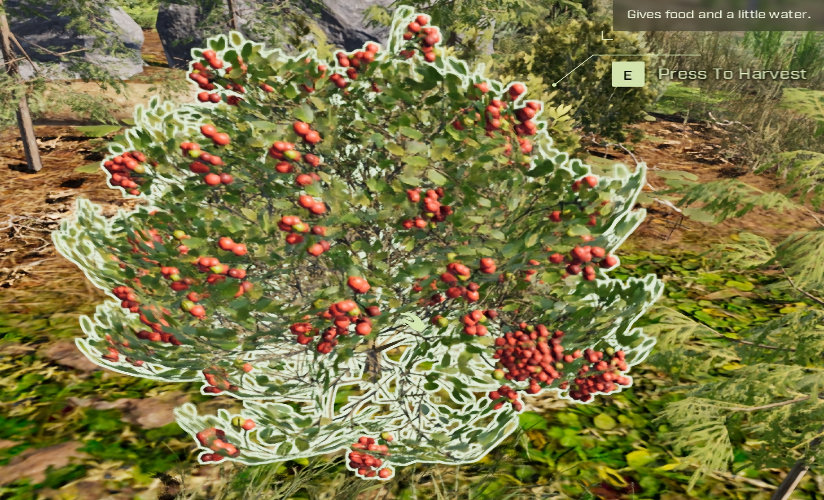
Collect berries, soy beans, pumpkins and water melons.
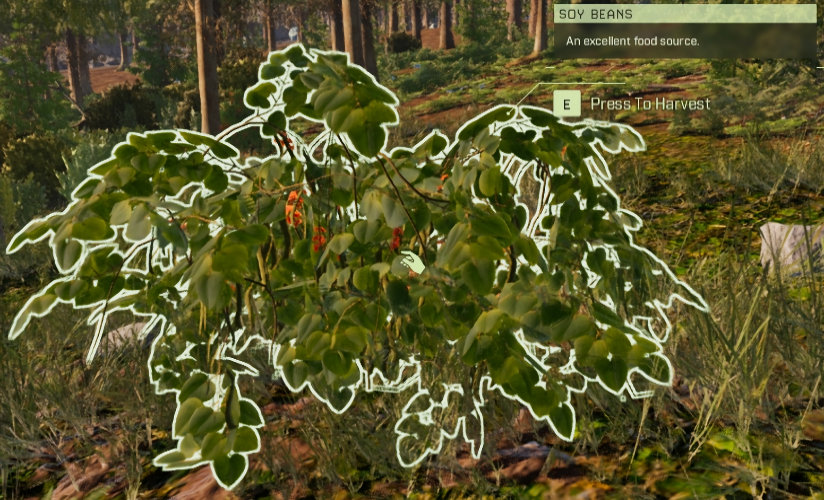
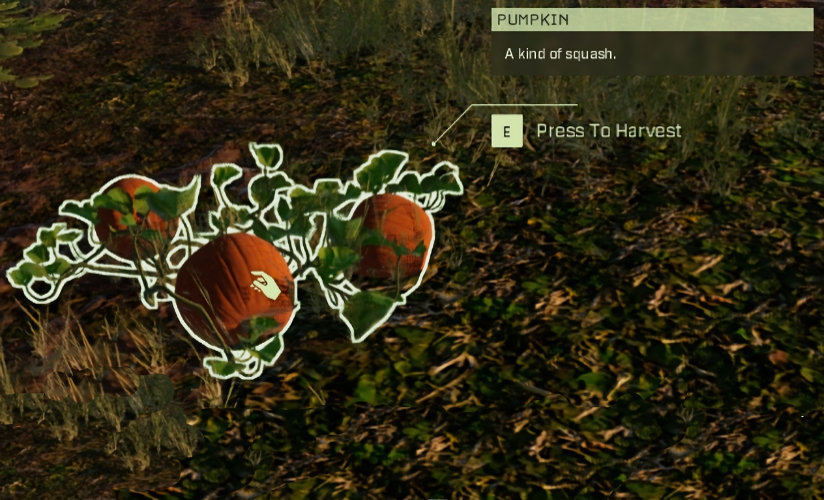
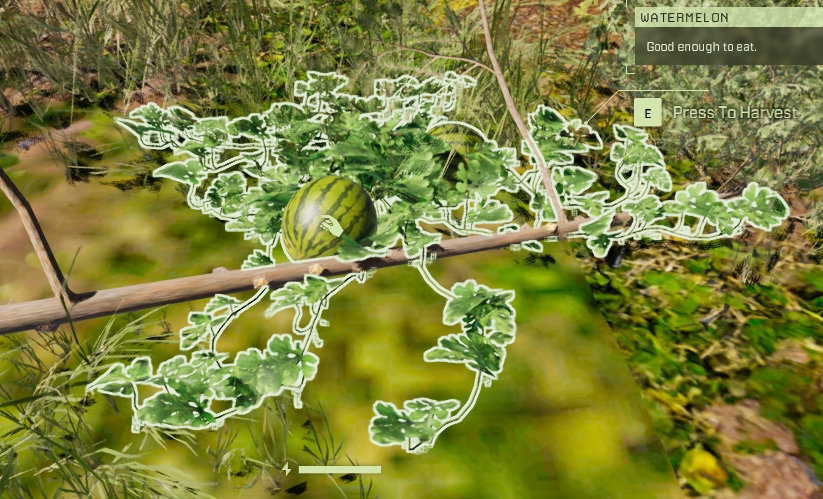
Talking of water…
Do you drink enough water?
'They' say we should drink 8 glasses a day - about 3 litres. Expensive if you buy bottled water and unpleasant if it's chlorinated and fluoridated mains water. The answer is to install a reverse osmosis water filter which removes chlorine, fluorides, bacteria, heavy metals, pesticides and herbicides. Expensive to install initially but saves you a fortune in the long run. And the water tastes great!
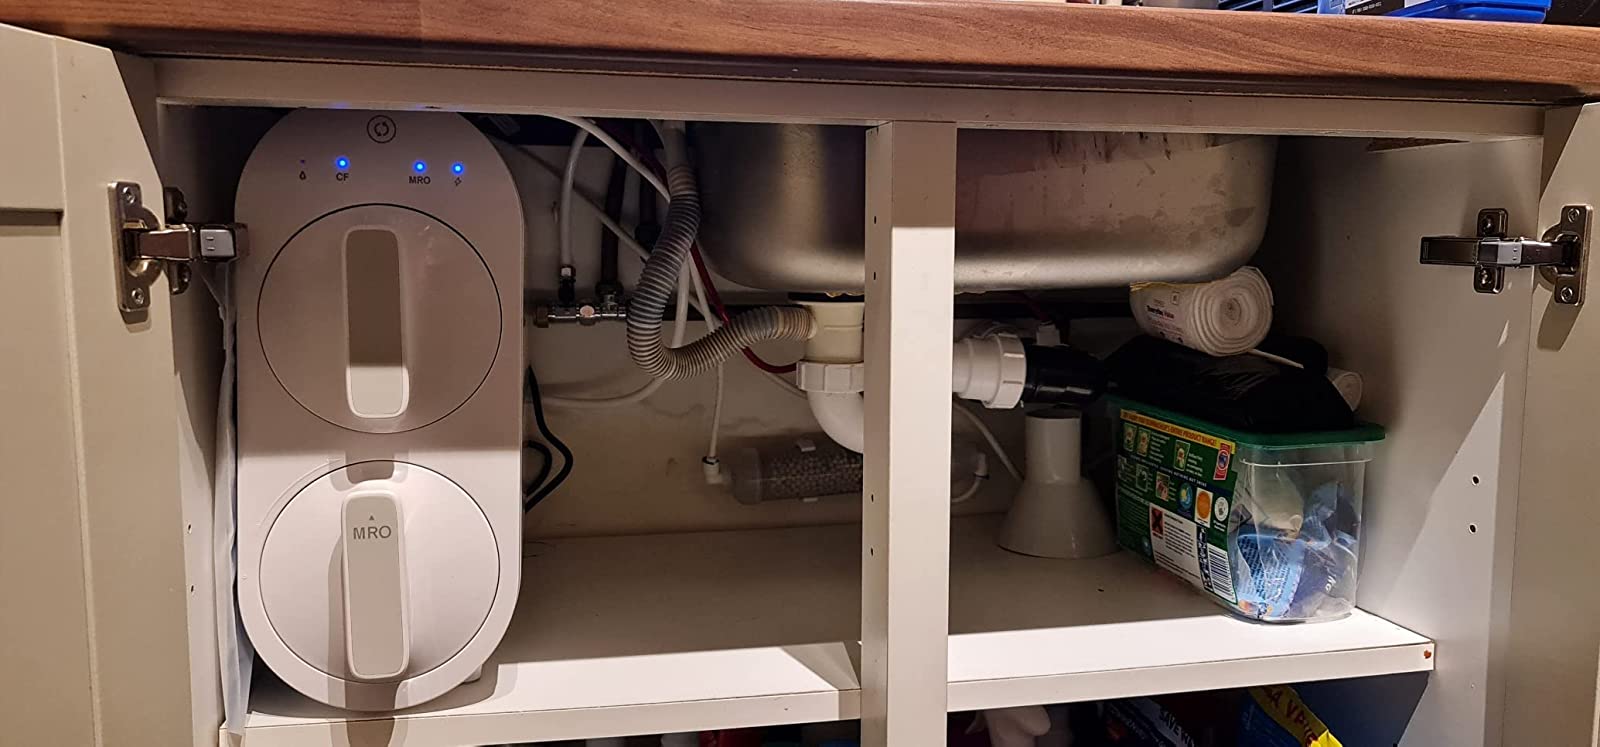
Personally I like the Waterdrop Reverse Osmosis system. I've got one installed under my kitchen sink along with a re-mineralisation kit because the reverse osmosis takes the good calcium and magnesium minerals out too. We use this for cooking, drinking, the pet's water (and we water our houseplants with it too).
The Waterdrop reverse osmosis kit installed under my kitchen sink.
At the Canyon
By the time I got to the Canyon I had gather more than enough fur and leather to make a sleeping bag and it was starting to get dark. I made the bedroll (Fiber 20, Fur 20, Stick 10, Leather 10). A bedroll needs shelter and I didn't have enough time to unlock the things to make it so I broke my way into the South cave and placed it and a fire just inside the entrance. Warning - don't be tempted to go further, you'll get killed. Add some fuel to the fire, sticks or wood, then press E and you'll sleep until 7:00am and it will be light again. Press E again to leave the bed (not Esc!).
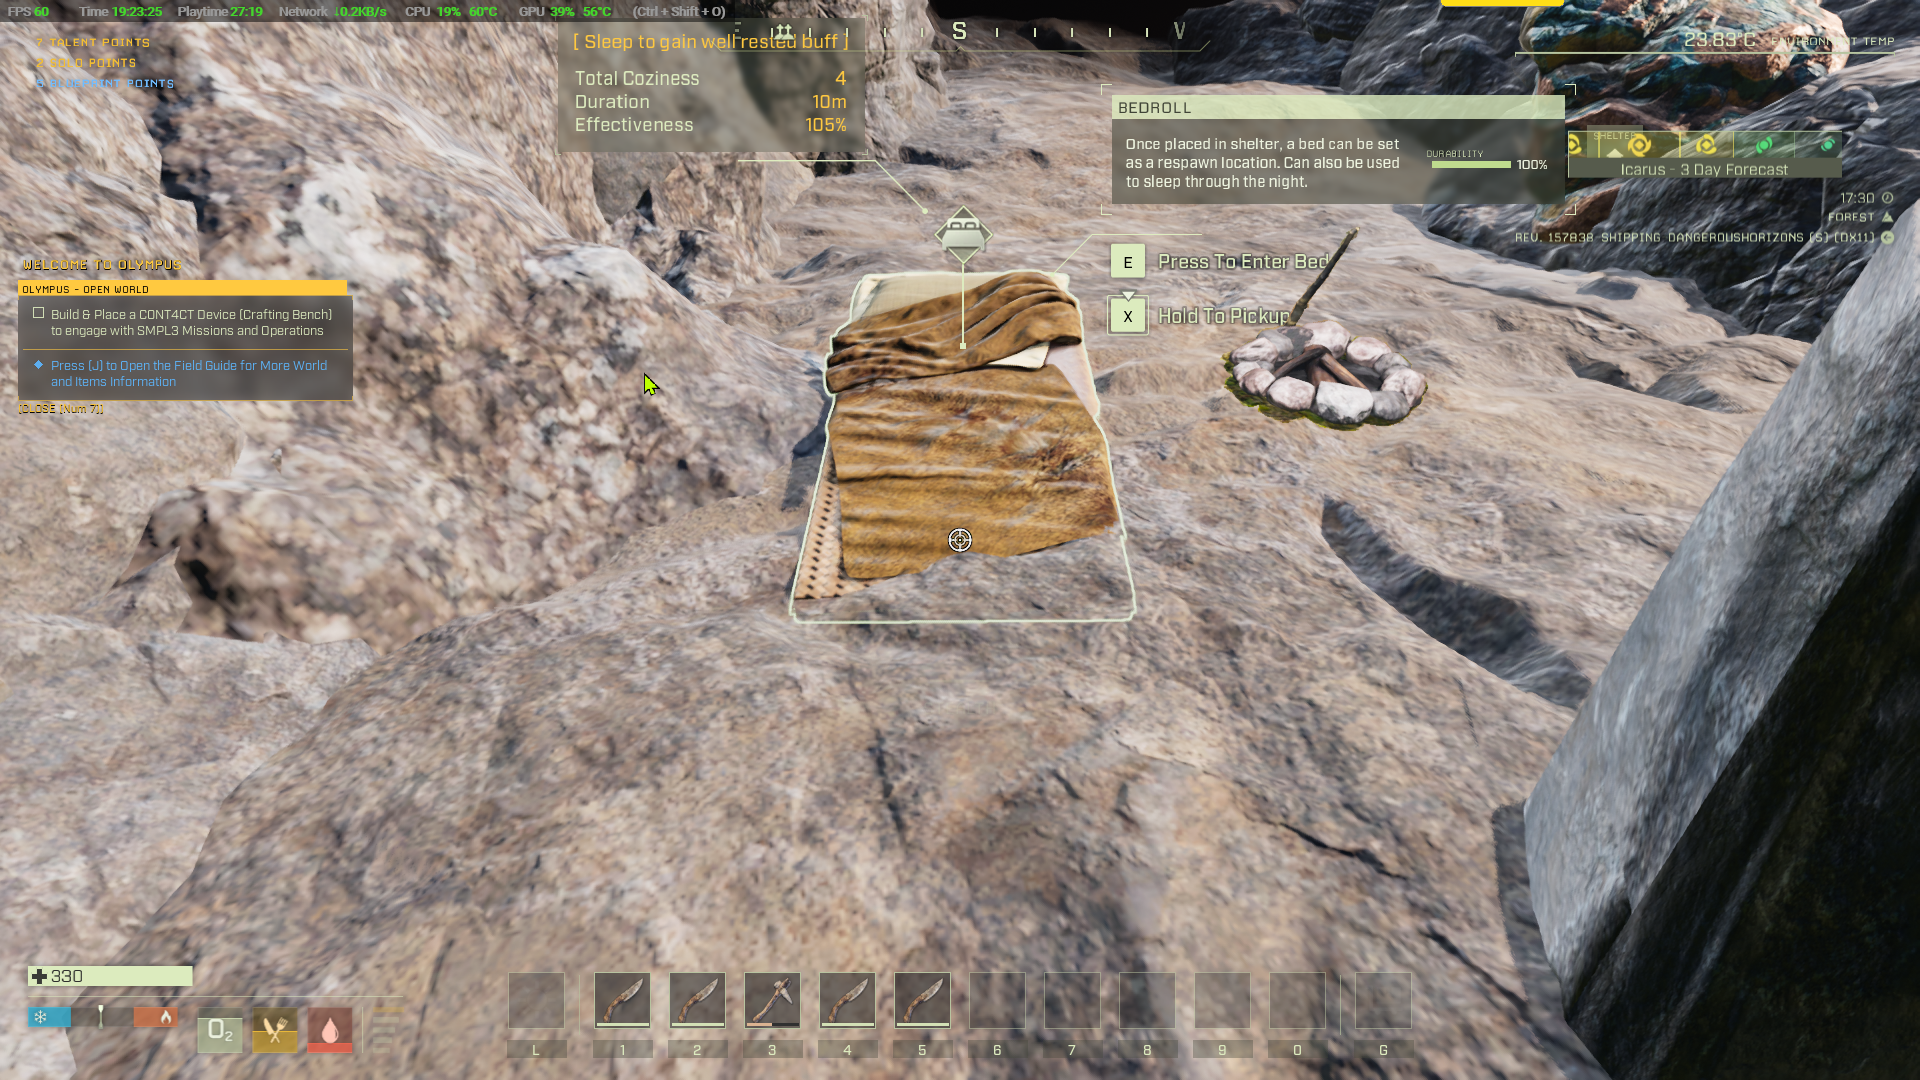
You can now leave the cave and start work on a shelter. This will become your main base and you will upgrade it in size and materials from wood to stone to concrete as you progress. For now start work felling trees at the closed end of the canyon and, if necessary, store them temporarily as stacks of 100 wood inside the cave entrance where they will be out of the way.
Once you have 300 wood and 110 fiber make 8 wood beams, 8 wood floors, 8 wood walls and a wood door to create a 2 by 2 wood shelter. Place it near the South cave entrance. The ground is slightly uneven here so place wood beams to support it all the way round.
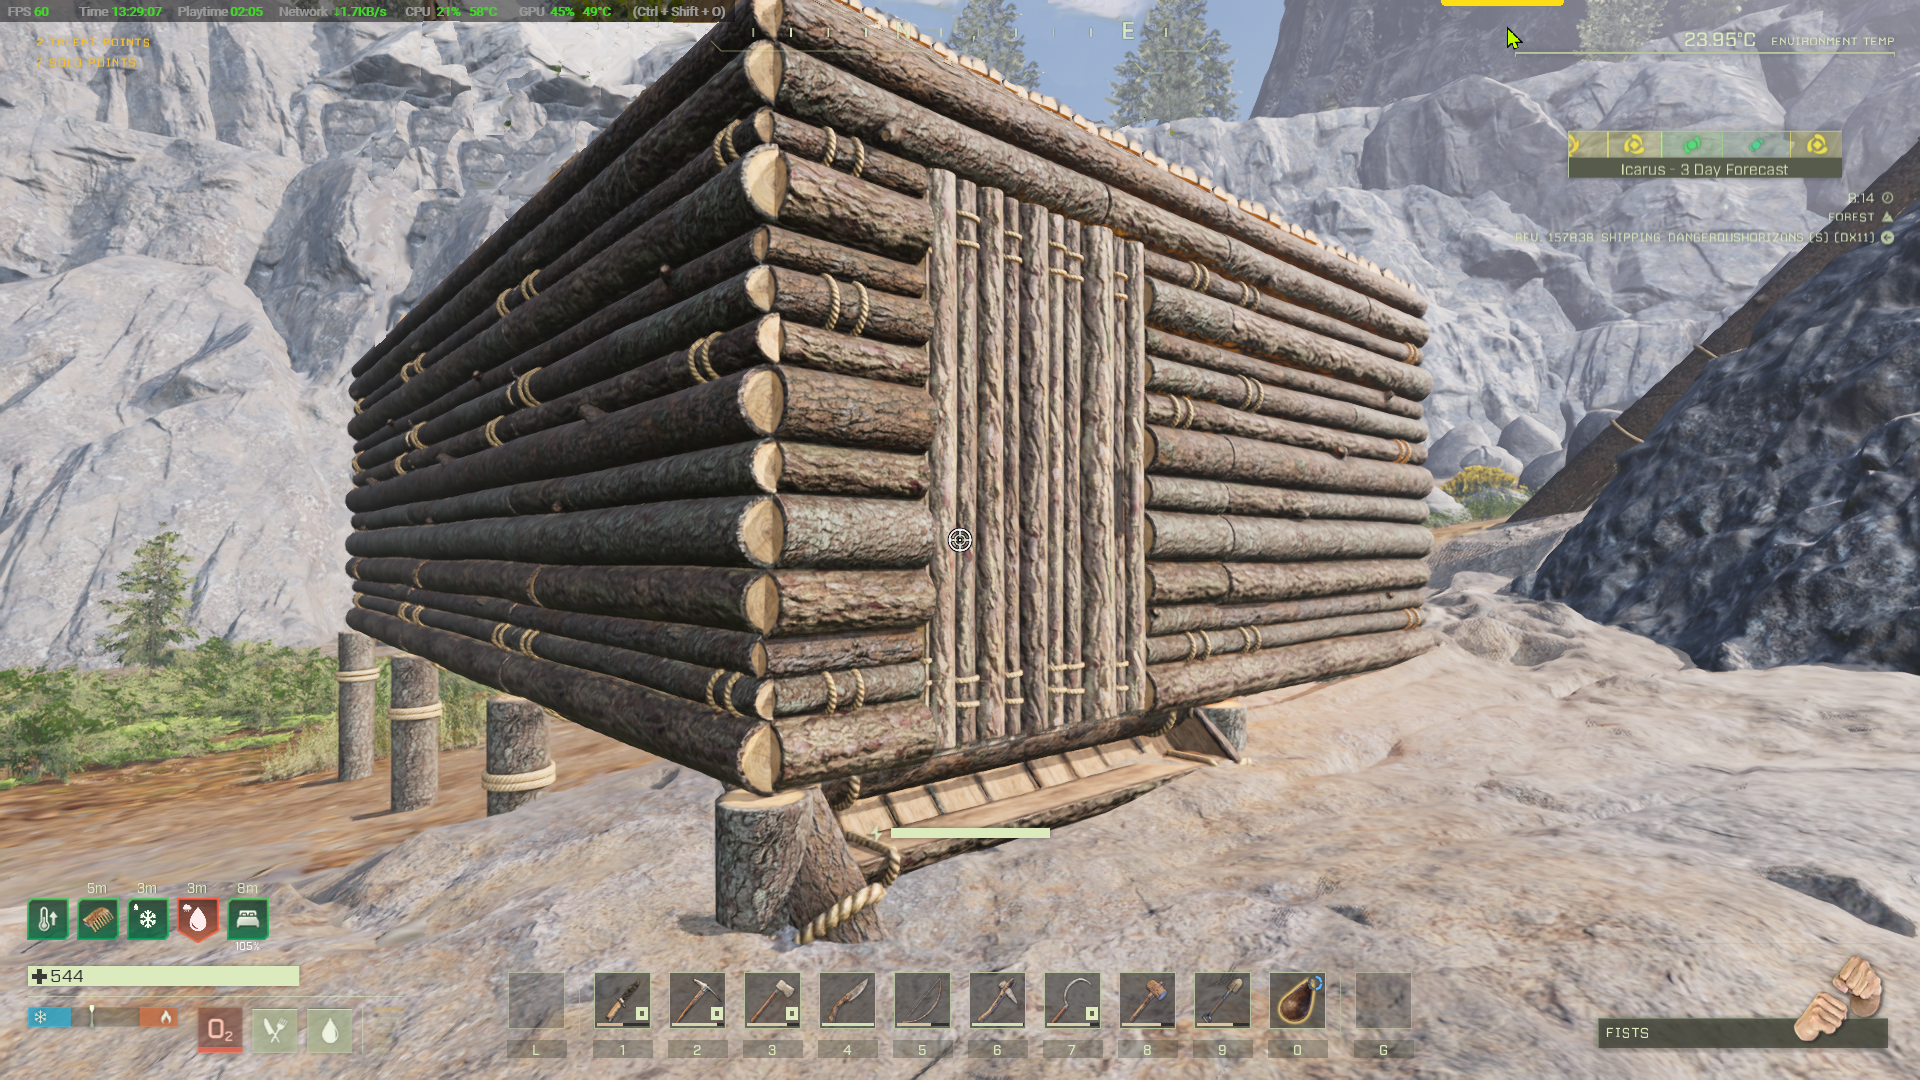
Don't put any windows in this first shelter. Predators would be able to see you through them and would destroy your building. Yes, a wolf in this game can tear down your wood, stone and concrete walls!
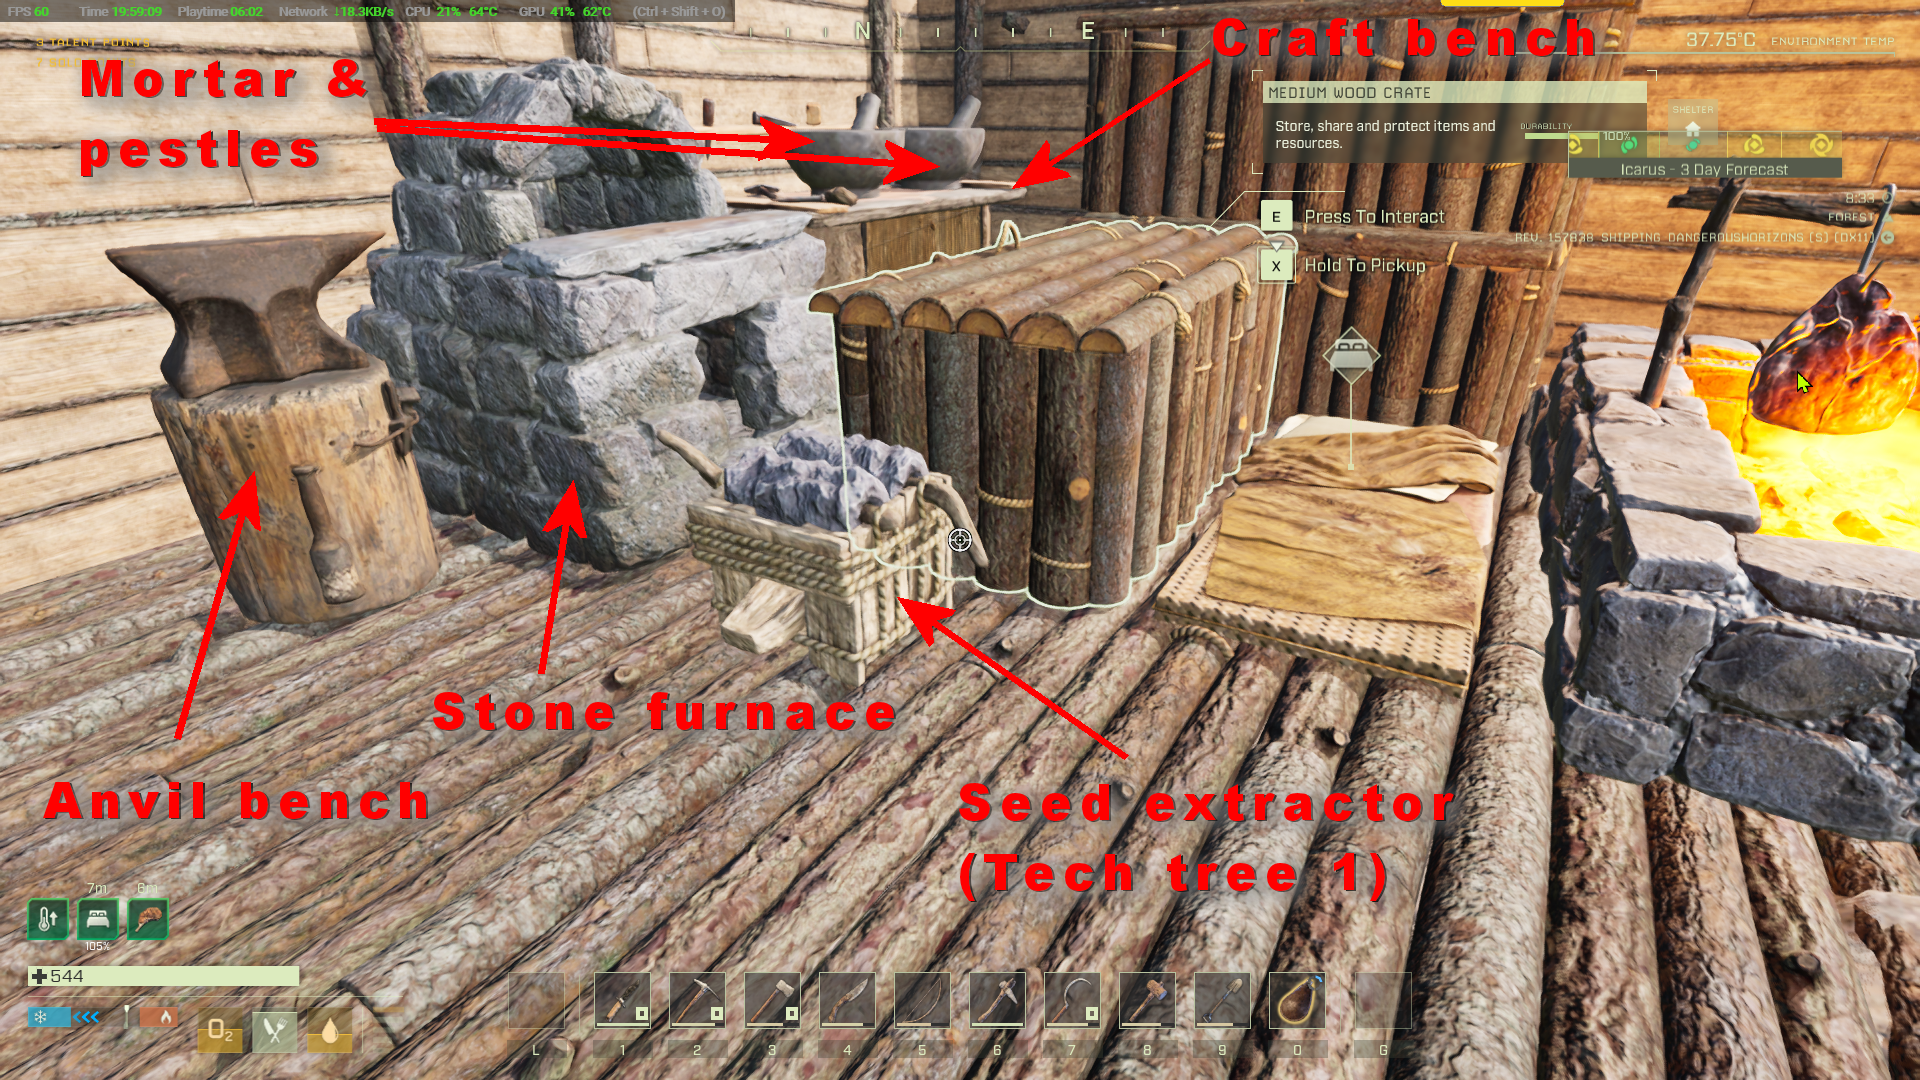
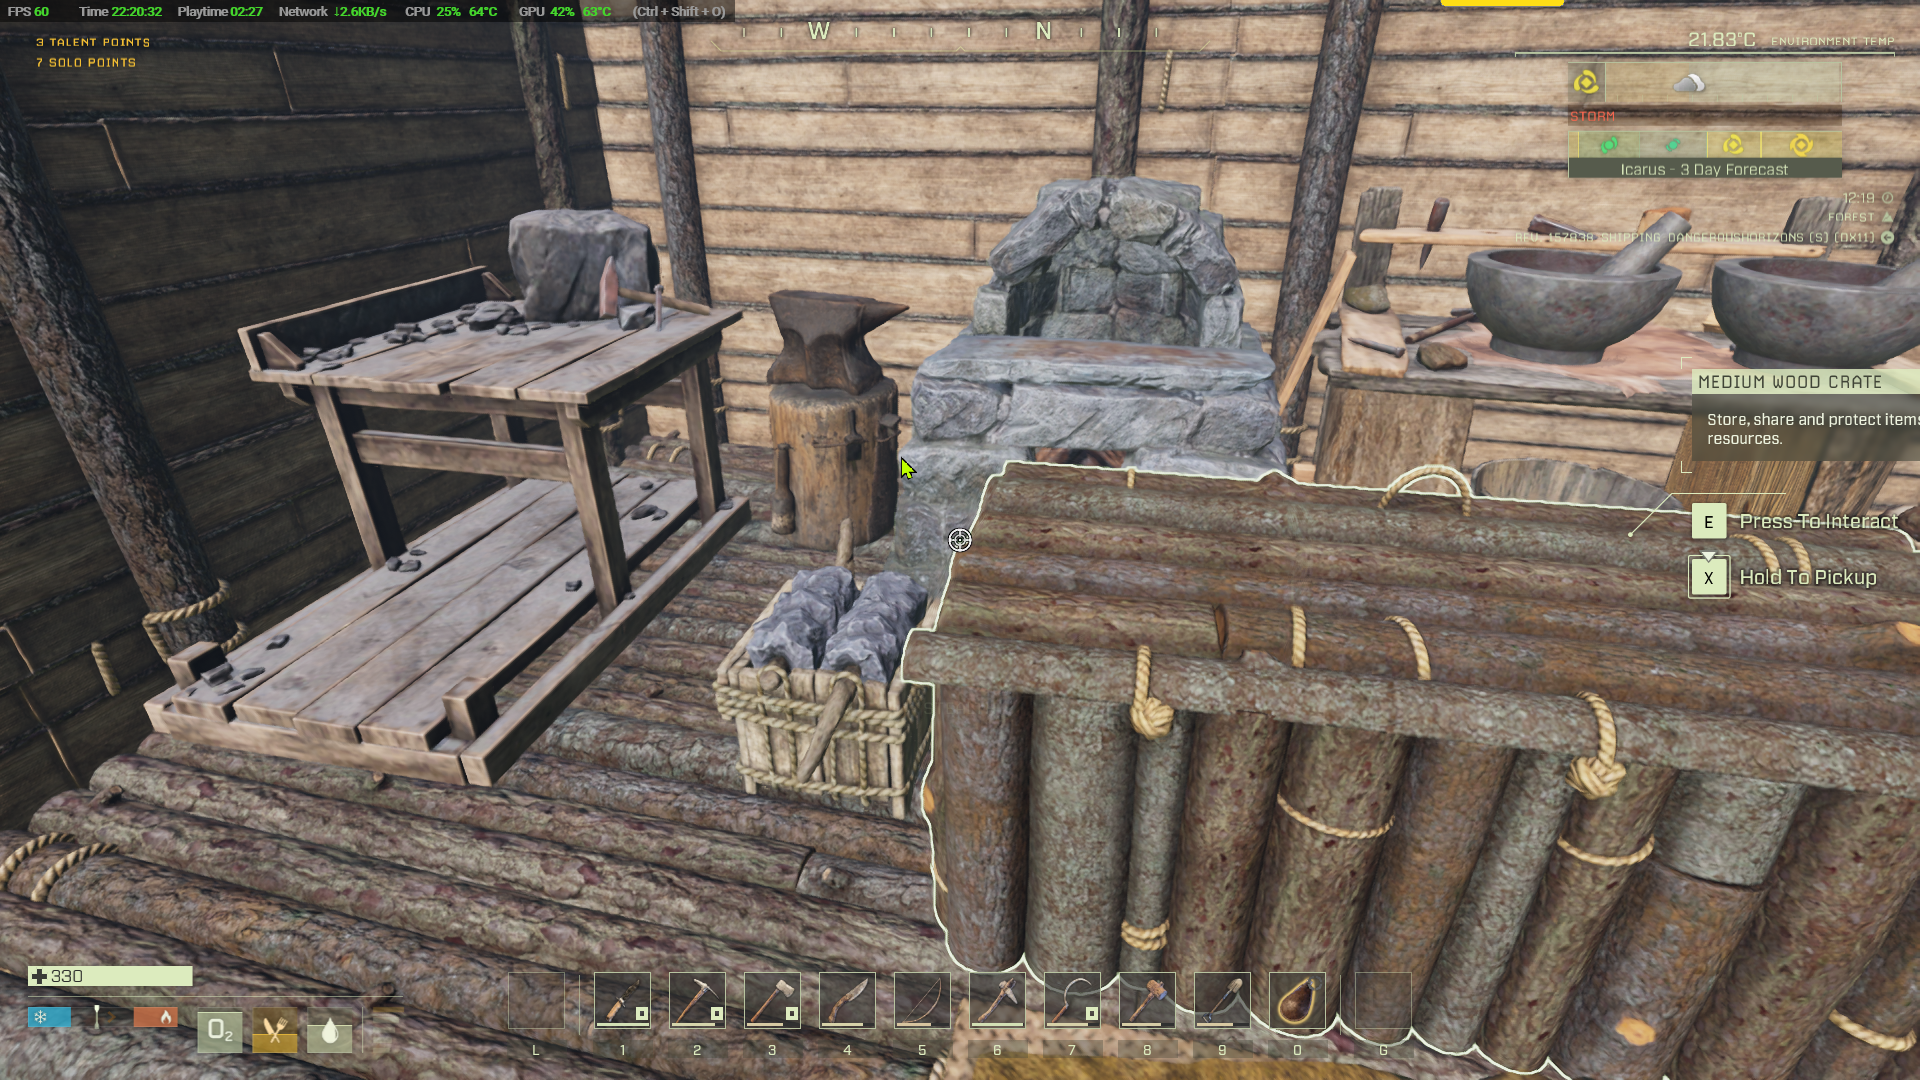
Next, unlock the firepit in the tech tree, make one (100 stone, 25 wood), pick up your bed from the cave (X) and place the firepit and bed in your shelter. Don't forget to long press E on the bed to re-set your spawn point. Make 3 medium wood crates and position them as shown (total of 96 fiber 96 wood). Empty your inventory into the two stacked crates.
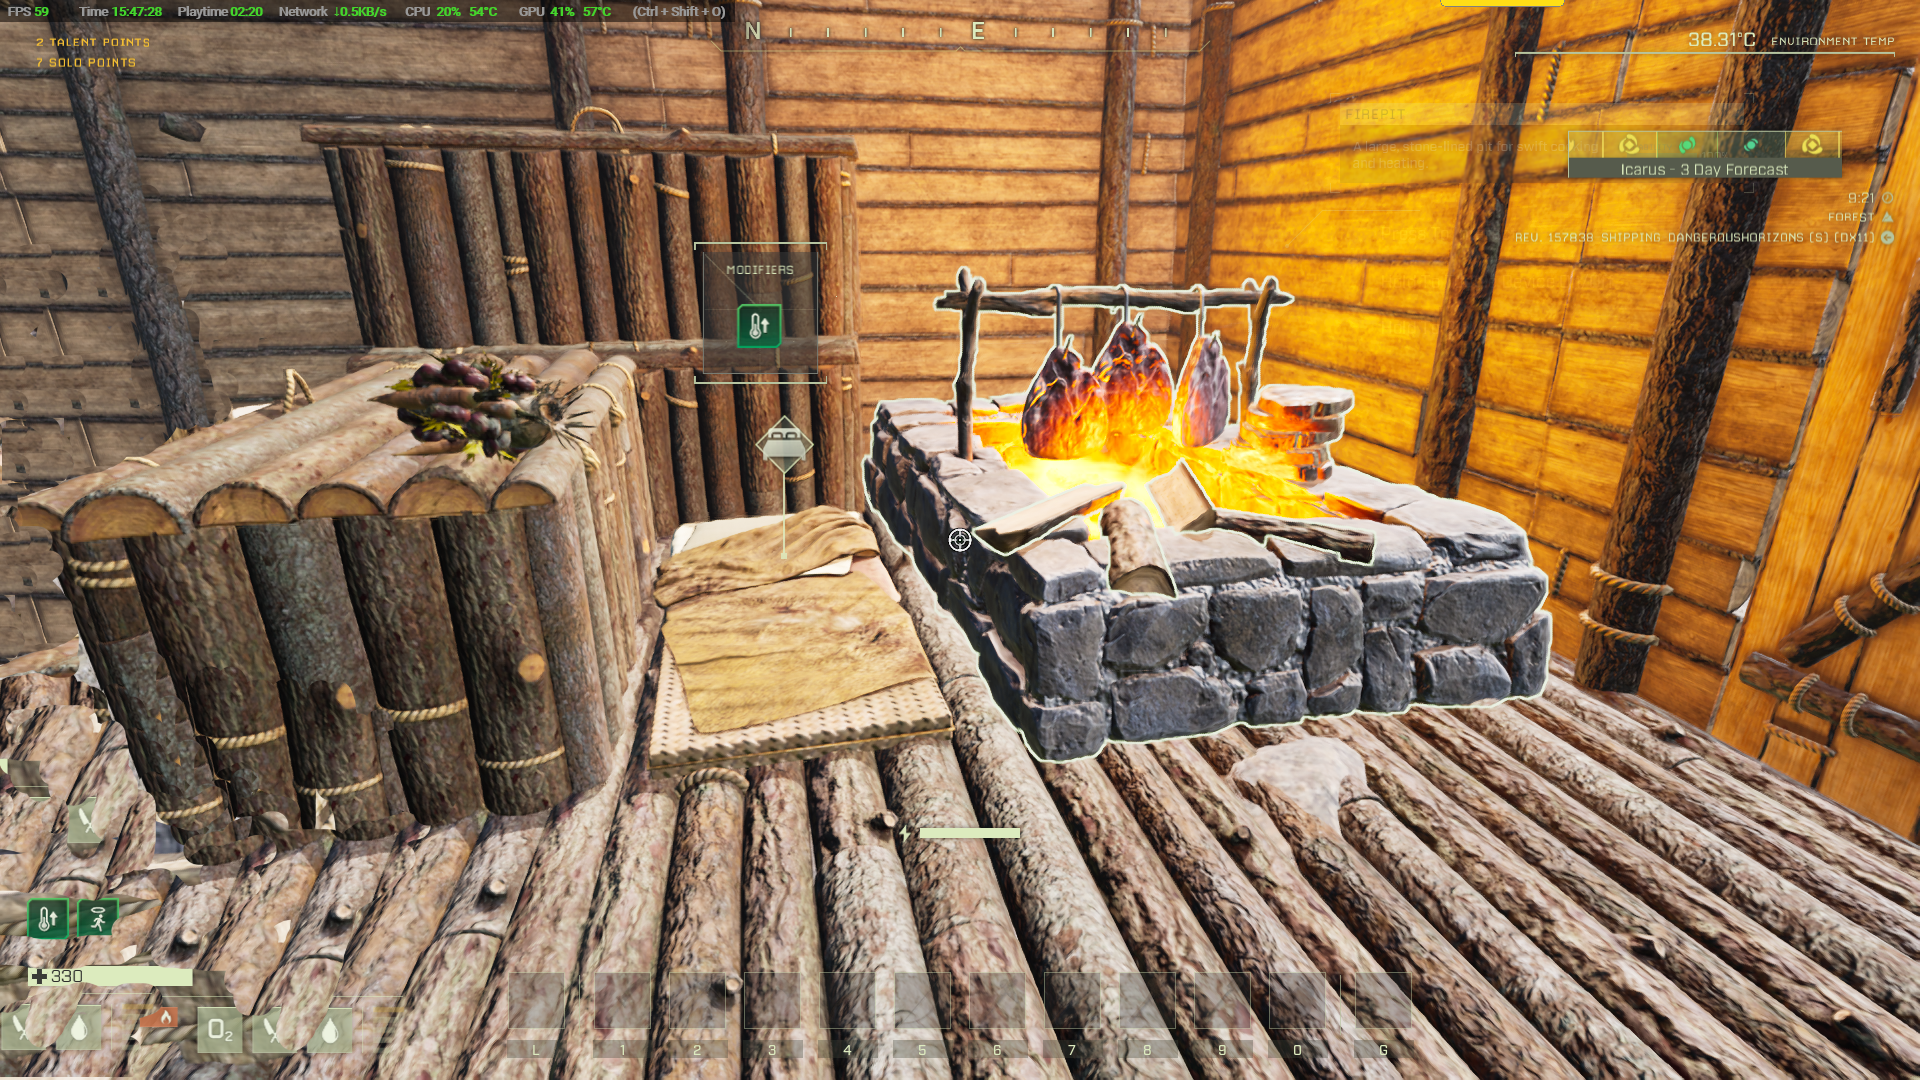
Time to start exploring that cave. You might notice Zero is low on water. After making sure that you have set your bedroll as your respawn point, make 10 health recovery concoctions (30 oxite, 30 bone, 20 salt), make a wood rag torch (40 fiber, 8 stick). It will appear at the far left of your hotbar and can be lit and unlit using the L key. Press Ctrl to go in stealth mode. You'll be quieter and should be safe from bees. Enter the cave and part way down you'll find a pool of water which loops round in a circle. Hold E to drink. This pool is safe to drink and shouldn't cause dysentery. At this point, if you have not tried to collect any ores yet you should be safe from bees, but if you are attacked, leave stealth mode by pressing Ctrl again and defend yourself by swiping at them with your sickle or a knife.
Once you start mining ores, the noise will attract the bees, defend yourself as best you can and find the beehive which will be somewhere on the loop at the end of the cave. Build a stair to it if needed and break the hive open with your knife. Once broken you can eliminate any remaining bee swarms and be safe to mine. If you are really unlucky there may be two bee hives.
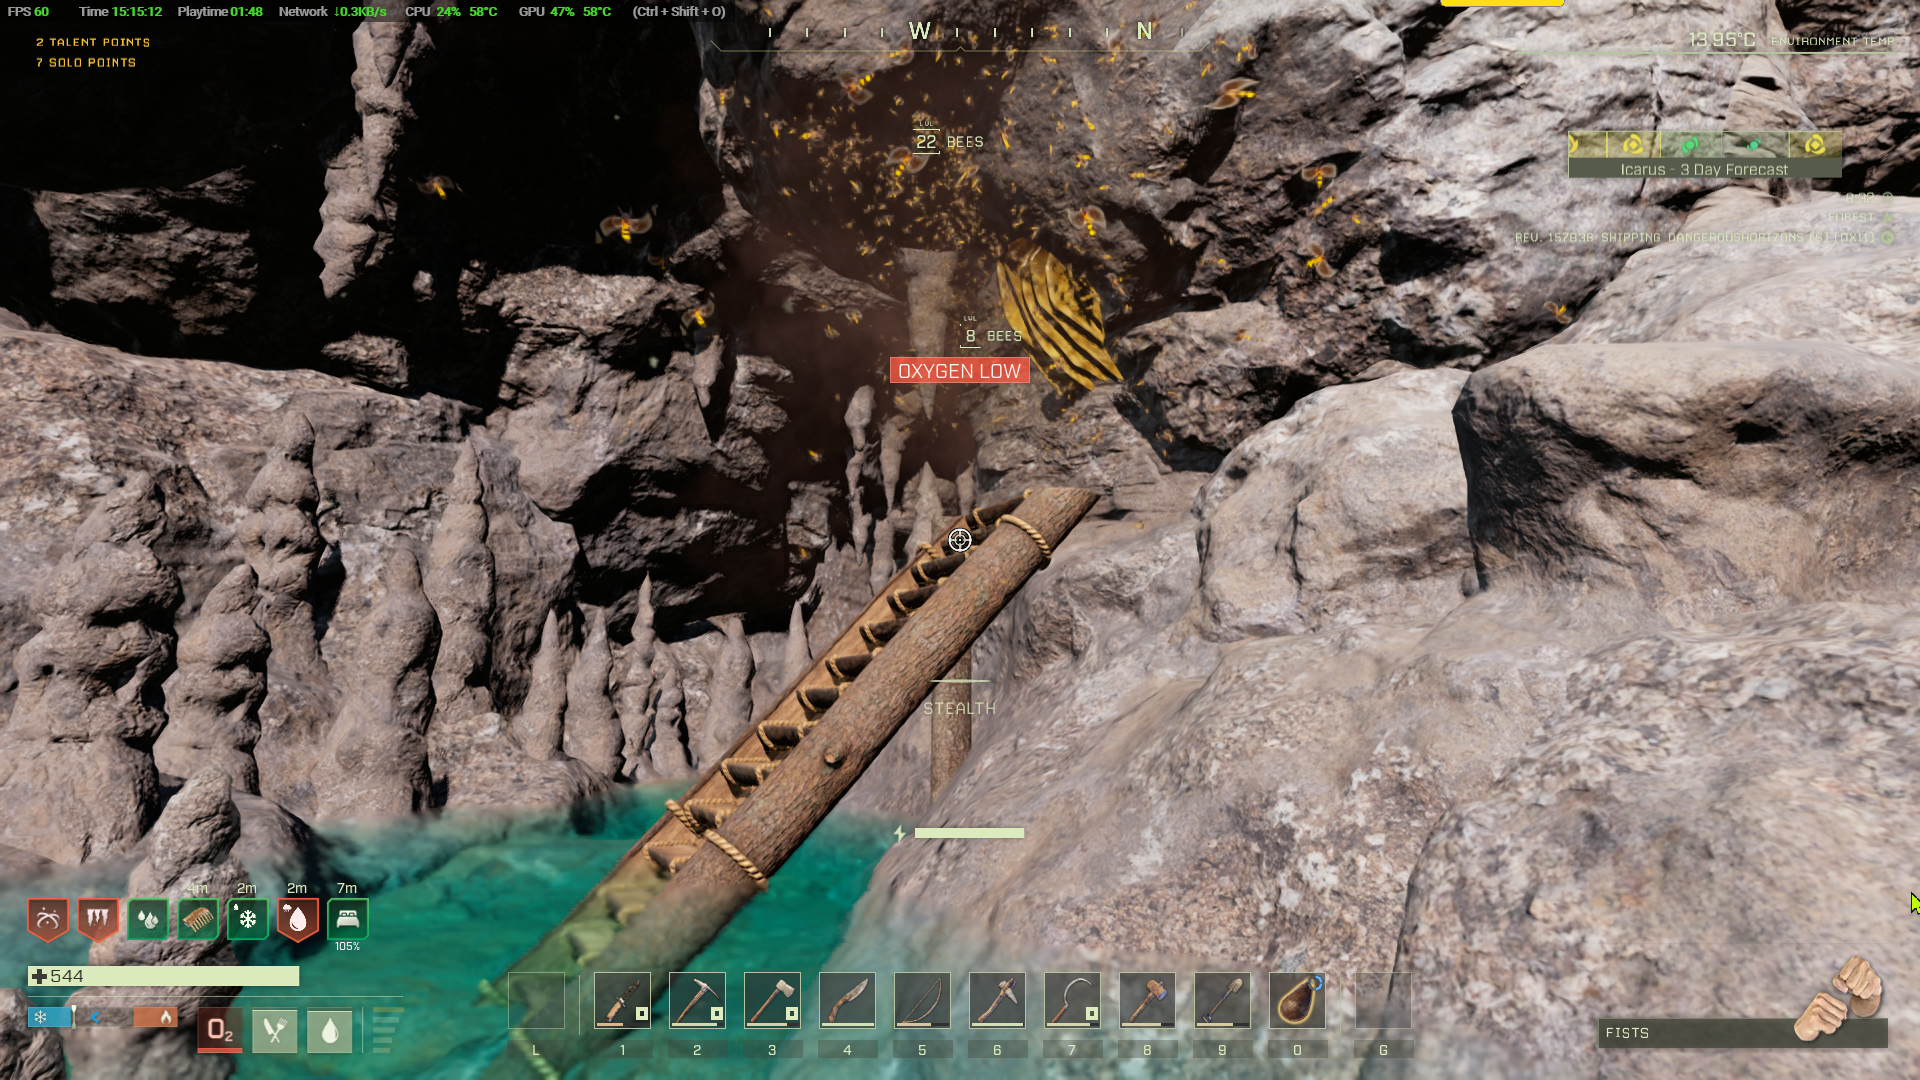
The red circle segments you see are bee stings which reduce your health. You can consume health recovery concoctions to restore it.
Once you've dealt with the bees and no longer hear them start mining all the iron and copper ores, get any coal too if you find it. Leave the other ores because you can't use them yet. Keep an eye on the weight you are carrying, too much and you will slow to a crawl or even be rooted in place. Make trips back to your shelter to put the ore in the single crate.
Cave Safety
Never mine while encumbered inside a cave. Heavy ore loads prevent jumping over crevices and sprinting away from bee swarms or worm attacks.
Freshwater Tip
Unlike stagnant outdoor pools that trigger parasites, underground cave springs provide pure, pathogen-free water that can be consumed directly without boiling.
Short time-travel stories
Some time ago, when I was working on a 'how to' author website, I got to thinking about the mistakes new authors make. I decided to write a short story including as many of them as I could think of. Thus was born the first of my time-travel short story series, Ripping Time. It started with that famous line, "It was a dark and stormy night", the original title but now a series title.
Get the collection. It won't break the bank.




- Ripping Time deals with Jack the Ripper.
- Witch Time explains the Blair Witch mystery.
- Titanic Time explains why it had to sink.
- Time Flies explains why Leonardo wasn't recorded as the world's first aeronaut.
- Time After Time is ALL the stories for the price of one!
Whatever your reading device you can get these short stories via https://books2read.com/tat
Or find out more at https://iwadasn.info.
Crafting Table and Refining Ores
By the time you've collected all the ores from the South cave you'll be at least level 10 in the game and tier 2 crafting will be opened up.
Time to unlock, make and add more to your base.
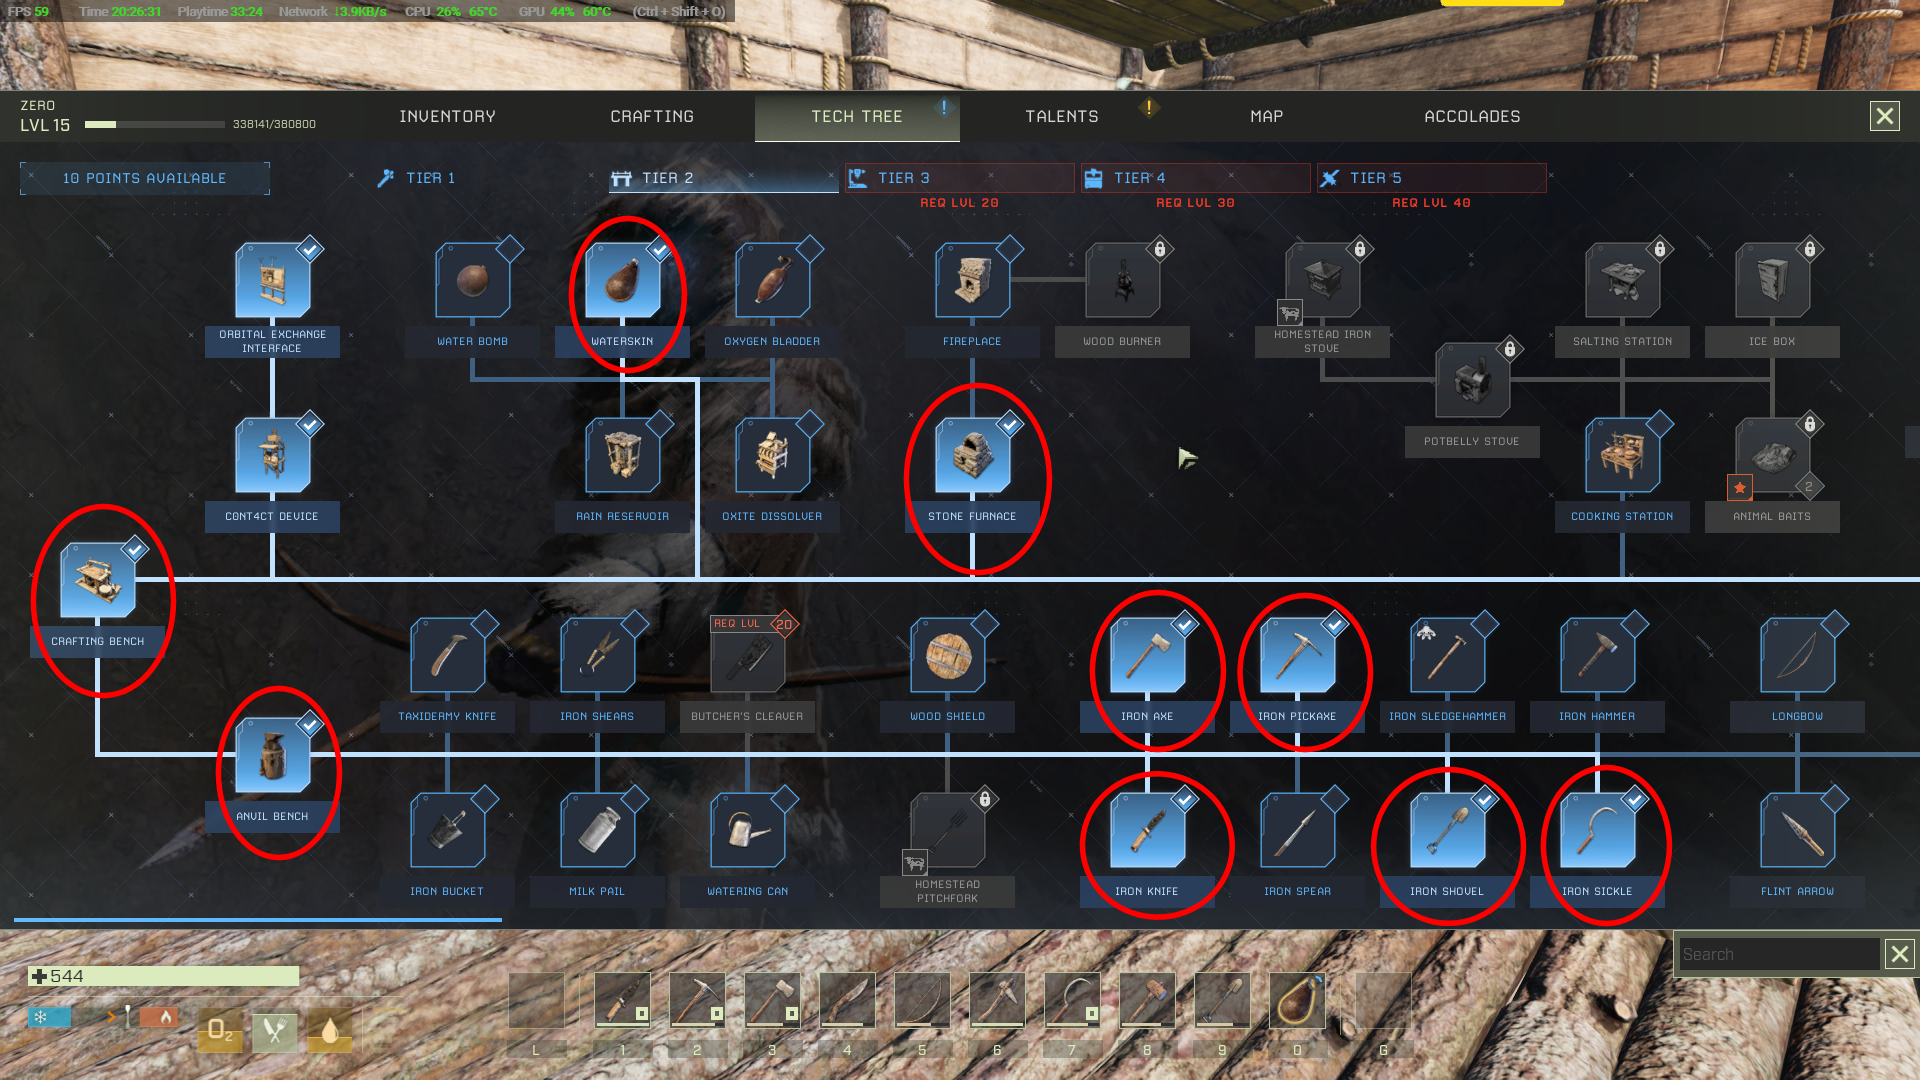
In tech tier 2 (P) check the crafting bench, the stone furnace, the anvil bench, the waterskin and the iron tools knife, axe, pickaxe, shovel and sickle. Further along the tree check the mortar and pestle, epoxy resin and crushed bone. If you are at level 15 then scroll further to the right and near the end, check the masonry bench and carpentry bench.
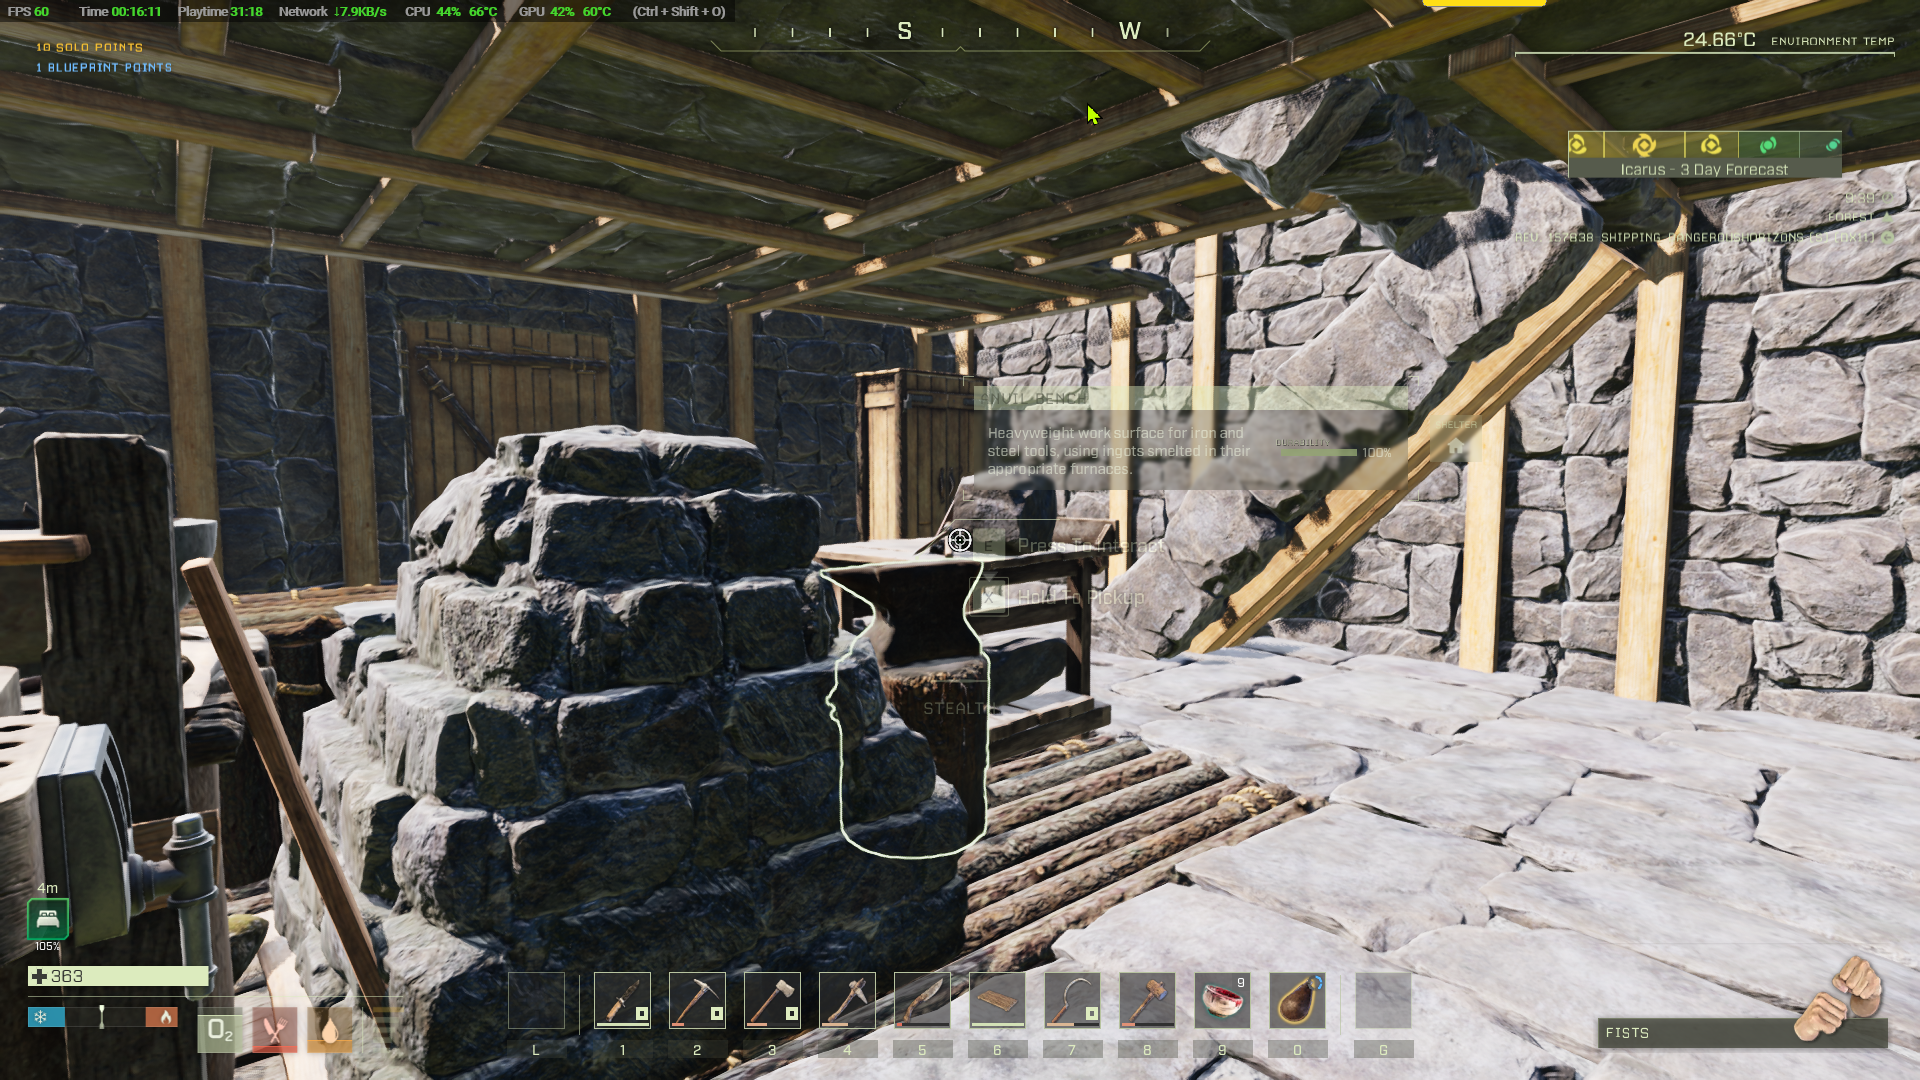
Make the crafting bench and position it. Then point at it and press E. A menu will open which allows you to make the stone furnace, the waterskin and the anvil bench. Position them as shown.
Now transfer all your iron ore and copper ore to the furnace. Use coal, if you have it, or wood as the fuel to convert the metal ores into ingots. The stone furnace will only smelt iron and copper ores.
Once you have some iron ingots, transfer them to the anvil bench and use that to make some iron tools.
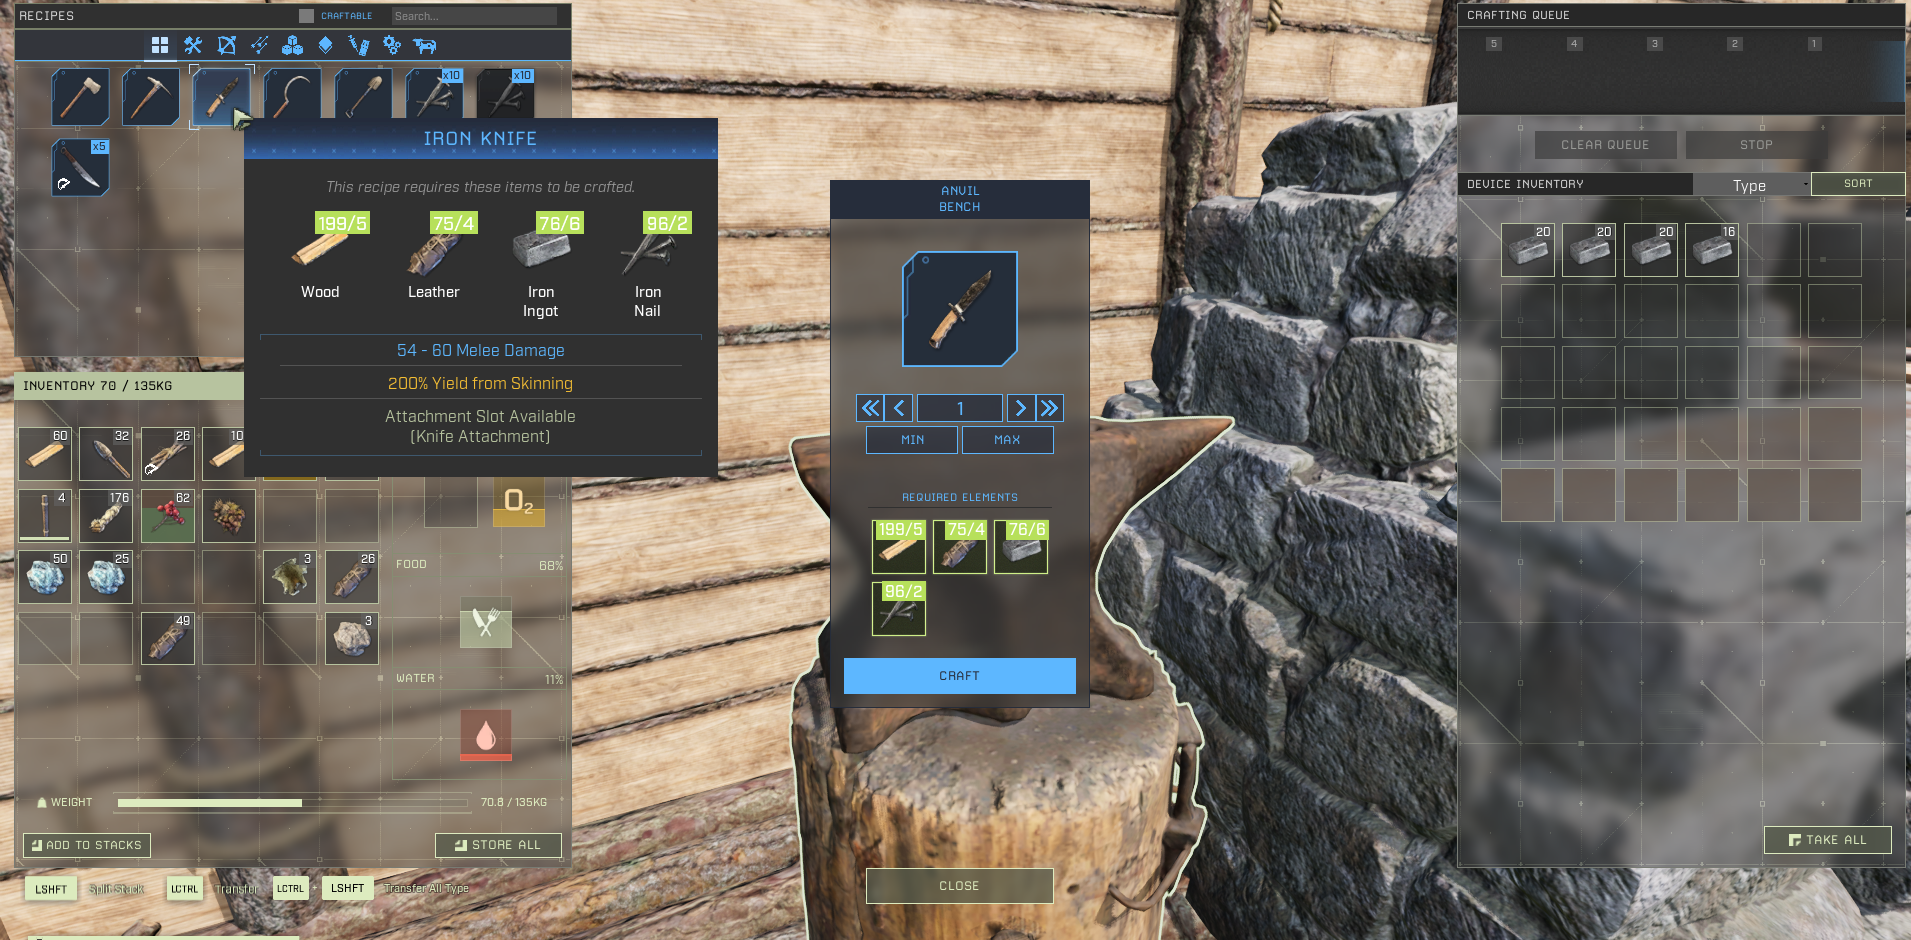
Iron tools are much more efficient and take less energy to use. They also last a lot longer but will eventually break. Repair them using iron at an anvil. You still won't be able to mine titanium, platinum and aluminium ores though - you'll need steel at the minimum for that.
Making an animal trap
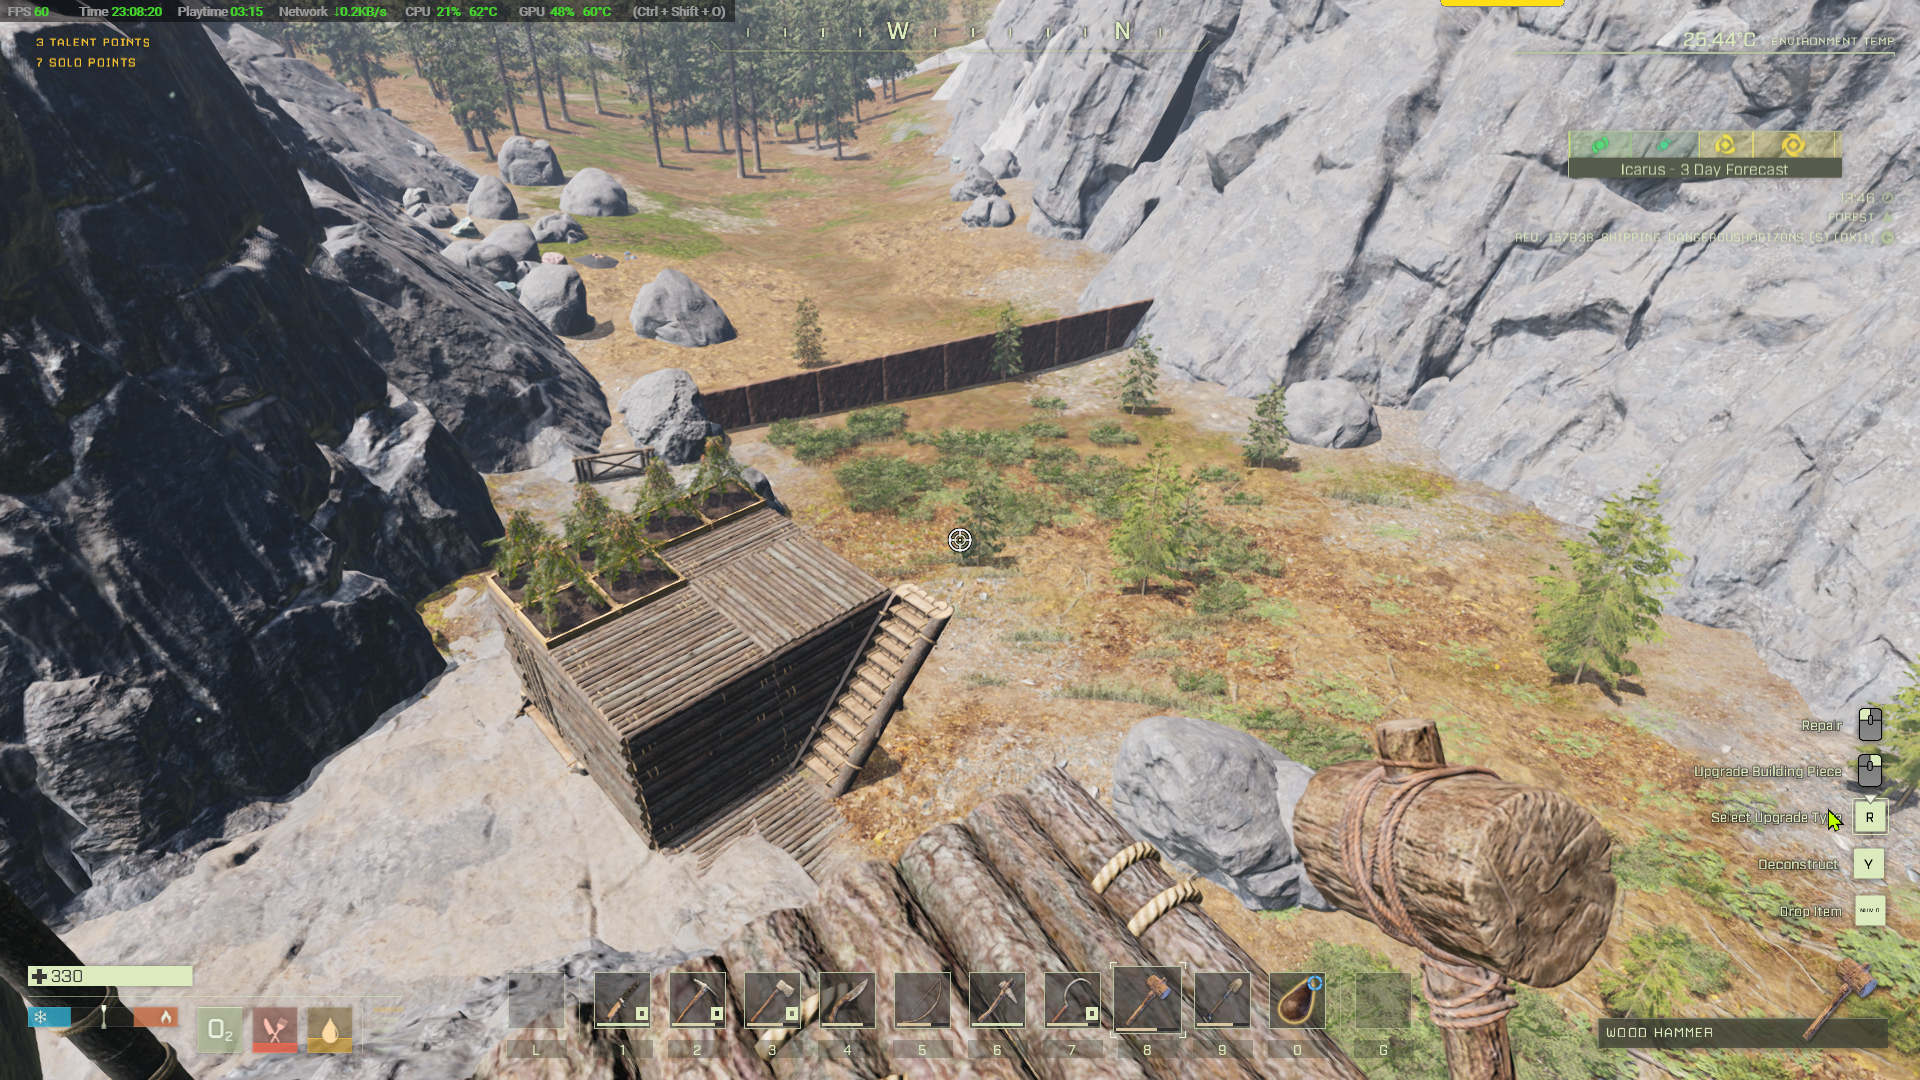
Use the iron shovel to collect 80 dirt. Use it by pressing O and crafting 8 dirt ramps. Place these dirt ramps across the narrow part of the canyon so that animals can get over them to the canyon end but can't get back out. They won't enter often but you'll get an easy to kill source of meat and leather. Place a wooden gate at the cave end so that if you later train a draft animal they can get out.
Rapid level advancement
Use a sickle, preferably an iron one, to go out and harvest lots of fiber. Get at least 5 blocks of 200. You'll get XP for doing this. Make sure that you have checked in tier 1 the basic bandage. Press O and craft the maximum number of bandages. Each time you create a bandage you'll get 72 XP. Now right click on the bandages in your inventory and delete them. You will reclaim half of the fiber you used. With that, repeat the process and keep doing that until you can't make any more bandages.
Guess what? Go out and collect 5 blocks of 200 fiber and do it all again…
Between levels 10 and 15 this is the quickest way to advance.
Once you have an iron axe, you might find it quicker to use that to cut trees and when your inventory is full make and deploy wood piles.
Get a source of water
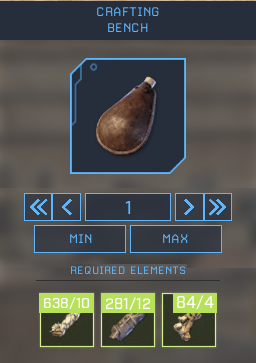
It's a pain having to keep trotting back and forward to drink in the cave. If you make a waterskin at the craft bench you can fill that with water, put it in your hotbar and drink from that. You'll then only need to refill it every 5 drinks.
Get a source of food
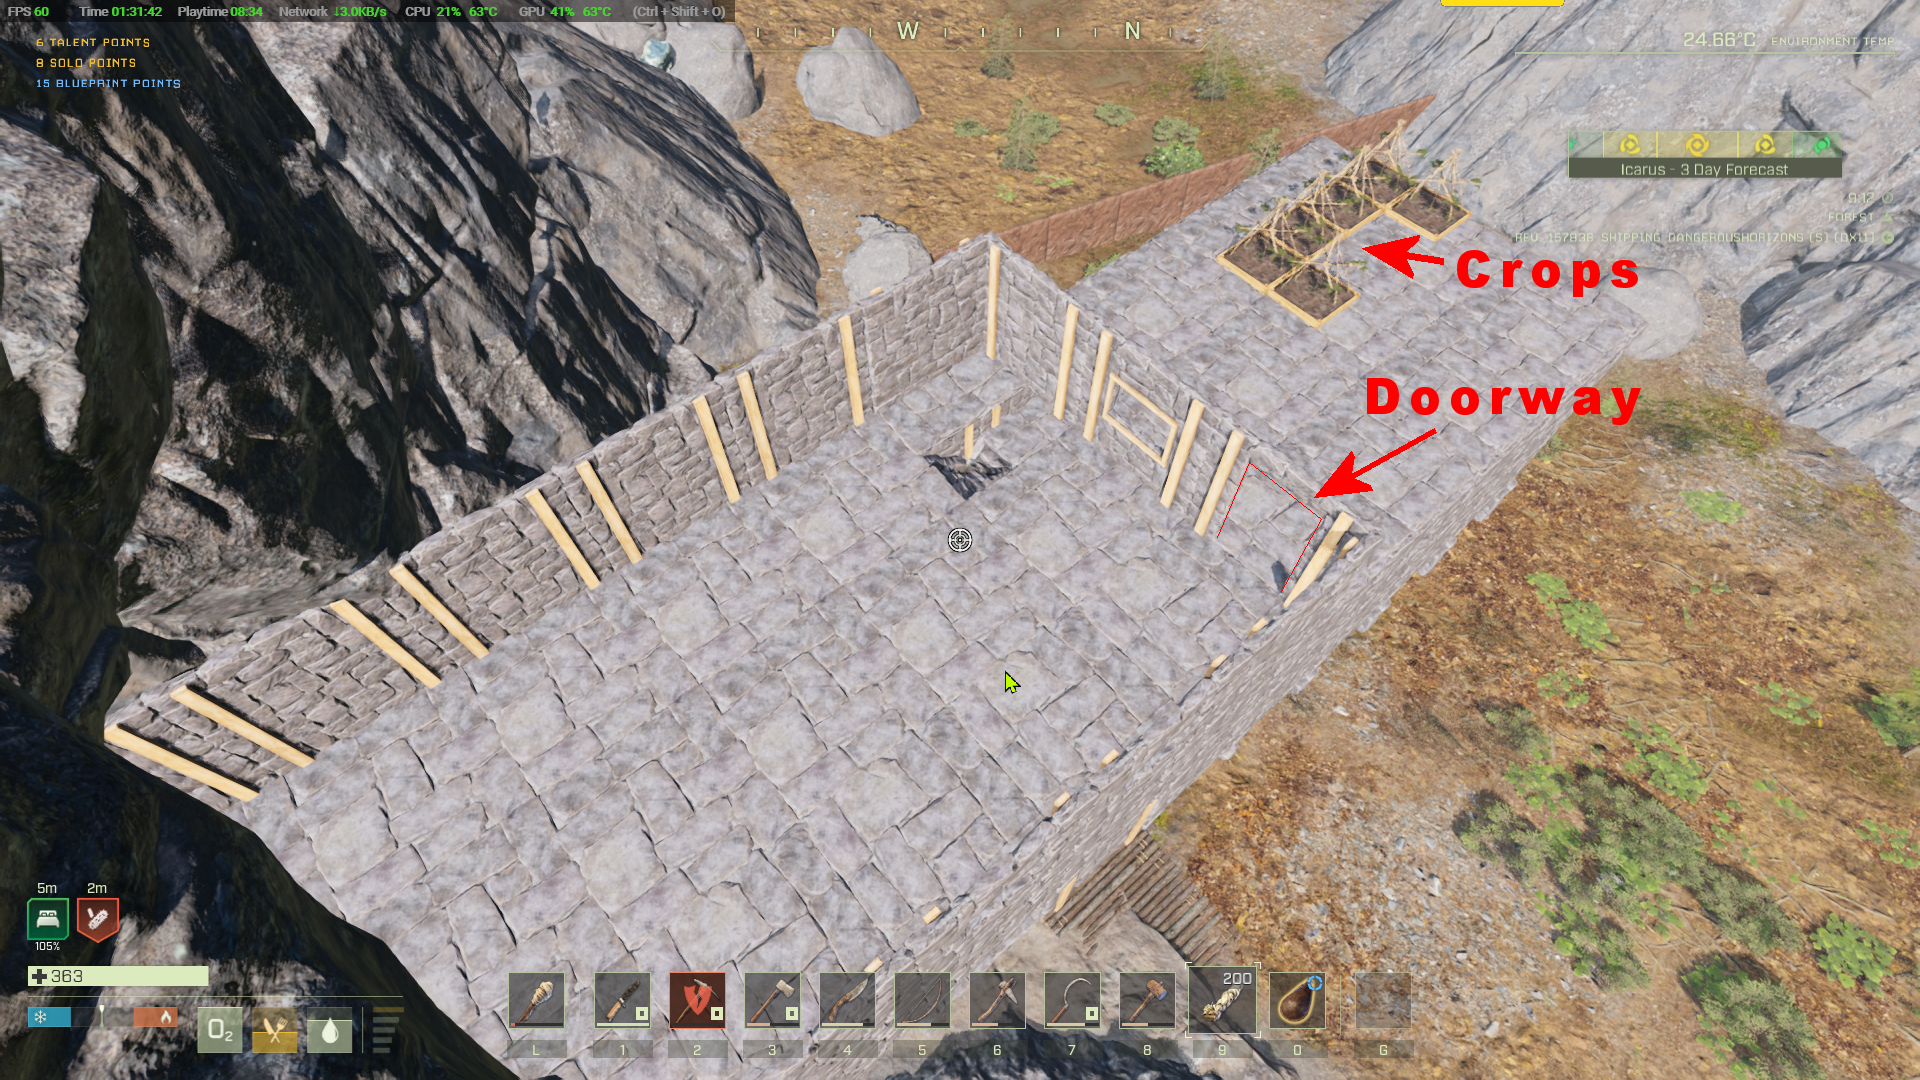
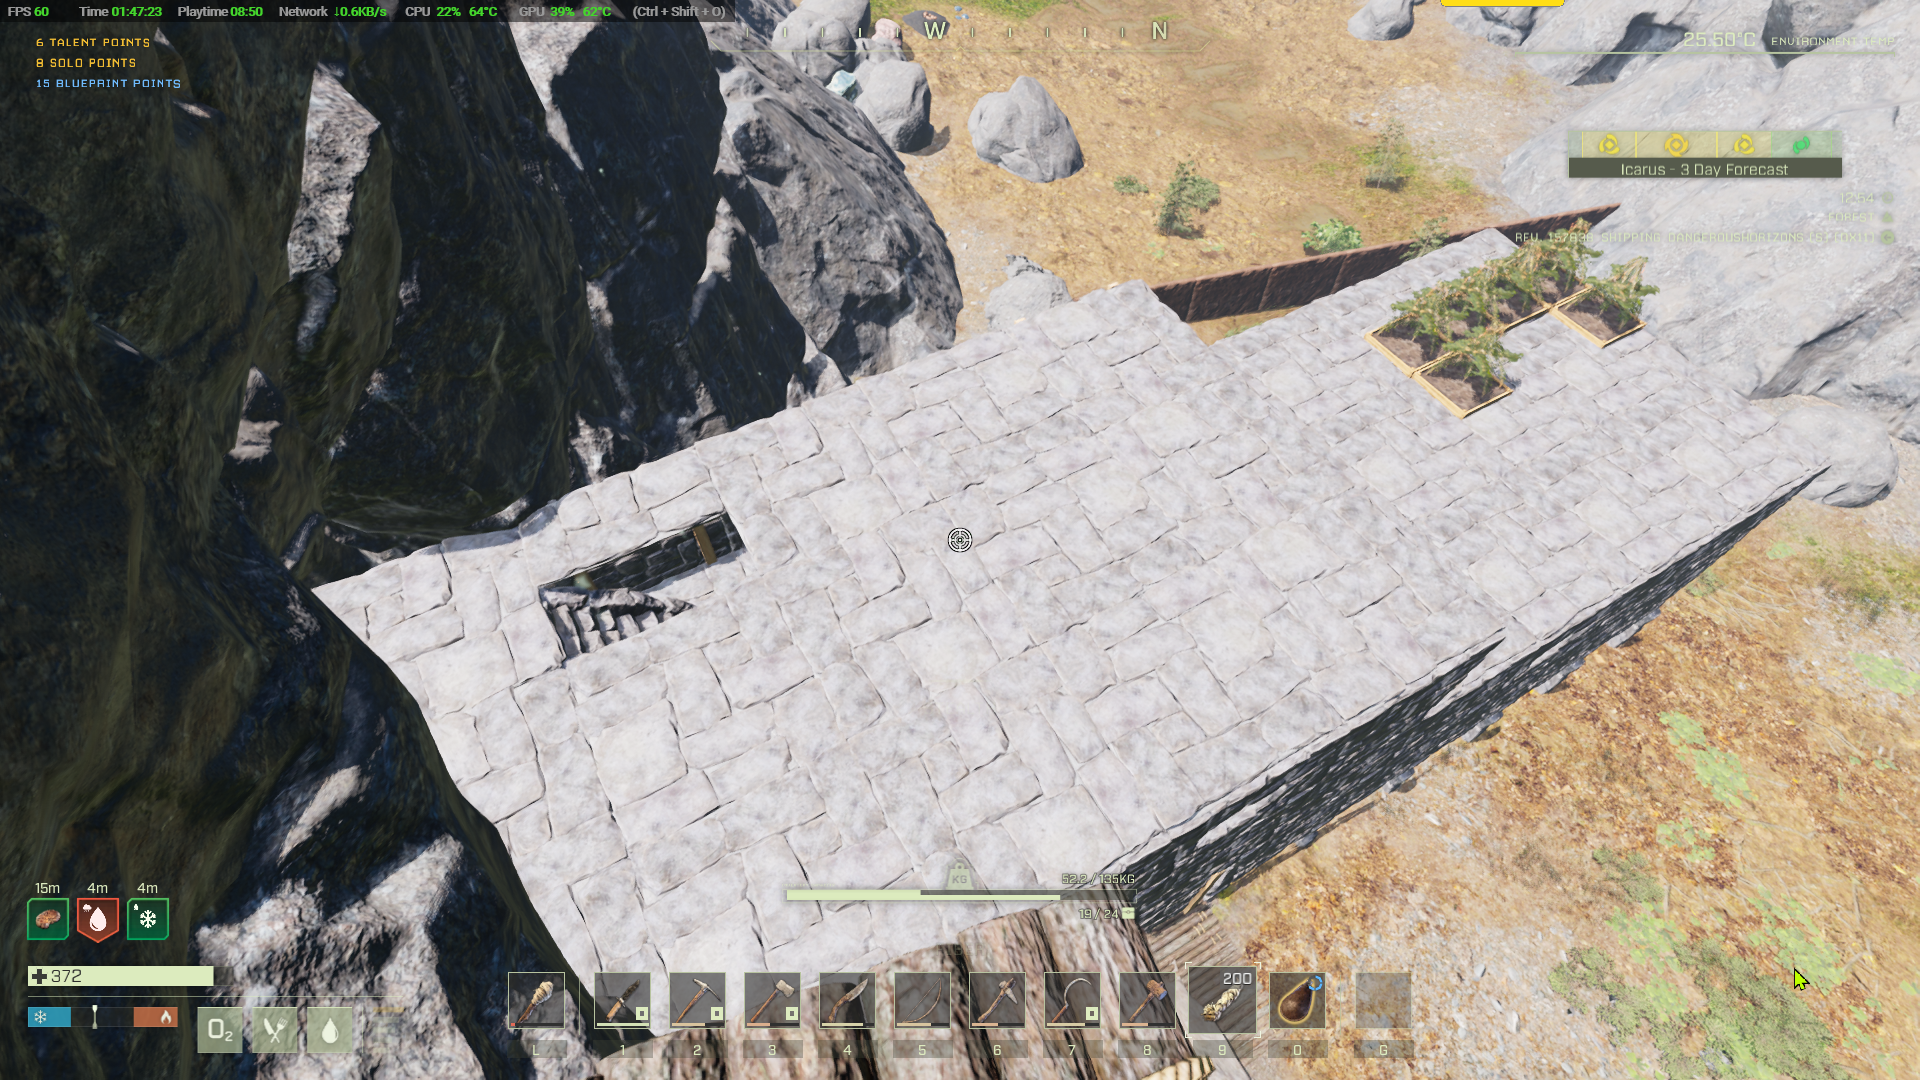
It's a pain having to keep looking for food too. You can grow food to give you a supply. You'll need to get some dirt, collect it where plants grow using the iron shovel. Use it to make wood crop plots (8 wood, 10 sulphur, 20 dirt) Place four or five of them on your shelter roof. You'll need to make a stair to get there. Now you need seeds to grow in them. I suggest soy bean seeds. Put about 30 soy beans in the seed extractor you made. It will 'extract' the seeds you need. Right clicking on the soy bean seeds allows you to deploy them into the crop plots.
Expanding your base and converting it to stone.
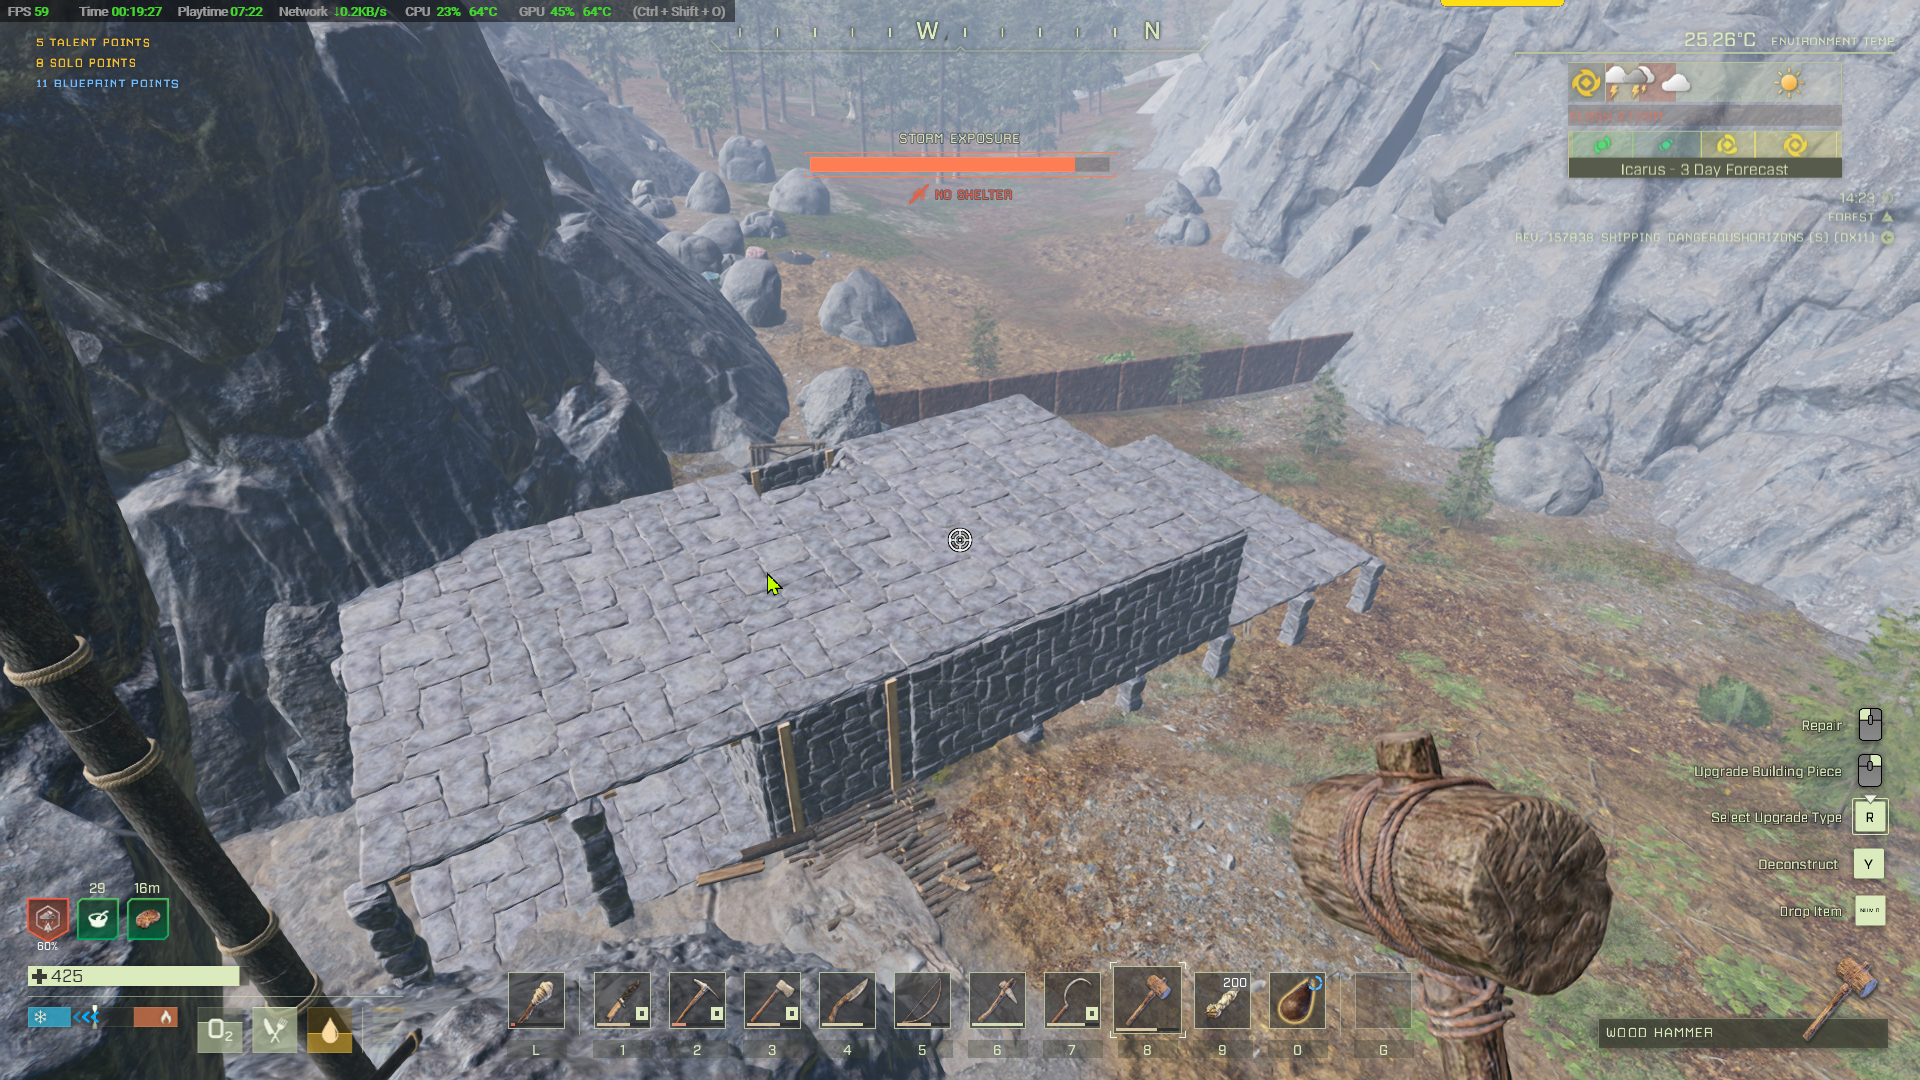
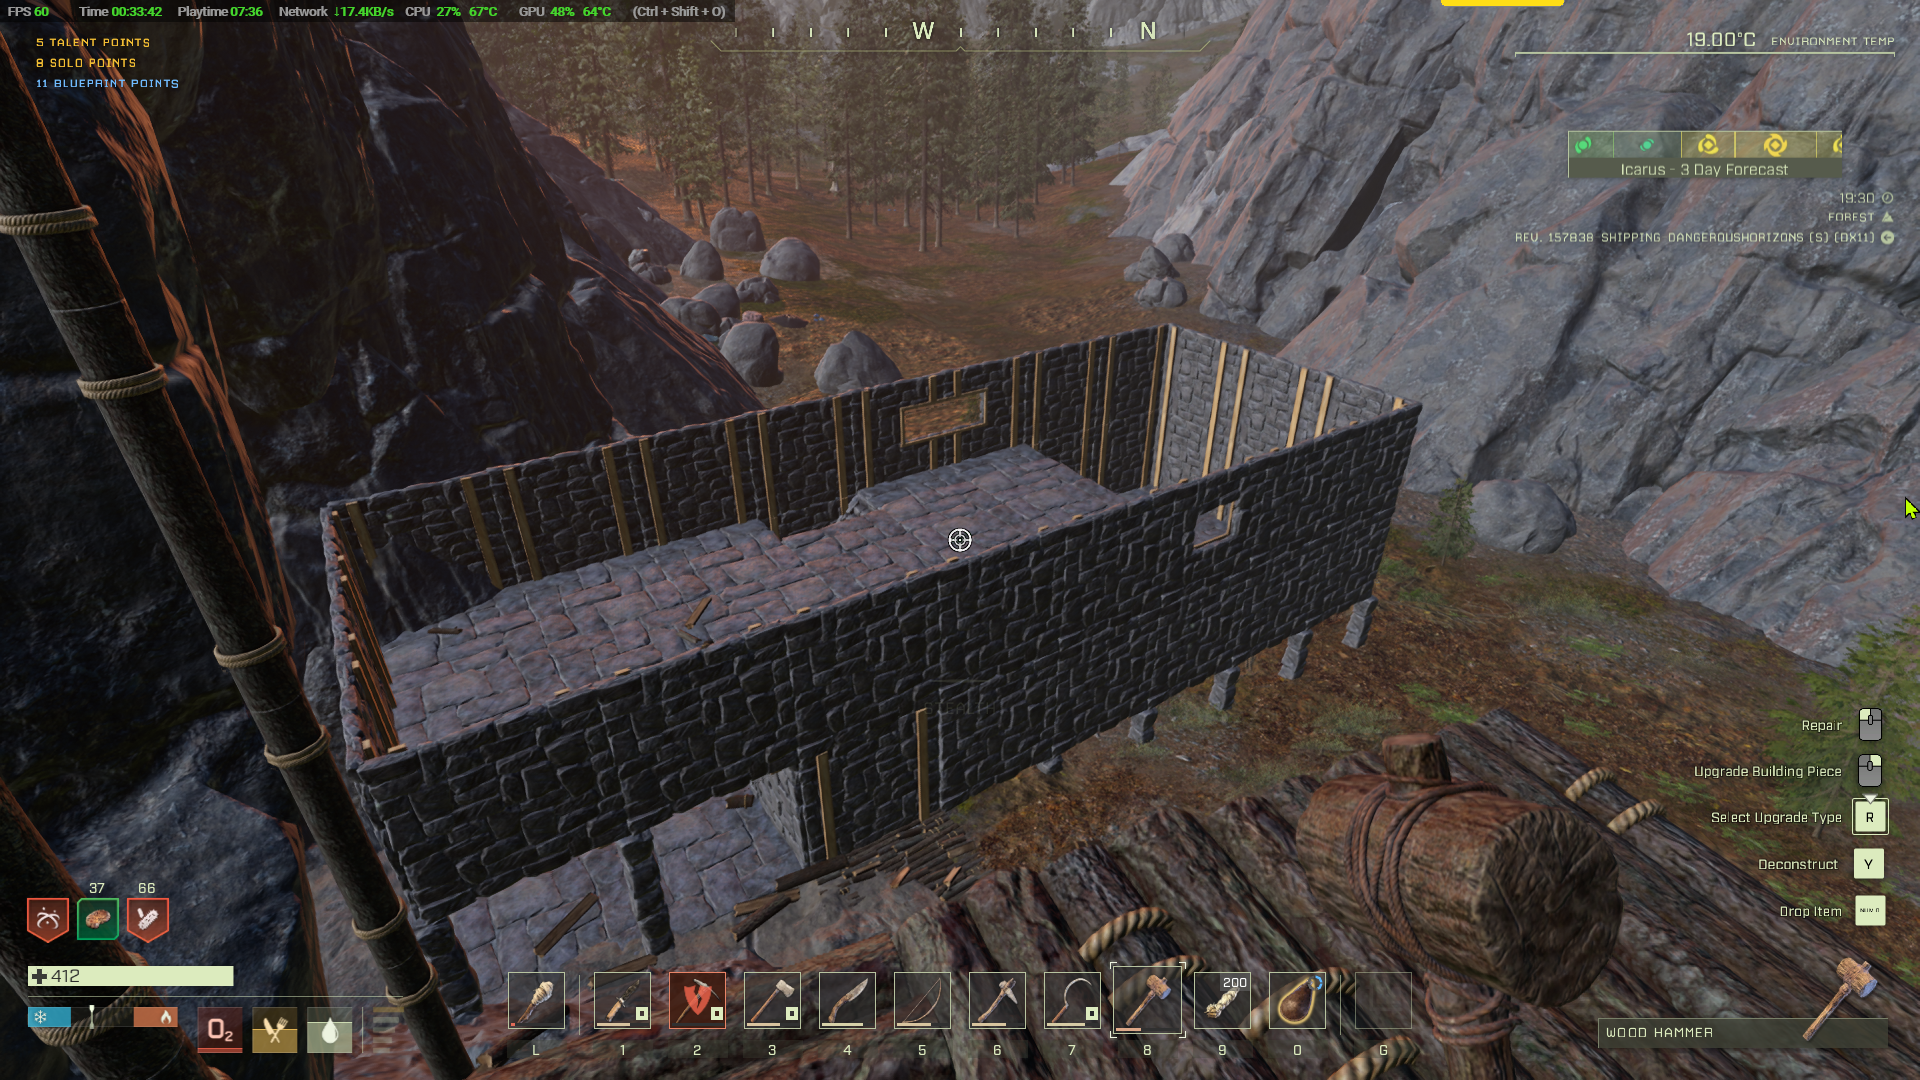
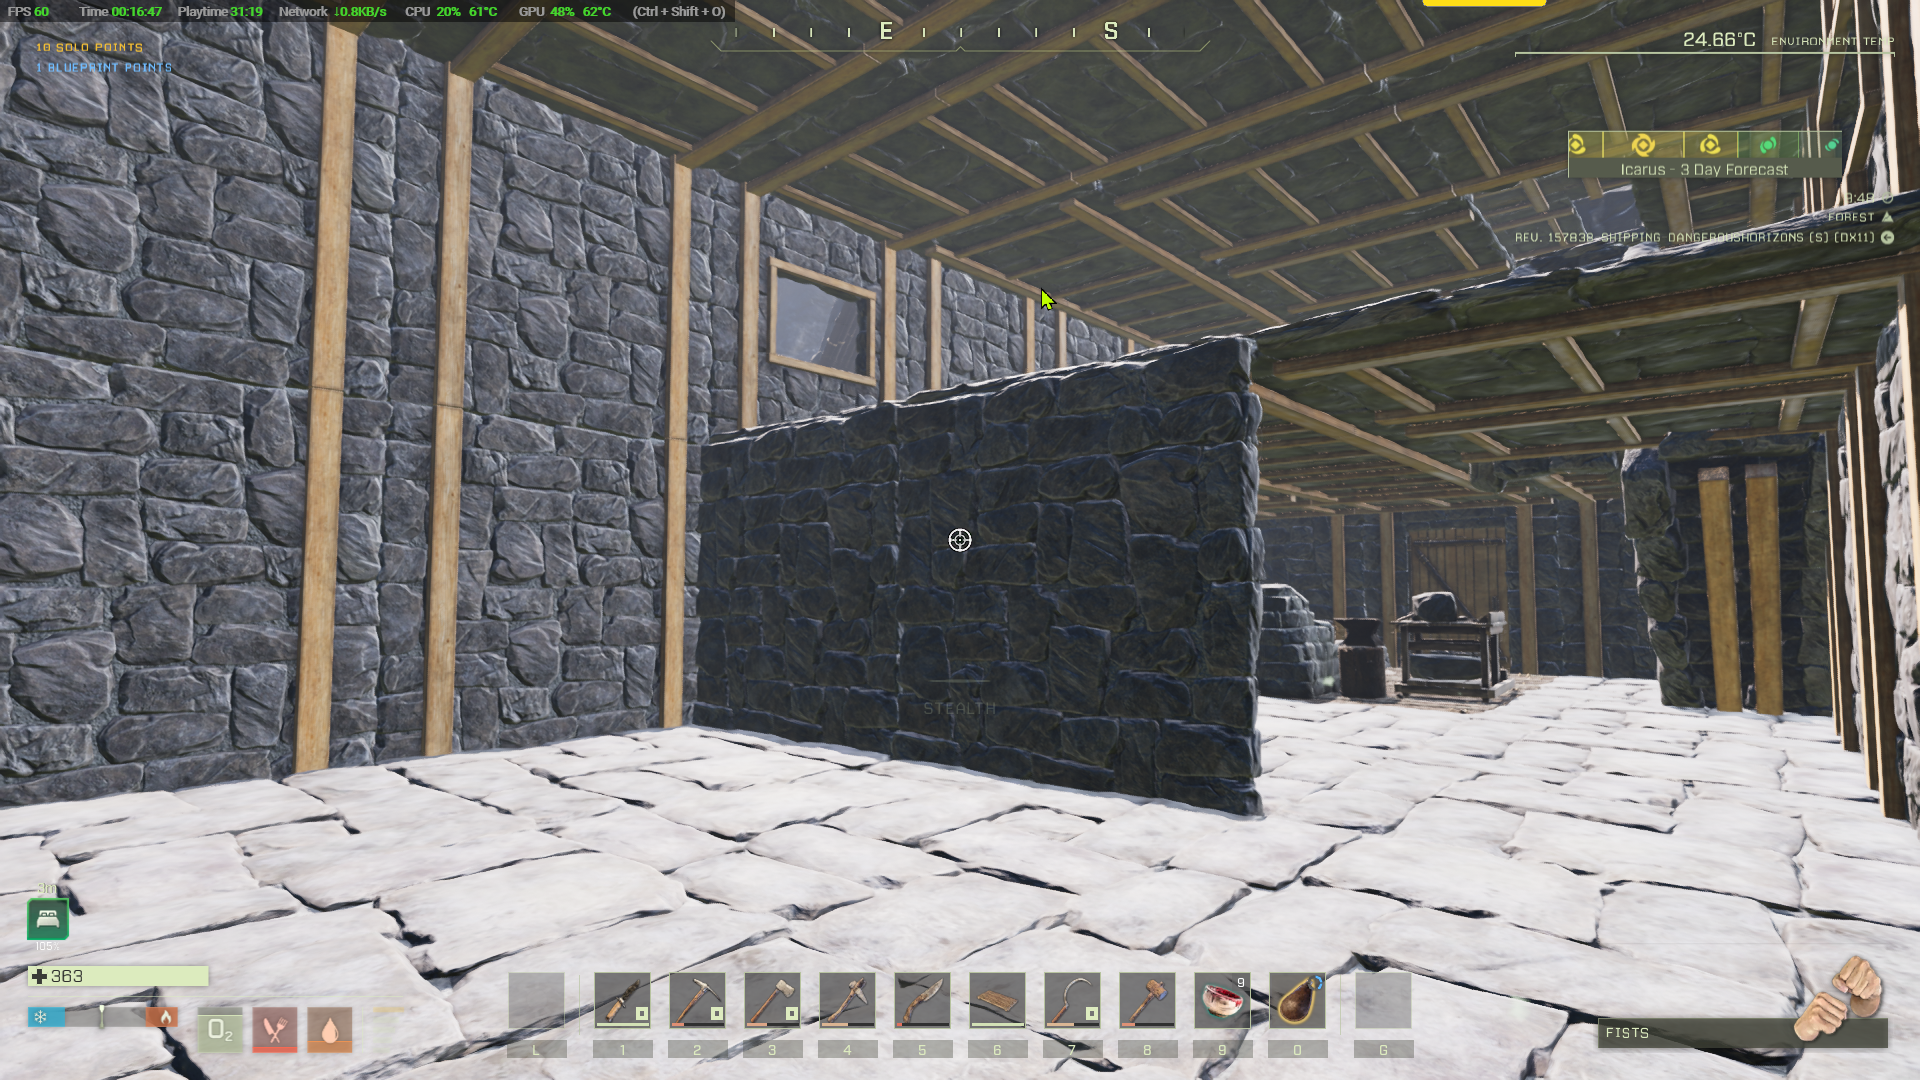
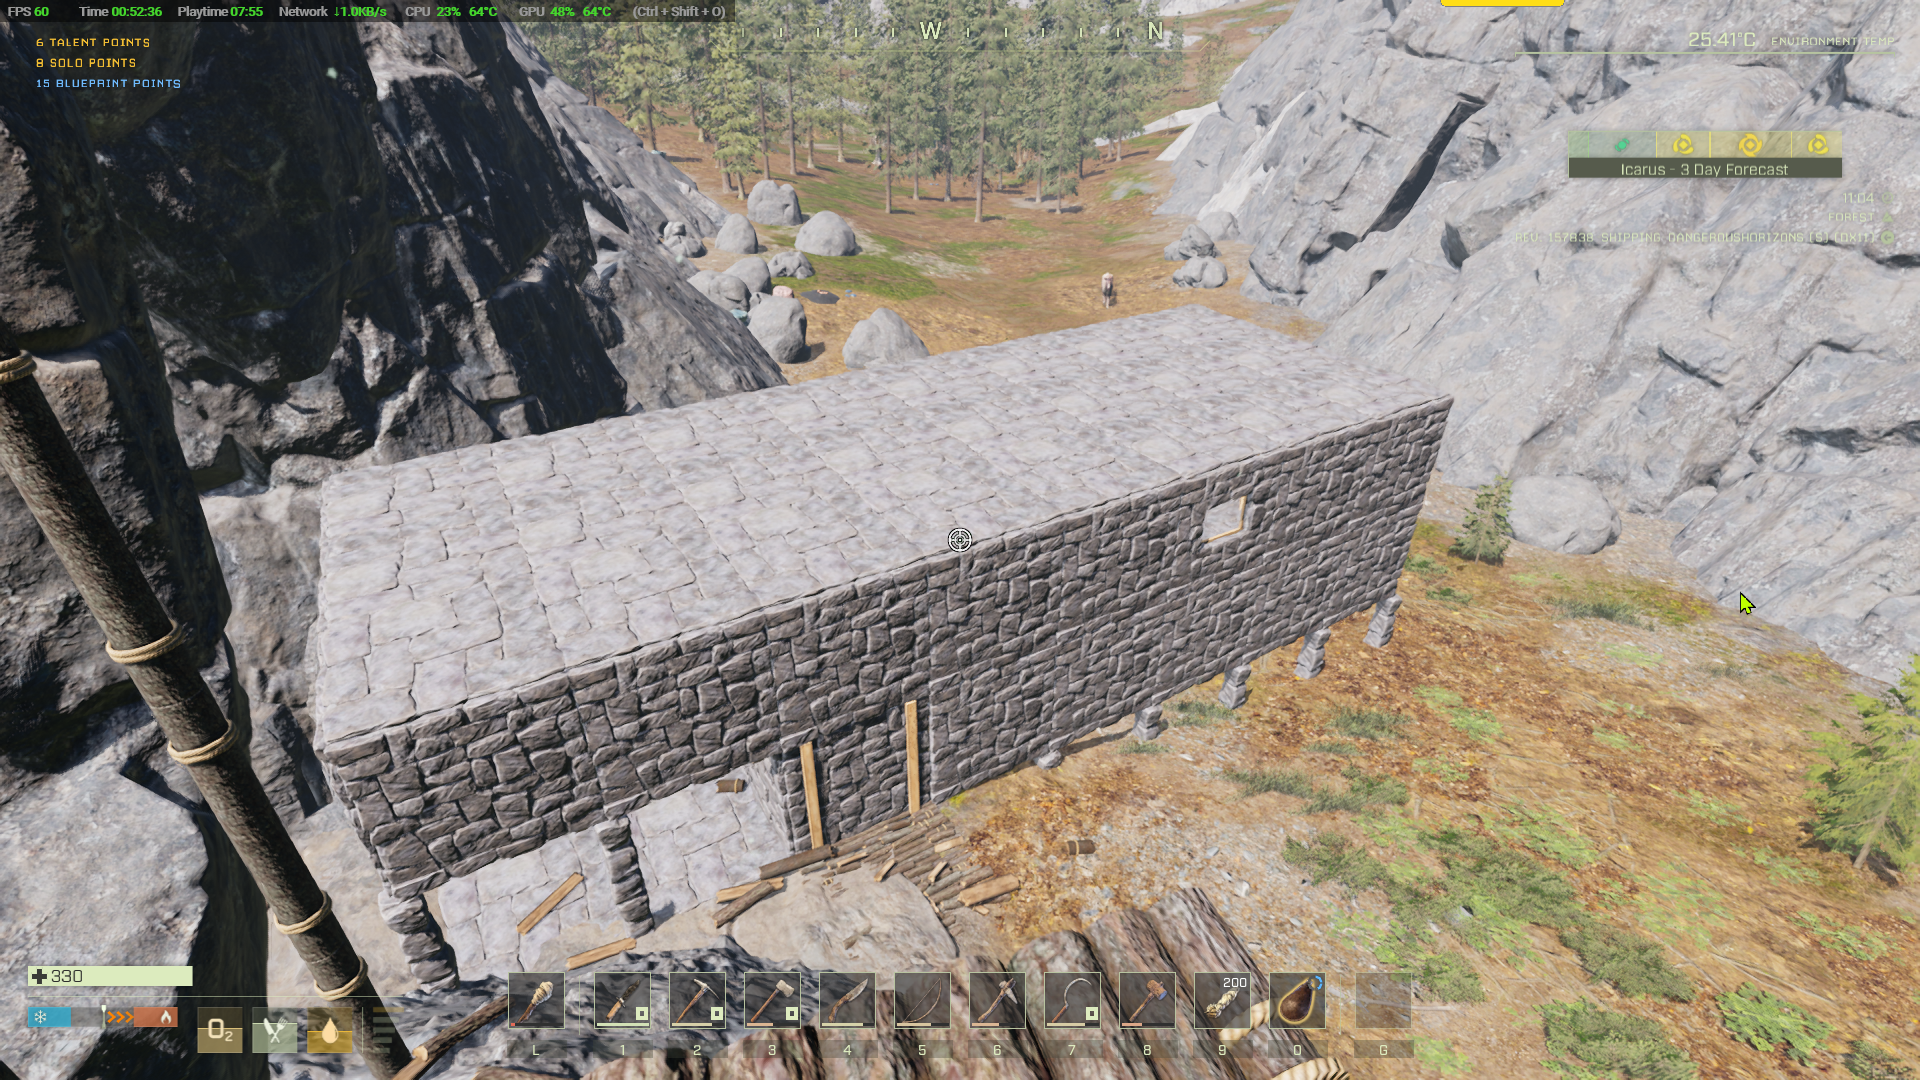
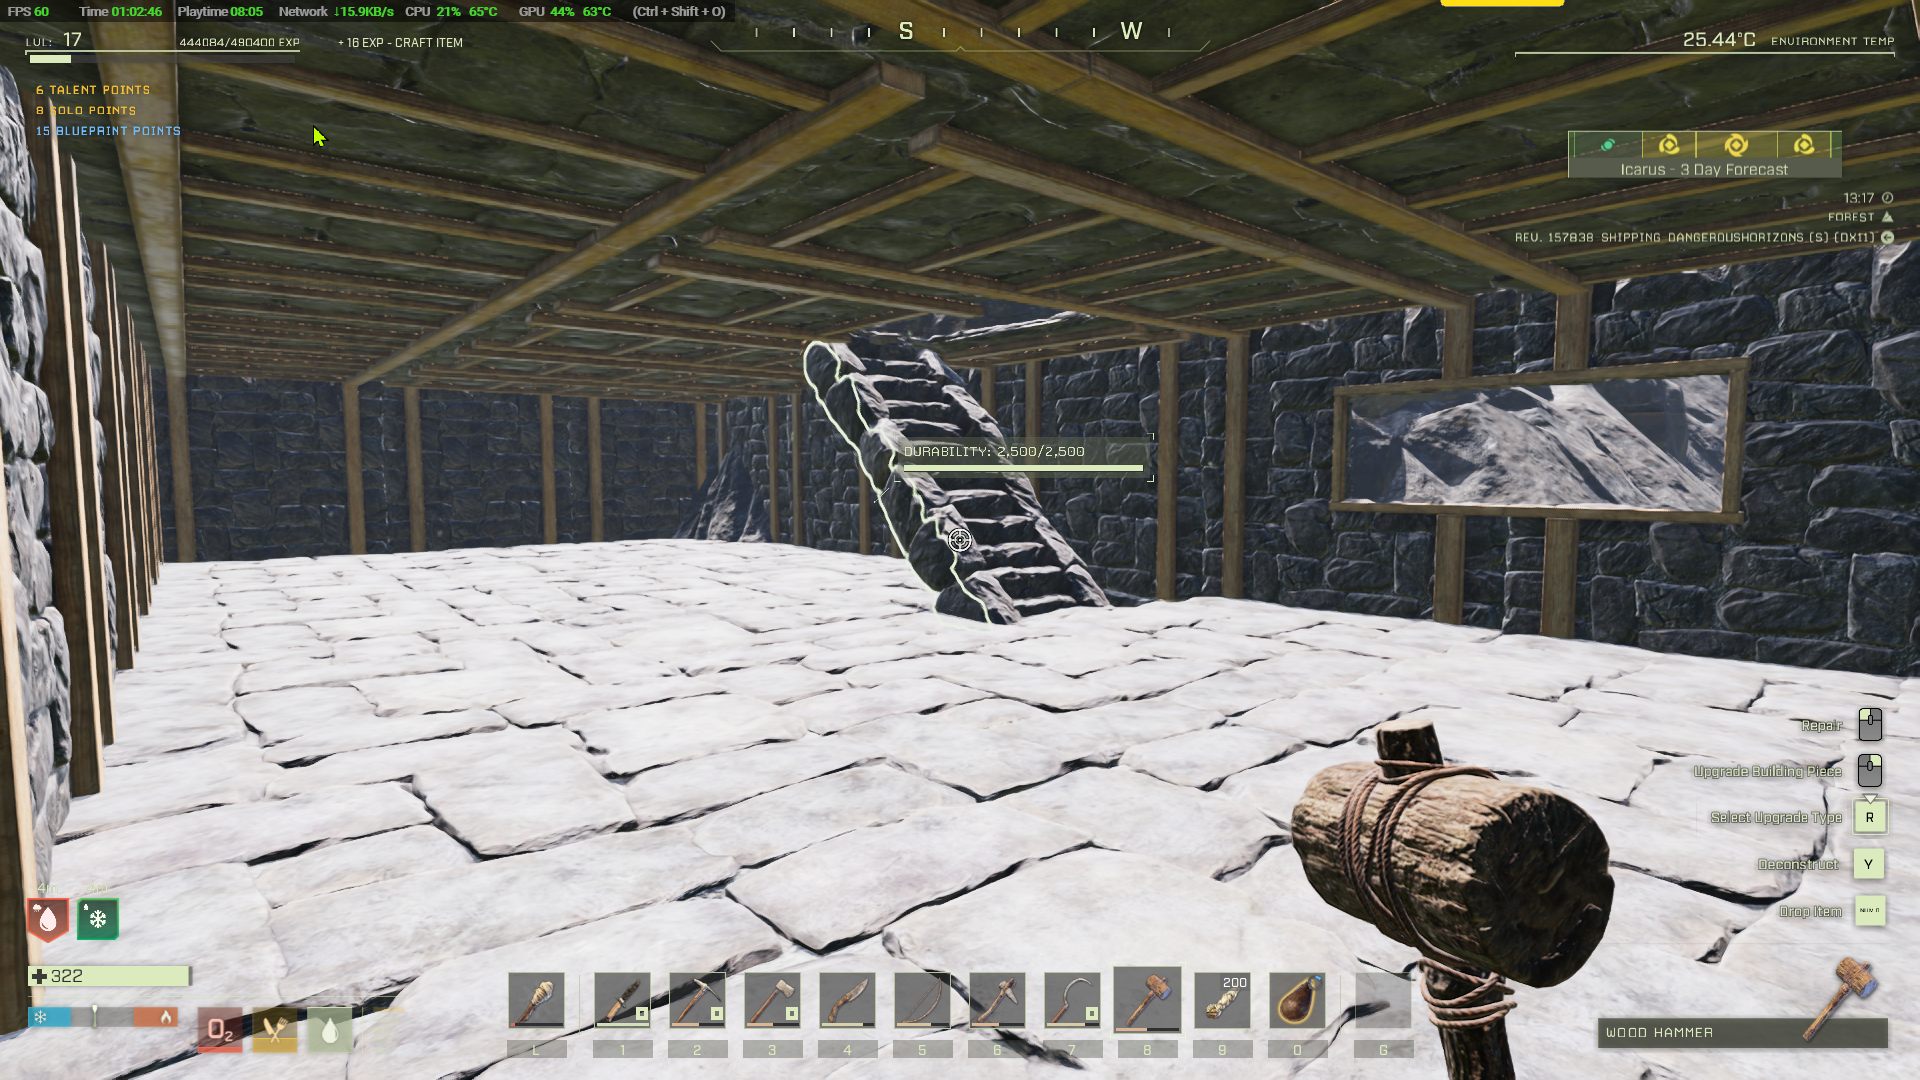
By the time you get to level 15 you will probably have experienced several storms and have had to repair your base with the hammer several times. At level 15 you can unlock the masonry bench in tech tier 2 and start making stone walls. You need to produce stone walls, floors and columns. They are made with stone, wood, leather and iron nails using the masonry table and the anvil for nails. First step is to make the masonry bench using the crafting bench and place it.
You can now make:
- Stone beam - Each needs 2 wood, 6 stone, 1 leather, 5 iron nails
- Stone floor - Each needs 6 wood, 20 stone, 4 leather, 6 iron nails
- Stone wall - Each needs 6 wood, 20 stone, 4 leather, 6 iron nails
- Stone half pieces - Each needs 3 wood, 10 stone, 2 leather, 3 iron nails
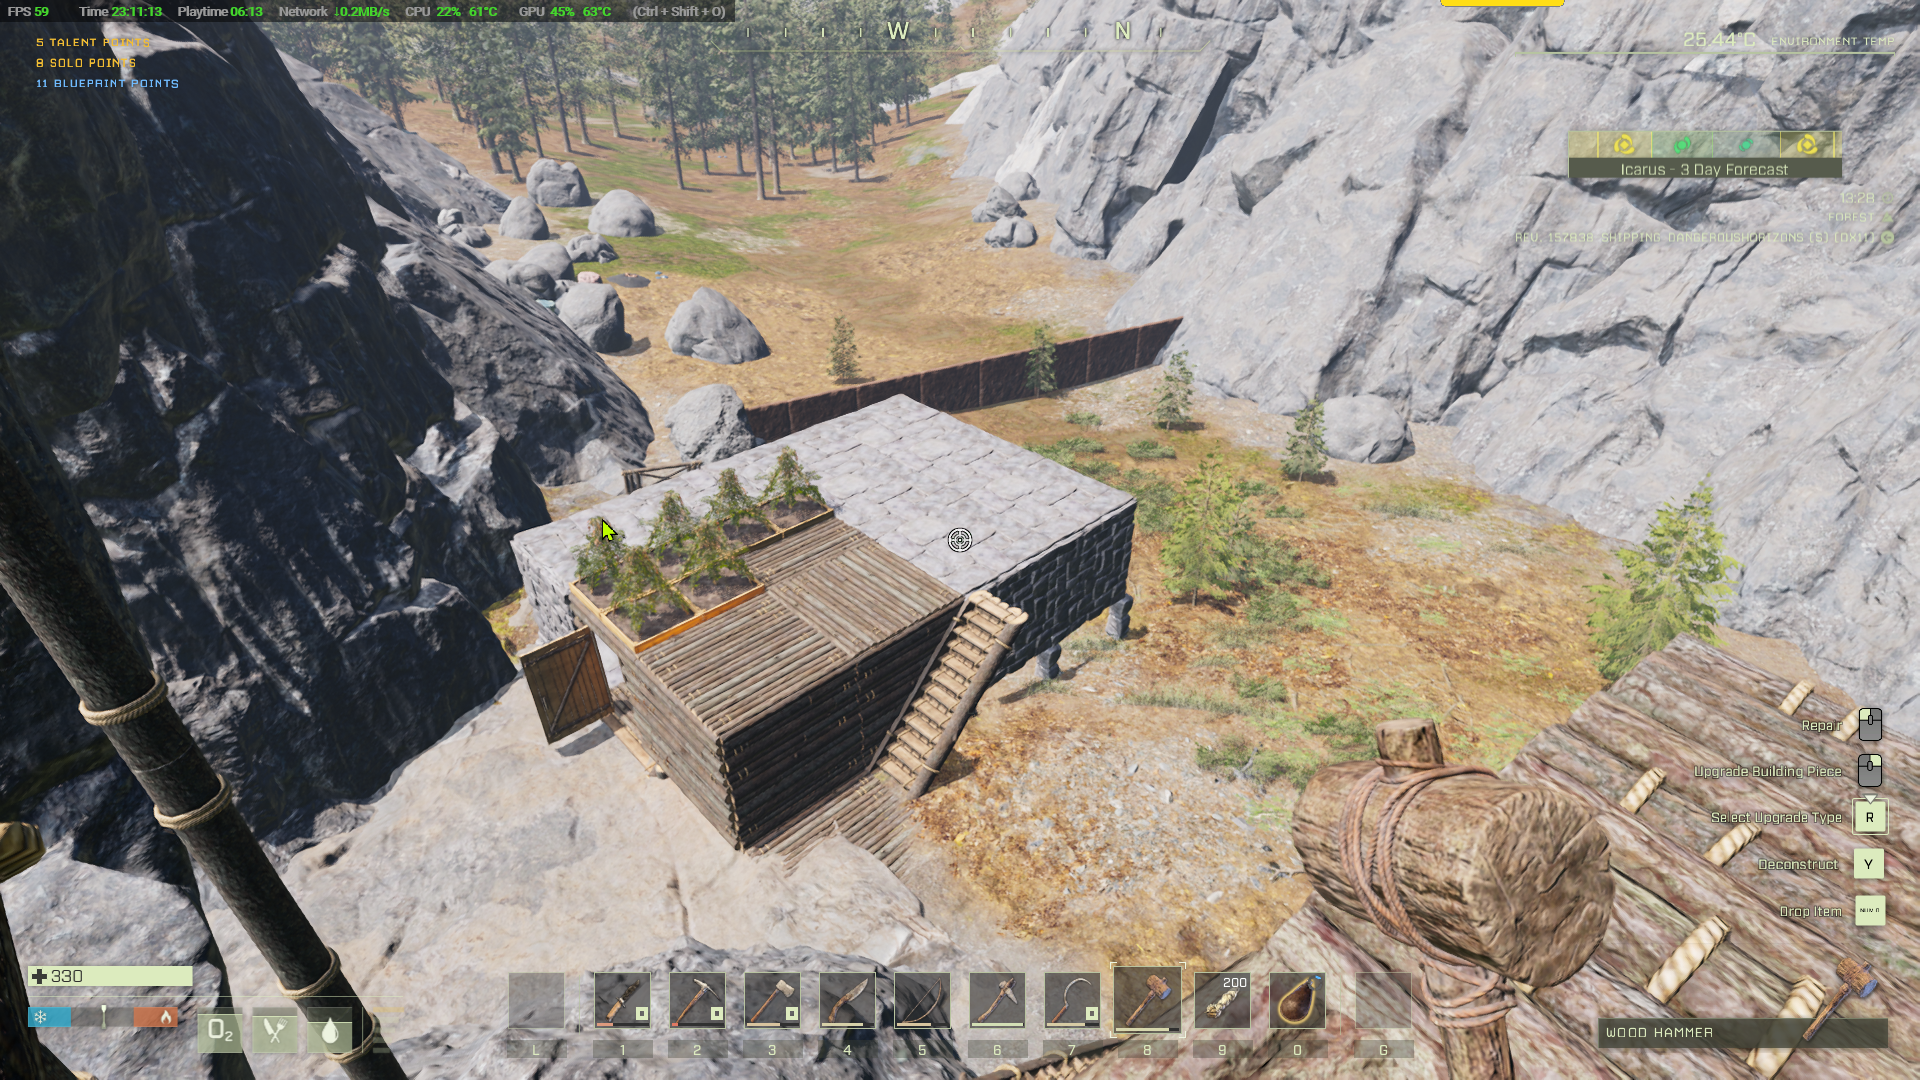
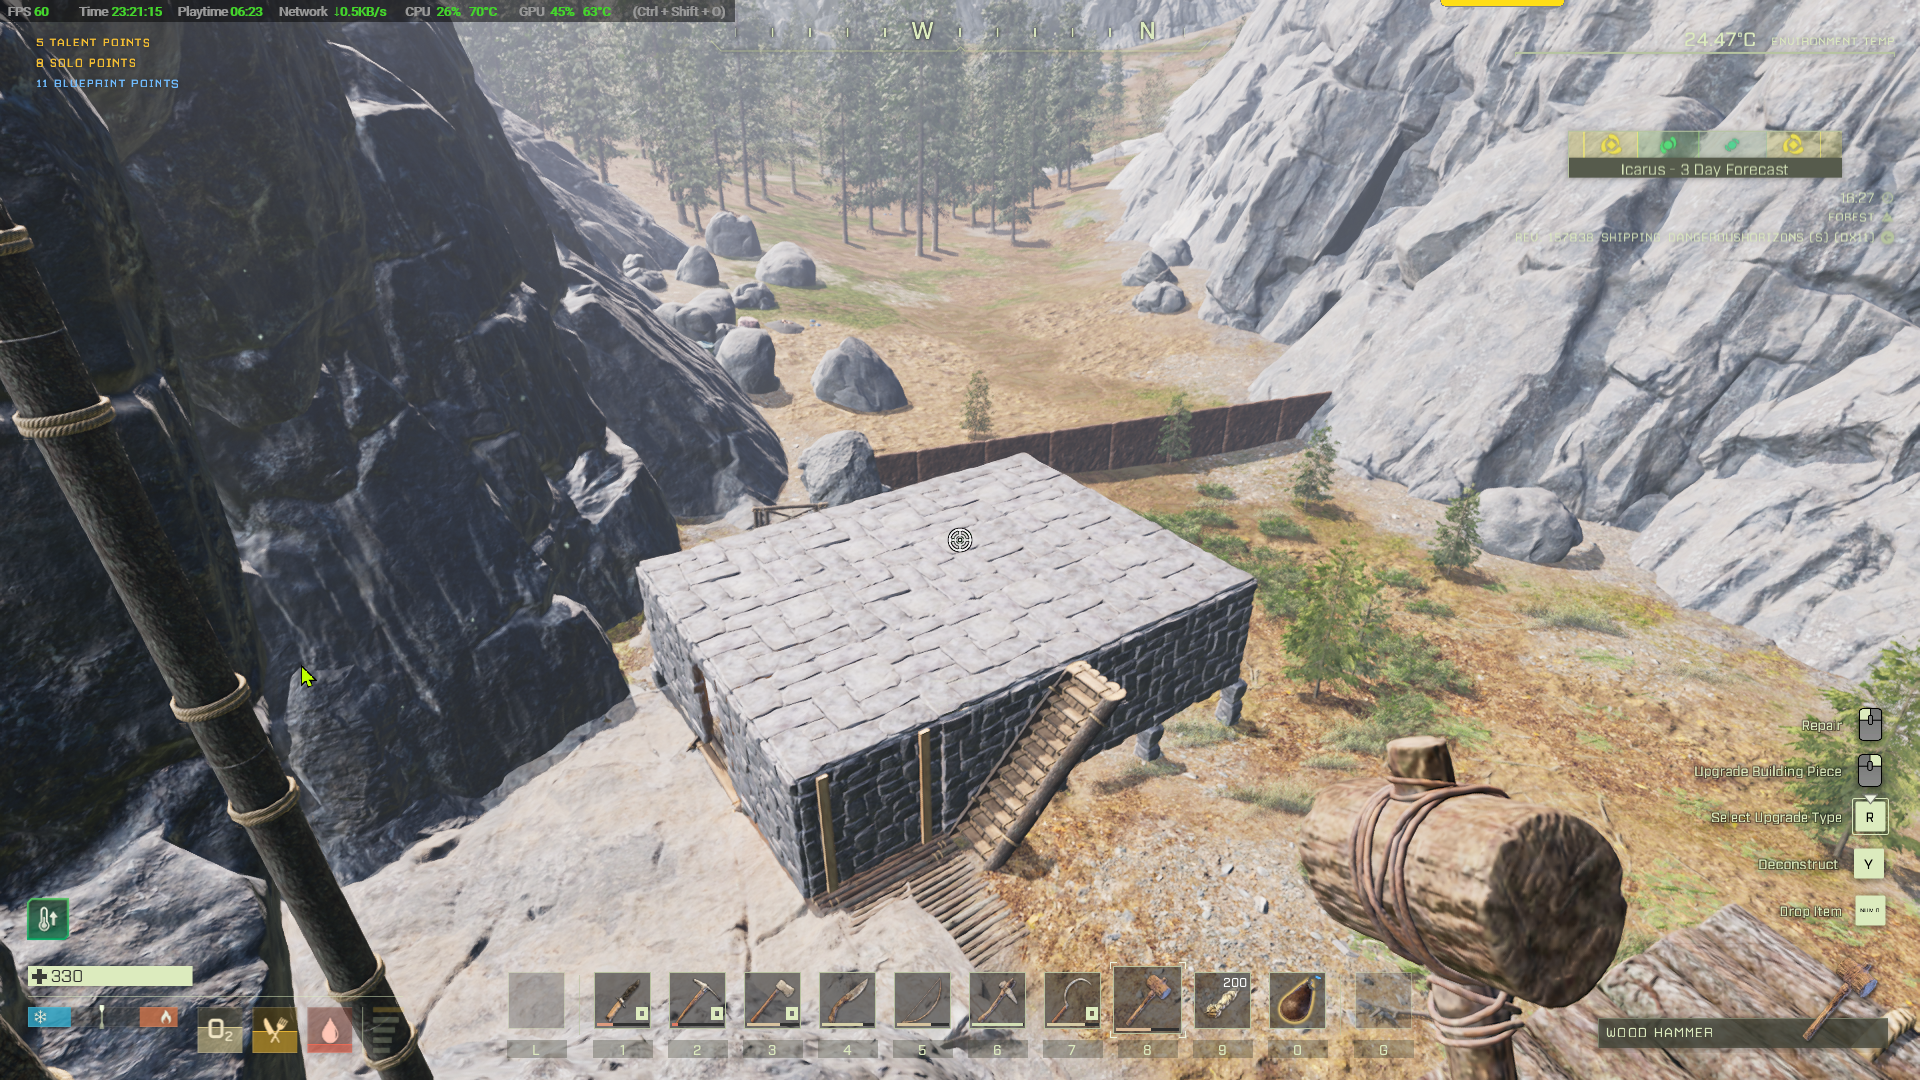
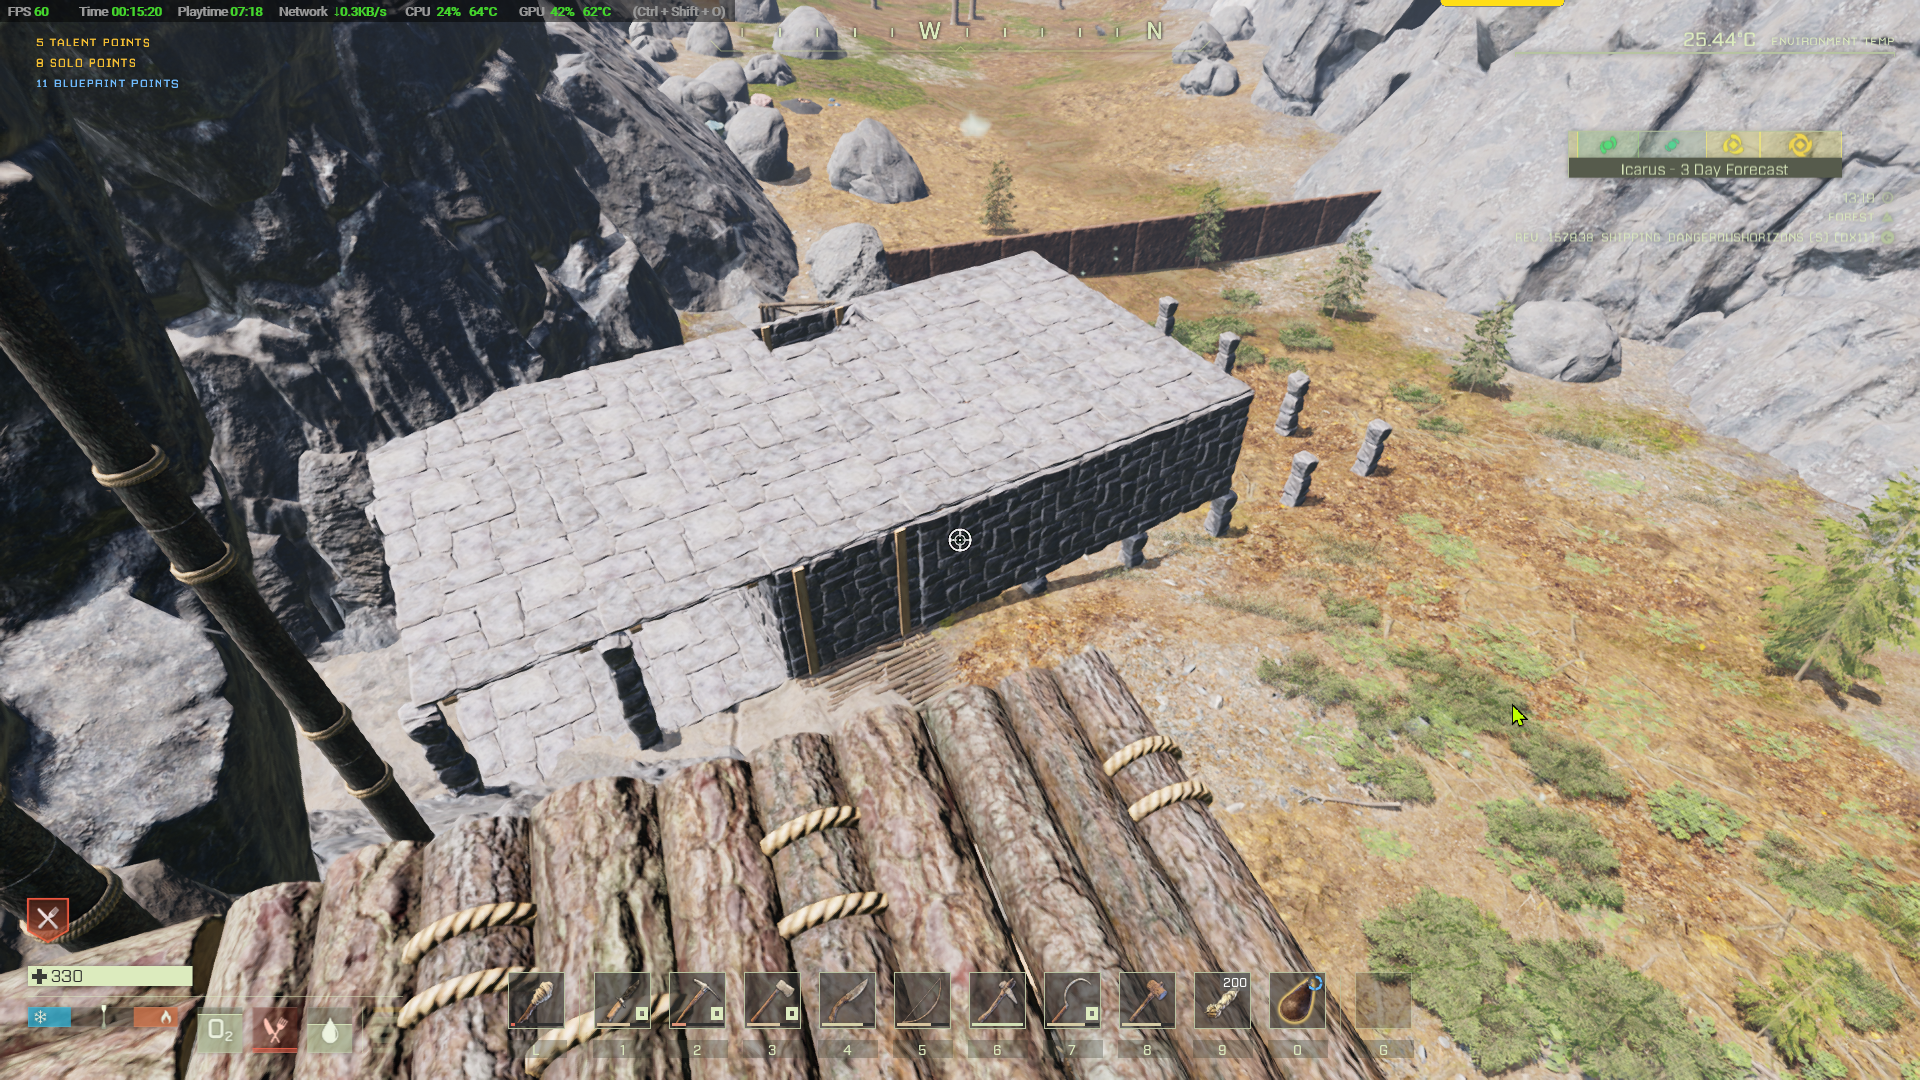
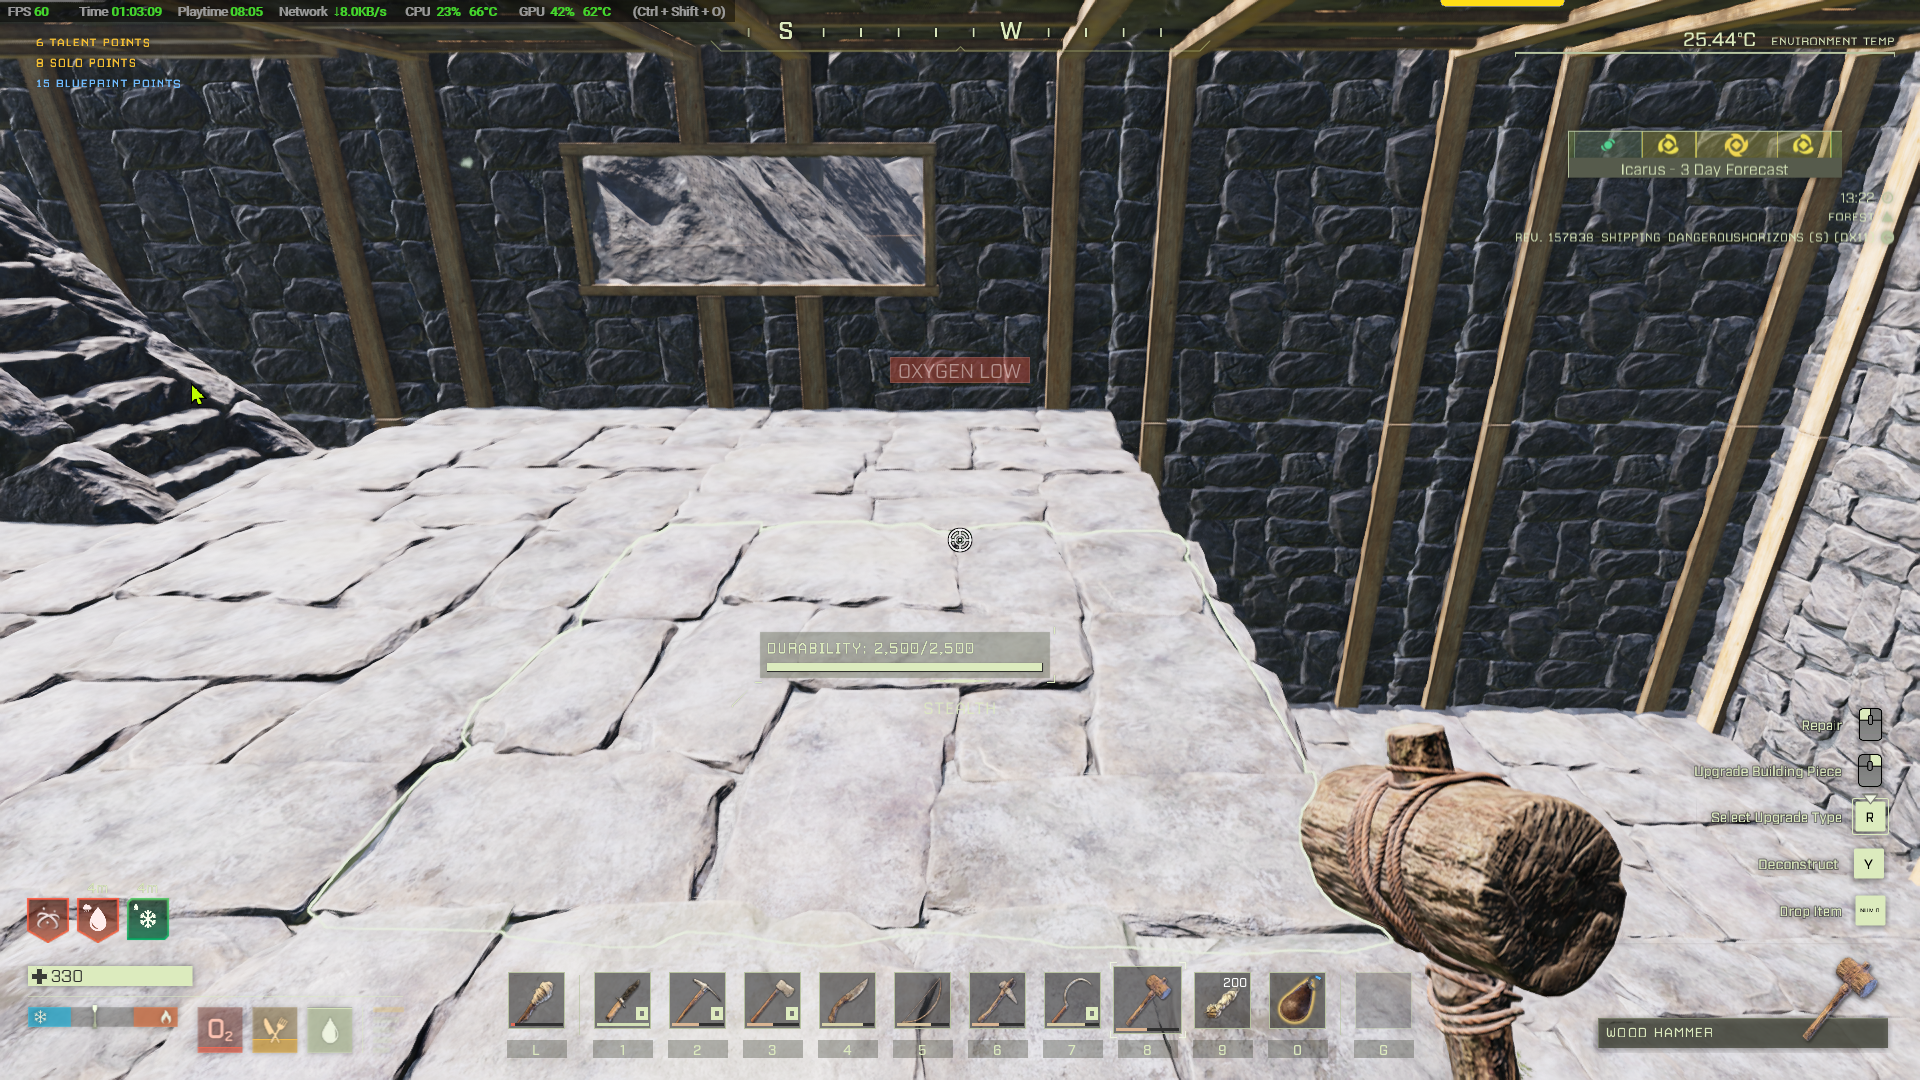
You're going to need lots of these. We are initially going to expand the base from 2 x 2 to 3 x 4 in size. Since the ground sloped down from the cave, start by placing stone beams to support the floor of the extension. You'll need 20 stone beams.
Wood bow & stone arrows?
It takes 5 stone arrows to destroy a beehive. In that time you'll lose a lot of health through bee attacks.
It takes 3 stone arrows to kill a cave worm. In that time you'll take a lot of damage. If you are attacked by two of them you might kill them but will still die from the damage you take. A stone knife is more effective.
Stone arrows seem little use apart from hunting rabbits and you can do that in stealth mode with a stone knife.
Do you want to save time?
I live out in the country and I HATE driving to town to go shopping. It's a waste of my time. As a result I do a lot of shopping online. Amazon is my first port of call and it's worth my while to have a Prime subscription to get free and fast delivery.
But that's not the ONLY benefit of Prime membership.
You get:
- FREE Delivery
- Prime Video - Thousands of free-to-stream movies and TV series
- Prime Music - Tell Alexa what you like and it will play it for you
- Free games to play
- Prime Reading
- Photo cloud storage
- Special offers
Try a free 30-day trial of Prime and see if it's right for you.


 Click image to zoom in / out