Putting the Java Waterfall together
We've done the hard bit. Almost there...
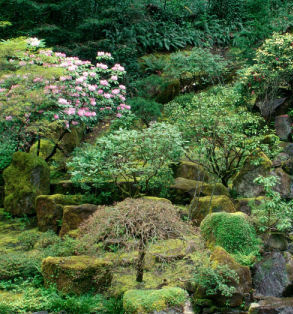
Lets add in the static images at the left and right sides of the applet.


The remaining applet will go here
The code to produce this result is as follows:
  <div>

    <img src="leftimage.jpg" width="293" height="314" align="left" /><applet code="lake.class" name="lake" width="128" height="314" align="left" id="lake">

<param name=image value="fallssource2.jpg" />

<param name="horizon" value="1" />

<param name="overlay" value = "fallsoverlay3.gif" />

<param name="speed" value = "15" />

<param name="href" value ="http://www.jaydax.co.uk" />

<img src="fallssource.jpg" alt="" border="0" width="128" height="314" />

</applet><img src="rightimage.jpg" width="59" height="314" /><br />

The remaining applet will go here

</div>
Notice there are no spaces between the images and the applet. Make sure your web page software does not add them for you!
Now we need to construct the final applet to go at the bottom of the waterfall. We'll use exactly the same technique as before but making the overlay will be a lot easier.
Here's the source image called poolsource.jpg
![]()
Animating this with the Java applet using this source code
<applet code="lake.class" name="lake" width="480" height="46" id="lake2">

<param name=image value="poolsource.jpg" />

<param name="horizon" value="1" />

<param name="overlay" value="pooloverlay2.gif" />

<param name="speed" value="15" />

<param name="href" value="http://www.jaydax.co.uk" />

<img src="poolsource.jpg" alt="" border="0" width="480" height="46" />

</applet>
gets you this:
This won't look quite right yet since we haven't produced the overlay image yet. Load the file pooloverlay.gif into your photo editor to do this.
- Save a copy of the image as pooloverlay2.gif
- Set it to have a transparent background. Again set red to be the transparent colour. You will have to edit the pallet to do this making colour 255 red.
- Double the canvas size making the image 92 pixels high
- Carefully select and delete all the water in the pool part of the image.
- In the area where water is falling into the pool paint in a few pixels of the red transparent colour.

Here's a magnified view of where the water is falling

- Save the image again and try it out in the applet. If you don't see the overlay then back in your image editing software select the red area using the magic wand and invert the selection. Move the selection down the image a bit, re-save it and try the applet again. Remember to refresh the browser or you won't see the new overlay.
- In my case I found that, no matter where I positioned the non-transparent part of the overlay, it still was not visible. Closing all browser windows and re-opening them usually solves this problem.
- Position the source code for the second applet so that it replaces the text 'The remaining applet will go here' and your waterfall picture is complete.
The source code for the complete waterfall is as follows
See the finished waterfall used in a web page