John Sherriff's Guide to The Oregon Trail on Facebook
How to Start
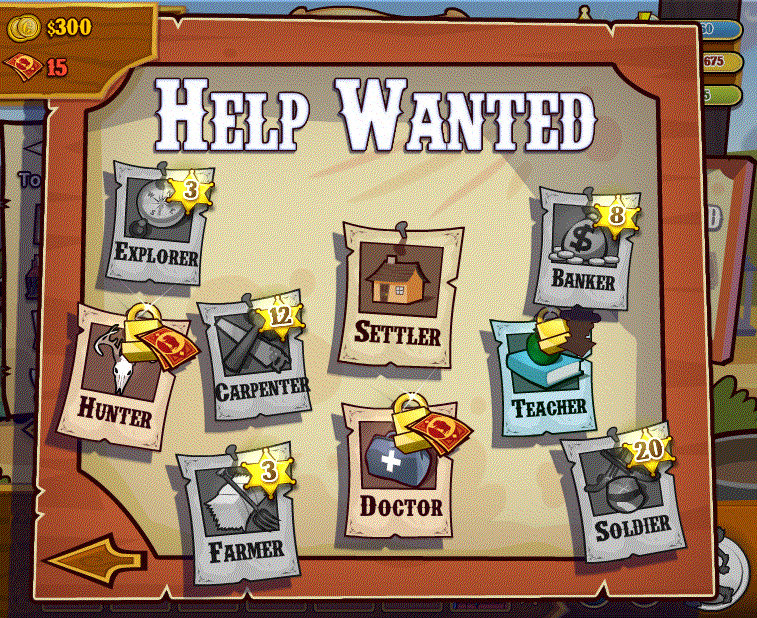
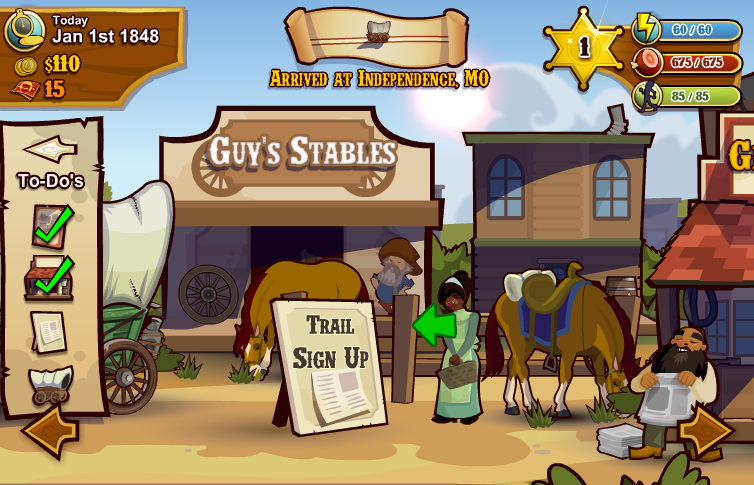
After an initial welcome screen where you can read the local newspaper you'll see this:

The start screen in Independence, Missouri
What you'll need to do
Here are the steps you'll need to do. Click each one to see it in more detail.
At this stage the only option available to you (without spending 'Trail Certificates' is that of settler. Click the 'Settler' picture and you'll see this:
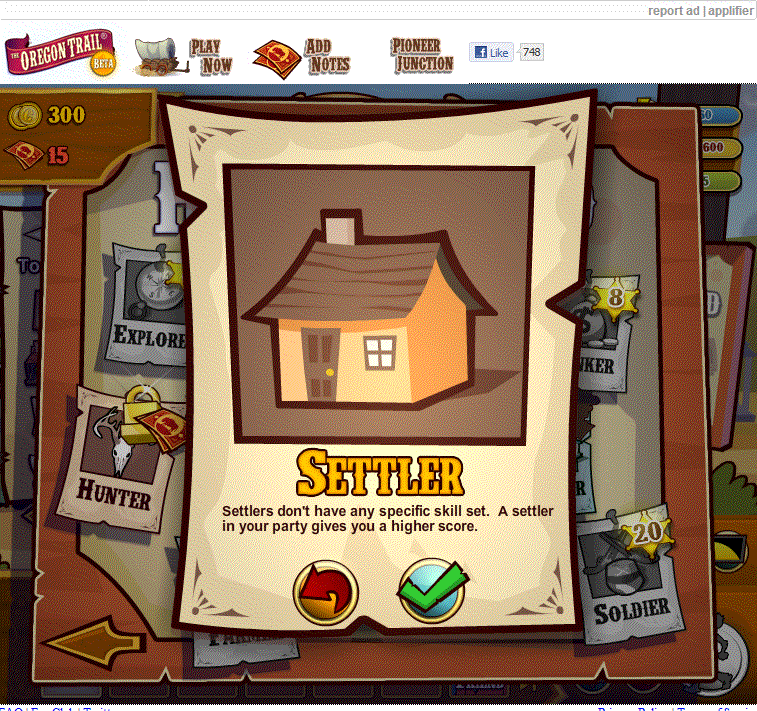
Remenber that bit - 'A settler in your party gives you a higher score.' You'll use it later.
Confirm your choice by clicking the green check mark.
You get this from the 'General Store'. Click on it to acticate it. You'll see a screen like this:
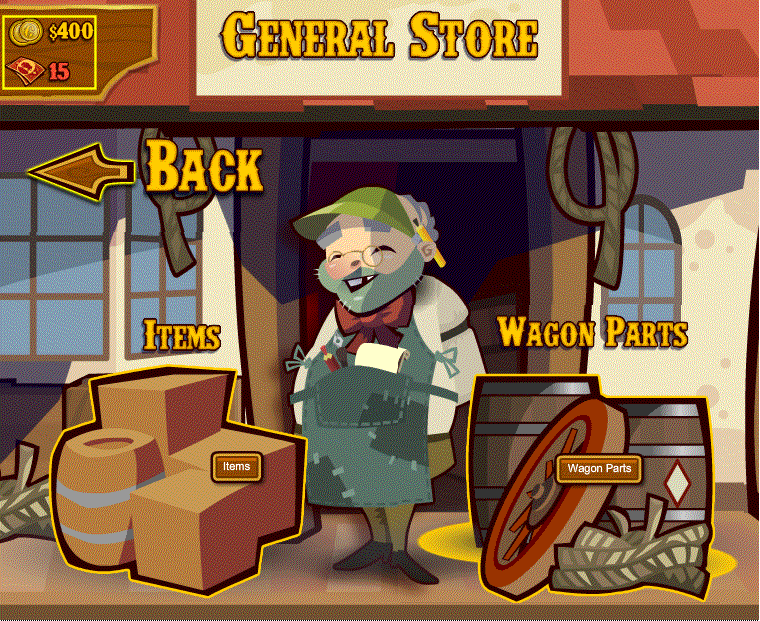
I've highlighted in yellow the clickable areas. Choose 'Wagon Parts.'
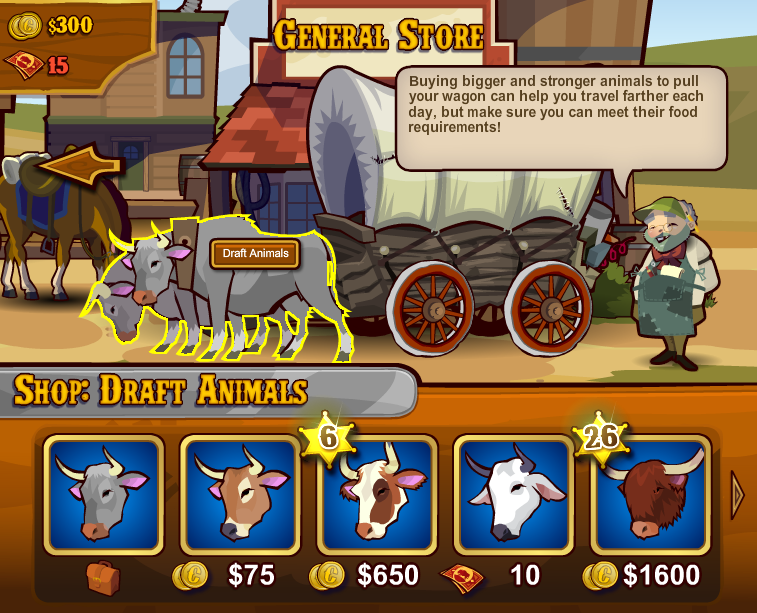 Each of the various parts can be hovered over and selected. Here I've chosen the free oxen at the left. For a beginner that's probably the best choice. Items you've already bought or which are free show a bag icon below them (It's in the bag?)
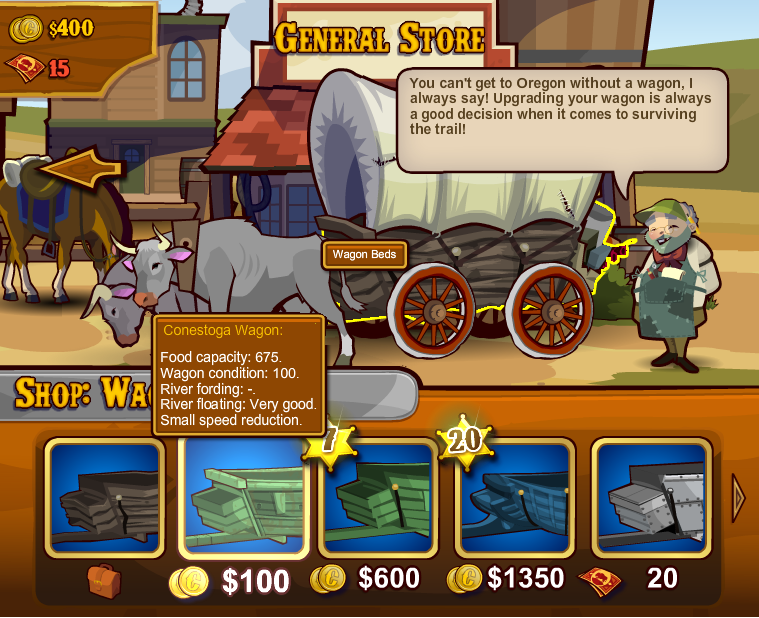 In the same way click the wagon bed. This time I'm choosing a bed which costs money, the Conestoga wagon ($100) since it has a slightly larger capacity, is in better condition (won't break down as often) and floats better. It's slightly slower but on a first run this won't matter. Once you've selected it you'll see a price label added to it.
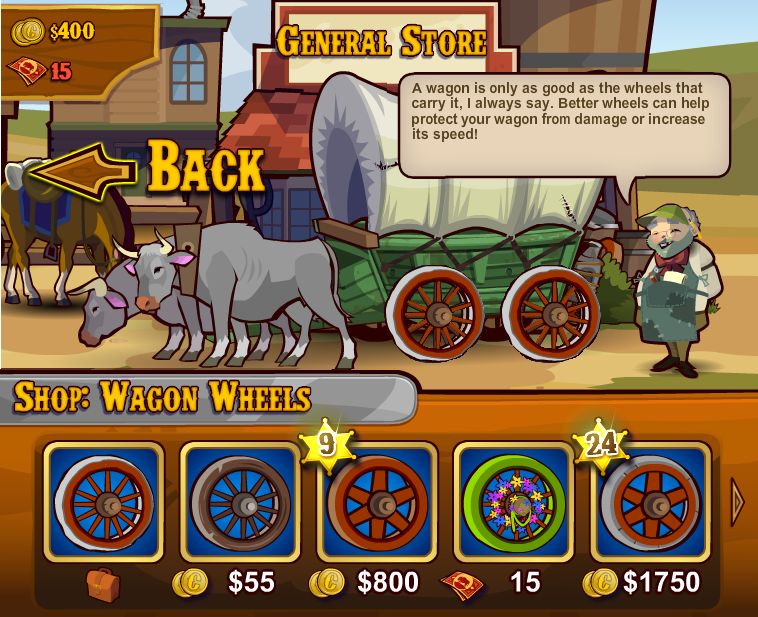
In the same way click the wagon wheels. Again I'm choosing ones which cost money, the weathered wheels ($55) since they do not have the 'slight speed reduction' that the standard wheels have.
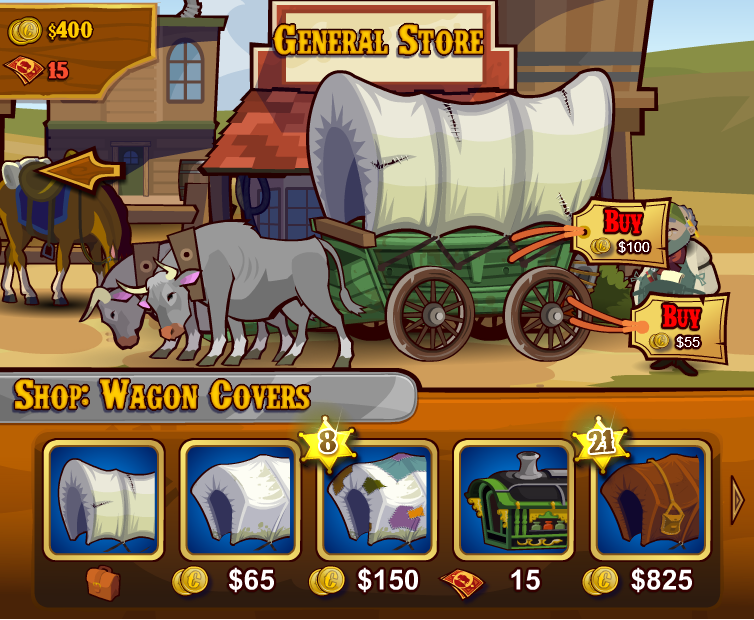
In the same way select the wagon cover. The free option is a good selection this time. Once you have selected this click on the two price tickets to confirm your choices. You'll notice you now have $245 left.
Your wagon should now be complete so choose the back arrow to return to the store entrance.
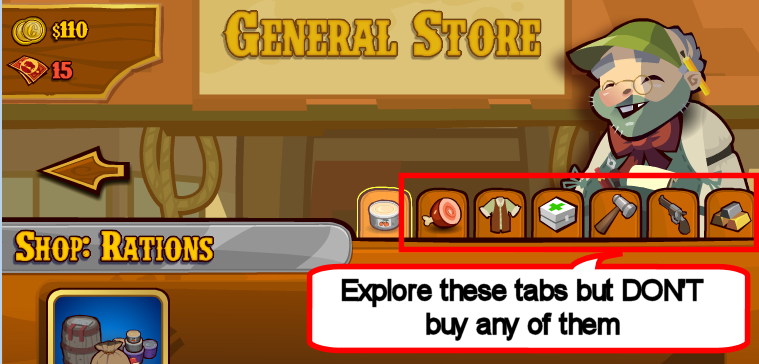
Back at the store entrance you need to click the boxes at the left (Items) to start stocking your wagon.
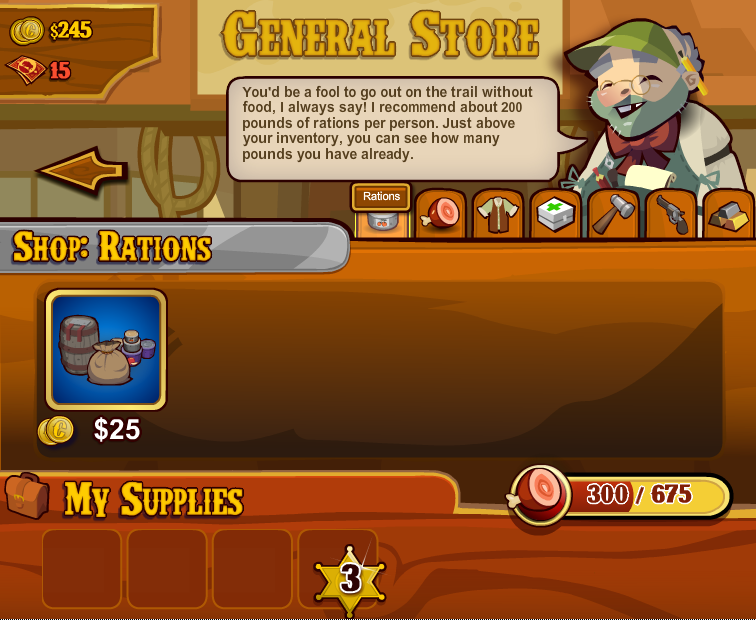
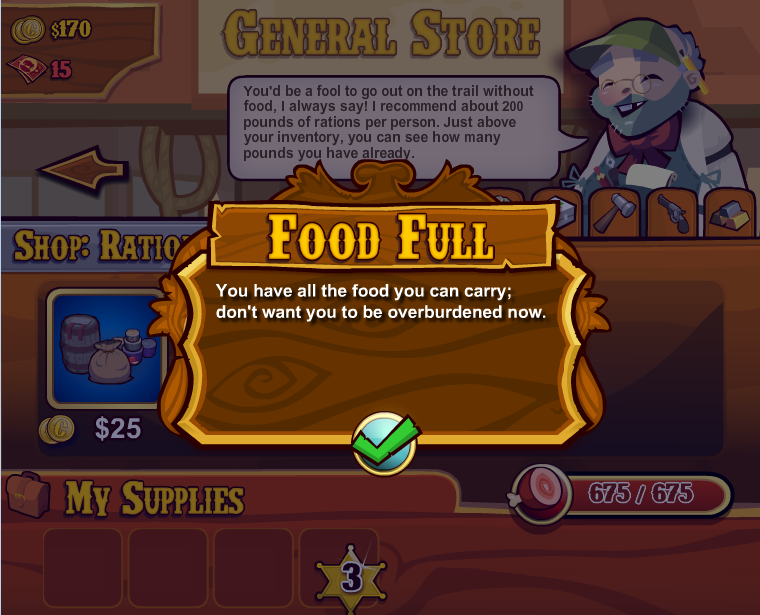
You now have $245 left and need to buy some rations for the journey. Buy 'rations' until your wagon has as much as it will hold.
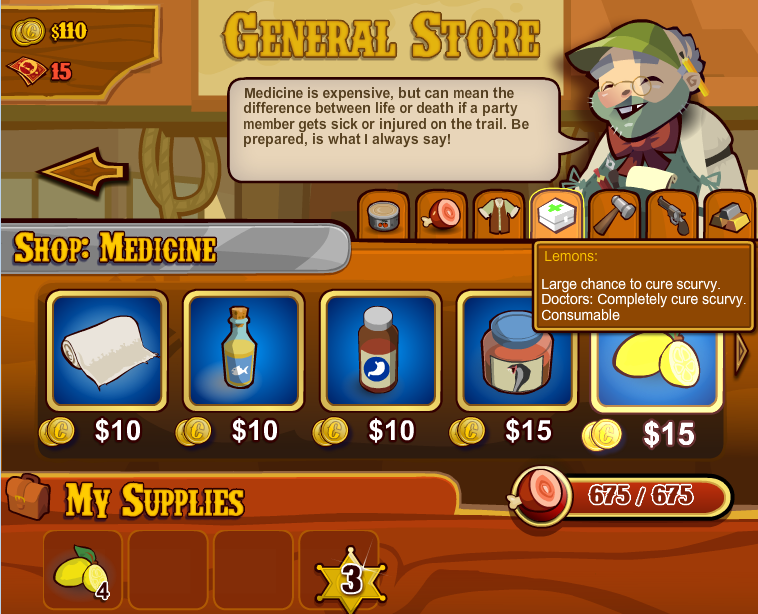
On your journey you can encounter mishaps which will cause you to lose items. The items lost are items bought for cash in your inventory. By placing lemons as the first item when you lose something it will be an inexpensive lemon rather than a much more expensive and useful item. The lemons will stack on top of each other and you can store up to 10 in your inventory slot. Of course they also counter scurvy. As you travel if you lose any items make sure you buy more lemons at the next available store which sells them.
You'll need your money to buy more food in the early stages of the game. It is possible to hunt for food but at first you probably won't be good at this. It's also possible to collect extra money en-route but again this takes a little practice. As you gain experience you can buy more.
Leave the store using the back arrow then scroll left until you see this:
 Click the sign-up board
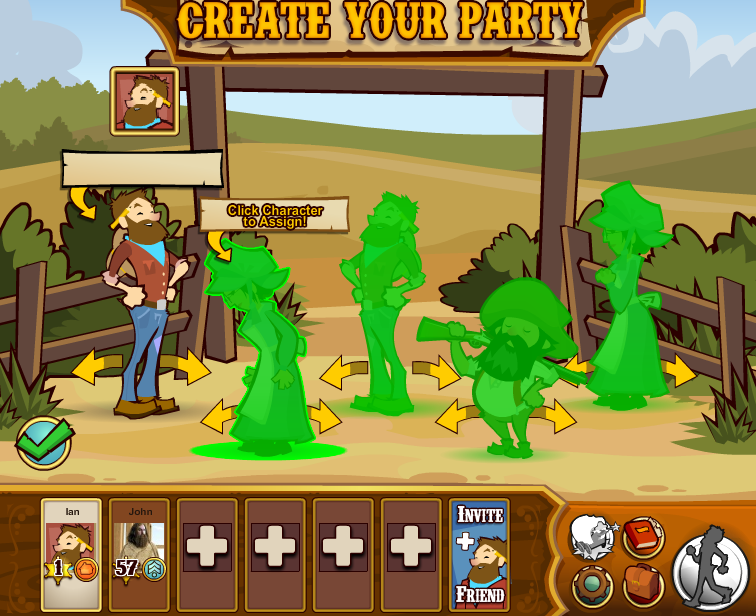
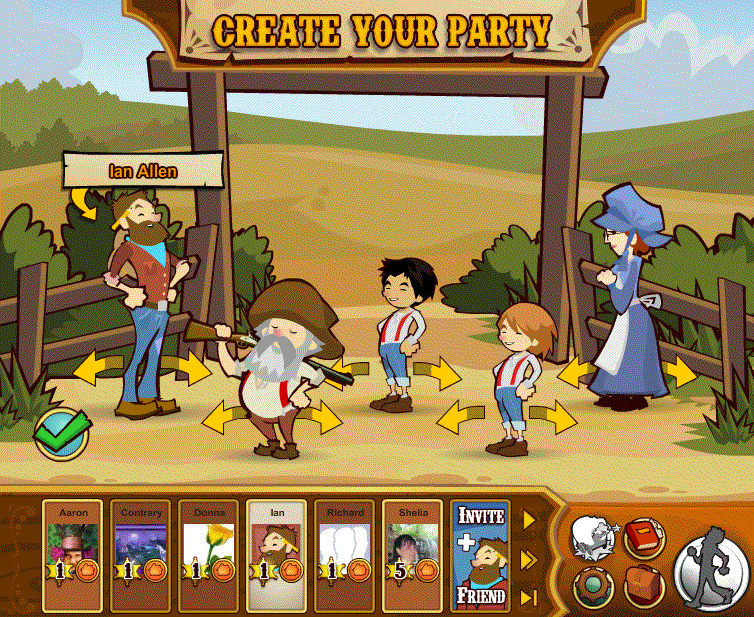
This is where you start adding four of your friends to your team.
Your friends who play the game will be displayed along the bottom of the game window. At the bottom of each one you'll find their level and an icon which represents the occupation they are currently playing at.
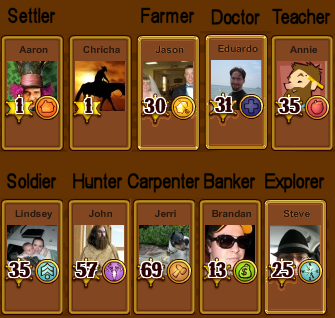 You'll notice they are arranged in level order and by name. (The one who doesn't have an occupation hasn't chosen one yet)
It's always a good idea to include a settler (gives you a higher score) and a teacher in your team (gives you more eXperience Points). Make a note of who you want to select because you can't see their occupations in the 'add a team member window.'
 Need Friends Topic
Feel free to add me -but please put 'TOT' in a message
Once you've decided who to have on your team here's what you have to do:
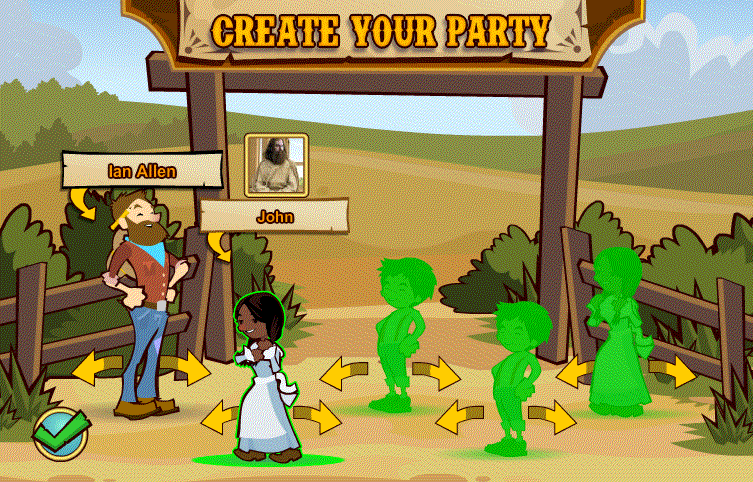
1. You'll need to add your name as the wagon team leader. Select one of the yellow arrows at the base of the team leader. You'll see this:
 Ignore the top and middle sections and type your name to replace the name in the bottom section. Confirm your choice using the green checkmark. If you wish you can now use the yellow arrows to change the character image.
2. Click one of the green characters to start selecting teammates. You have three options here:
- Accept the name offered
- Change the name to one you want
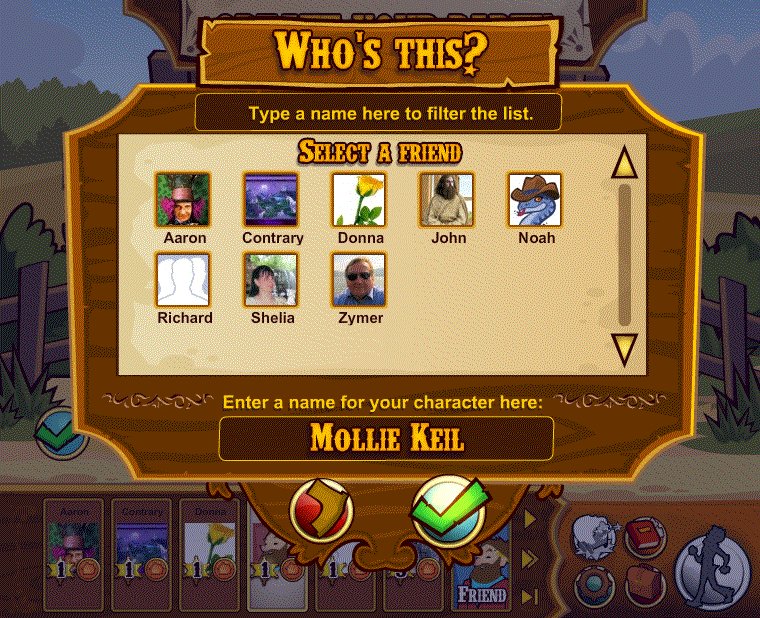
- Select a friend from the list offered
Scroll through the list of friends. If you have a lot of friends on Facebook start typing a name in the area 'Type a name here to filter the list' to find them quickly. Select the icon of the person you want.
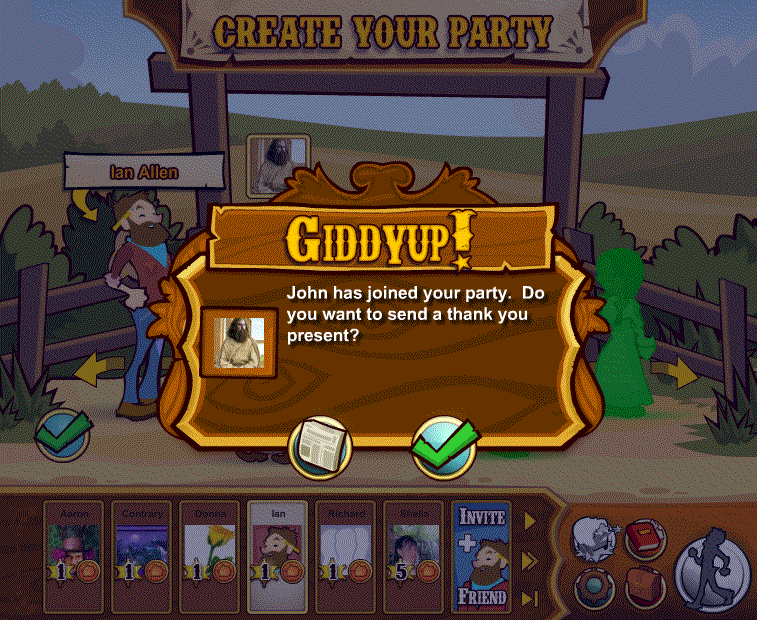 If you click the newspaper icon at the bottom you'll send a message to your teammate to inform them they are on your team. They will see something like this:
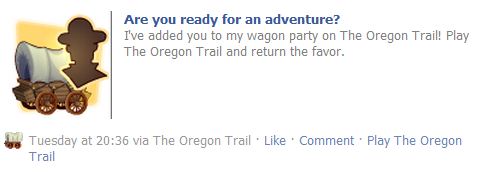
This doesn't offer any rewards but it's useful to know who has you as a team member. (See 'Helping your friends' in the How do I... section.)
3. You can now use the arrows either side of the character to change their appearance.
WARNING! If you select the person you've just chosen again you'll have to go through the whole process again. Make sure you use the arrows only!
4. Repeat for the other characters.
5. Once you have four teammates, click the green checkmark at the bottom left to start.
WARNING! If you get distracted and open another page while choosing characters you'll have to start again!
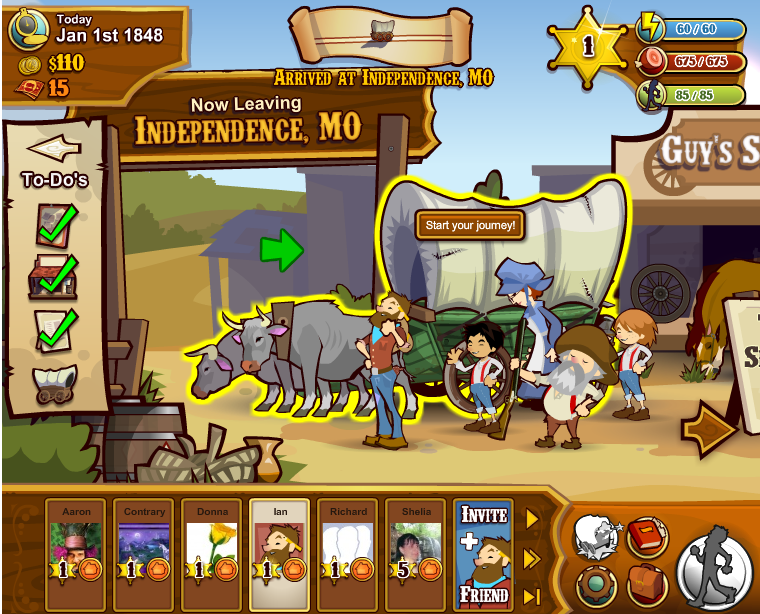 Once you have selected wagon, team membeers and occupation you can start the game in two different ways
- by clicking the wagon.
- by clicking the soldier at the left
I suggest you use the first method - clicking the wagon - in your first run.
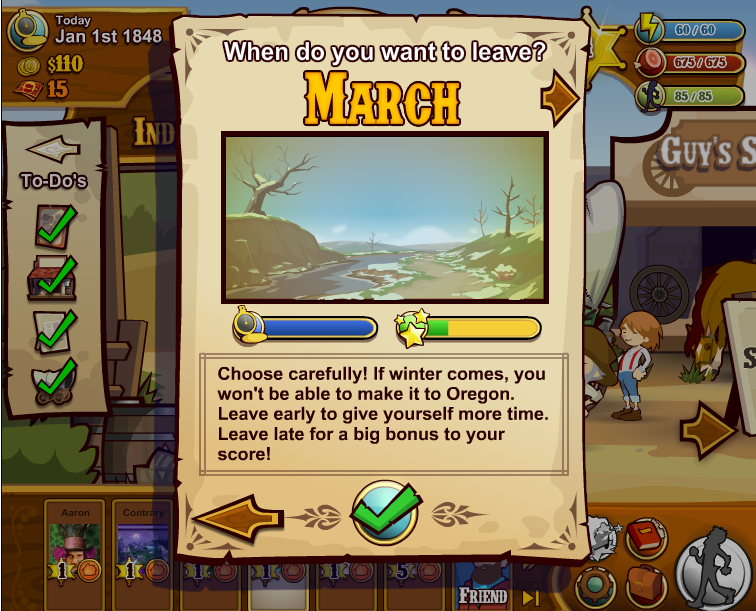 IF you click the wagon, you can now choose the month you want to start your journey.
Hint - On your first trip set it to April.
Confirm your choice using the green check.
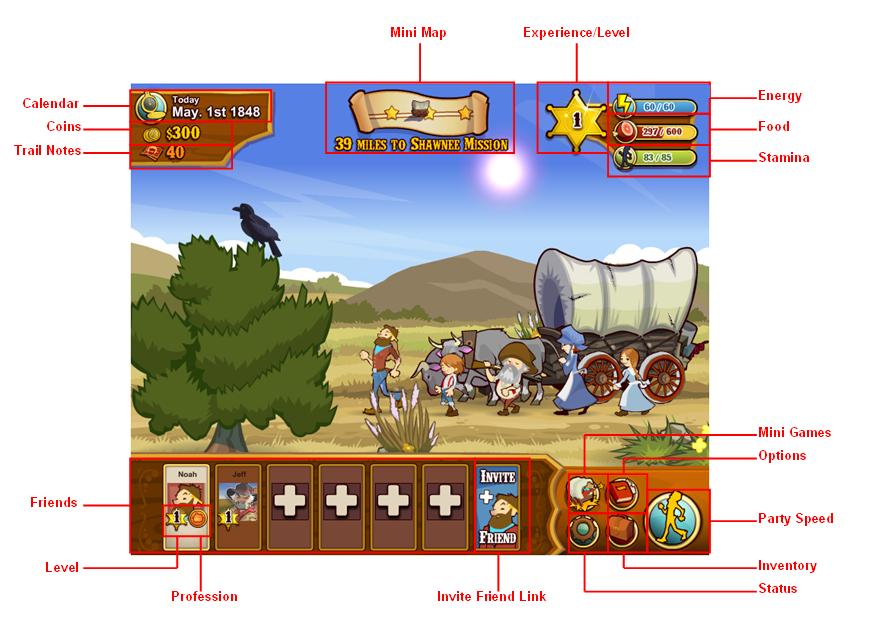 After a page of information you'll see the screen shown above which tells you about the control panel at the bottom right. (Oops - The status and options buttons have swapped places in the instruction page)
If you haven't already figured it out - use the gear cog icon to turn off the music!
The important buttons for now are the covered wagon icon - which allows you to play the mini-games and the walking man icon - which allows you to set the wagon speed. There are two extra icons on the current screen display 'Achievements' and 'Quest Log'
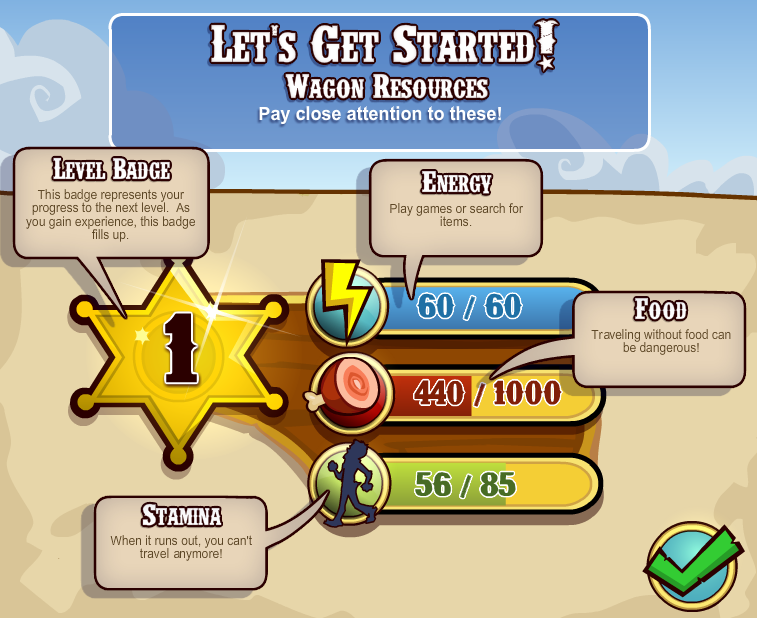 The next screen shows the information display at the top right of your screen. You need to know:
- You can't play the mini-games without energy
- Without food your team will lose health. If they are already sick they may die.
- You can't move the wagon without stamina
You have to buy food, find it on the trail or hunt for it using the mini-game.
The Star shows you your level. If you move your mouse over the star it will tell you how many experience points you have and how many are needed for the next level.
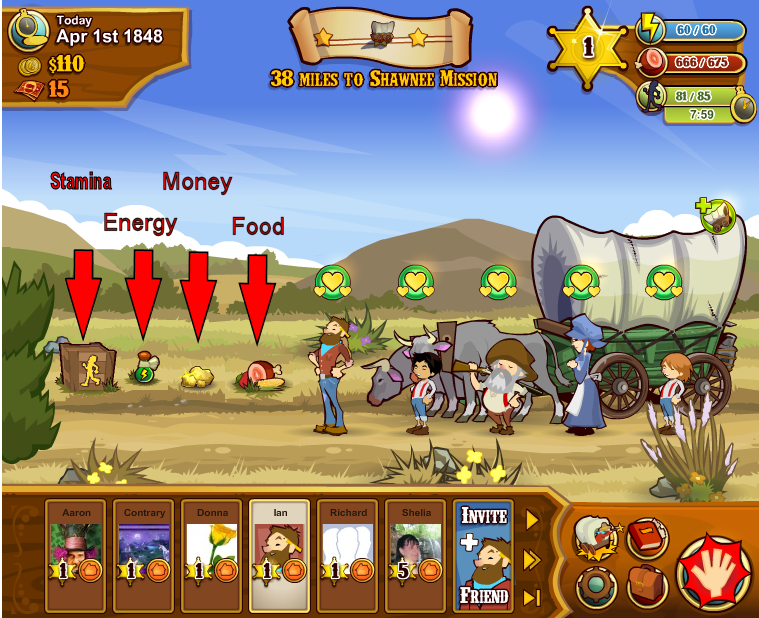 Watch out for these four icons on the trail and click them to get extra stamina, energy, money and food.
Learn that you can stop the wagon by clicking the 'red' hand and choosing it again in the sub-menu.
- In Independence you can read the newspaper again by clicking the news-seller outside the store
- If you need to stop on the trail quickly you can do so by clicking the mini-game icon and then selecting the back arrow
- At the top of the screen there is a scroll. Click it to get a map of the route. There's a bigger map here
- In Independence the 'To Do' list at the left should have a green checkmark on each item before you can start.
- If you need to restart look for the book (Status) icon and click it. At the bottom right of the popup which opens you'll find a 'Give up' icon. Use that to go back to Independance. You will keep your stamina, coins, inventory items and resart with 300 food.
- As soon as you start the wagon rolling click the covered wagon icon to stop and play the 'Search the scene' mini-game. You may not find anything but your 'energy' level will reduce by 15. Any energy you now collect on the trail won't be wasted now. Do this any time your energy gets within 15 of the maximum.
Tweet